Layering Leaves Hugs

Sometimes you just need to send someone a hug. I love having a stash of cards just for this purpose. This card is quite easy to make and perfect for so many occasions.

Layering Leaves

This stamp set has so many great sentiments and can be used for almost any occasion. I always have that favorite sentiment, and this one is Sending Hugs, as you can see on my card.

Bough Punch

The Layering Leaves Stamp Set coordinates with the Bough Punch, making it easy to create pretty stems and flowers.

The Fixin’s

Product List

The Video

If you’d like to see how this card is made, here’s a video with step by step instructions.

Need Supplies to Make it?

I’d love for you to shop with me! You may visit my store by clicking on any of the products above or on the 24/7 Shopping link at the bottom of the page. If your order is less than $150, please help me out by using the Host Code. But, if your order is $150 or more, DON’T use the Host Code because you’ve earned FREE product!

CURRENT HOST CODE: R6GWDNFP

Thanks for supporting my small business. I appreciate every single order!!

Me

Butterflies & Flowers Masks Card

Butterflies & Flowers Masks Card

Today I’m using the Butterflies & Flowers Layering Decorative Masks for my project, and I have step by step instructions for you!

Butterflies & Flowers Masks Card

Butterflies & Flowers Layering Decorative Masks

This set of masks has six different patterns. There are three with flowers and butterflies that layer together, and three that have pretty background patterns. I used the one in the top left, the bottom center and the bottom right for today’s card.

Butterflies & Flowers Masks

Step One

First, I took a quarter sheet of Basic White Cardstock and secured it with masking tape to my work surface. Be sure to reduce the tackiness of the tape before putting it on your cardstock. I knew I would cut my panel and didn’t need the edges, so I didn’t worry about this.

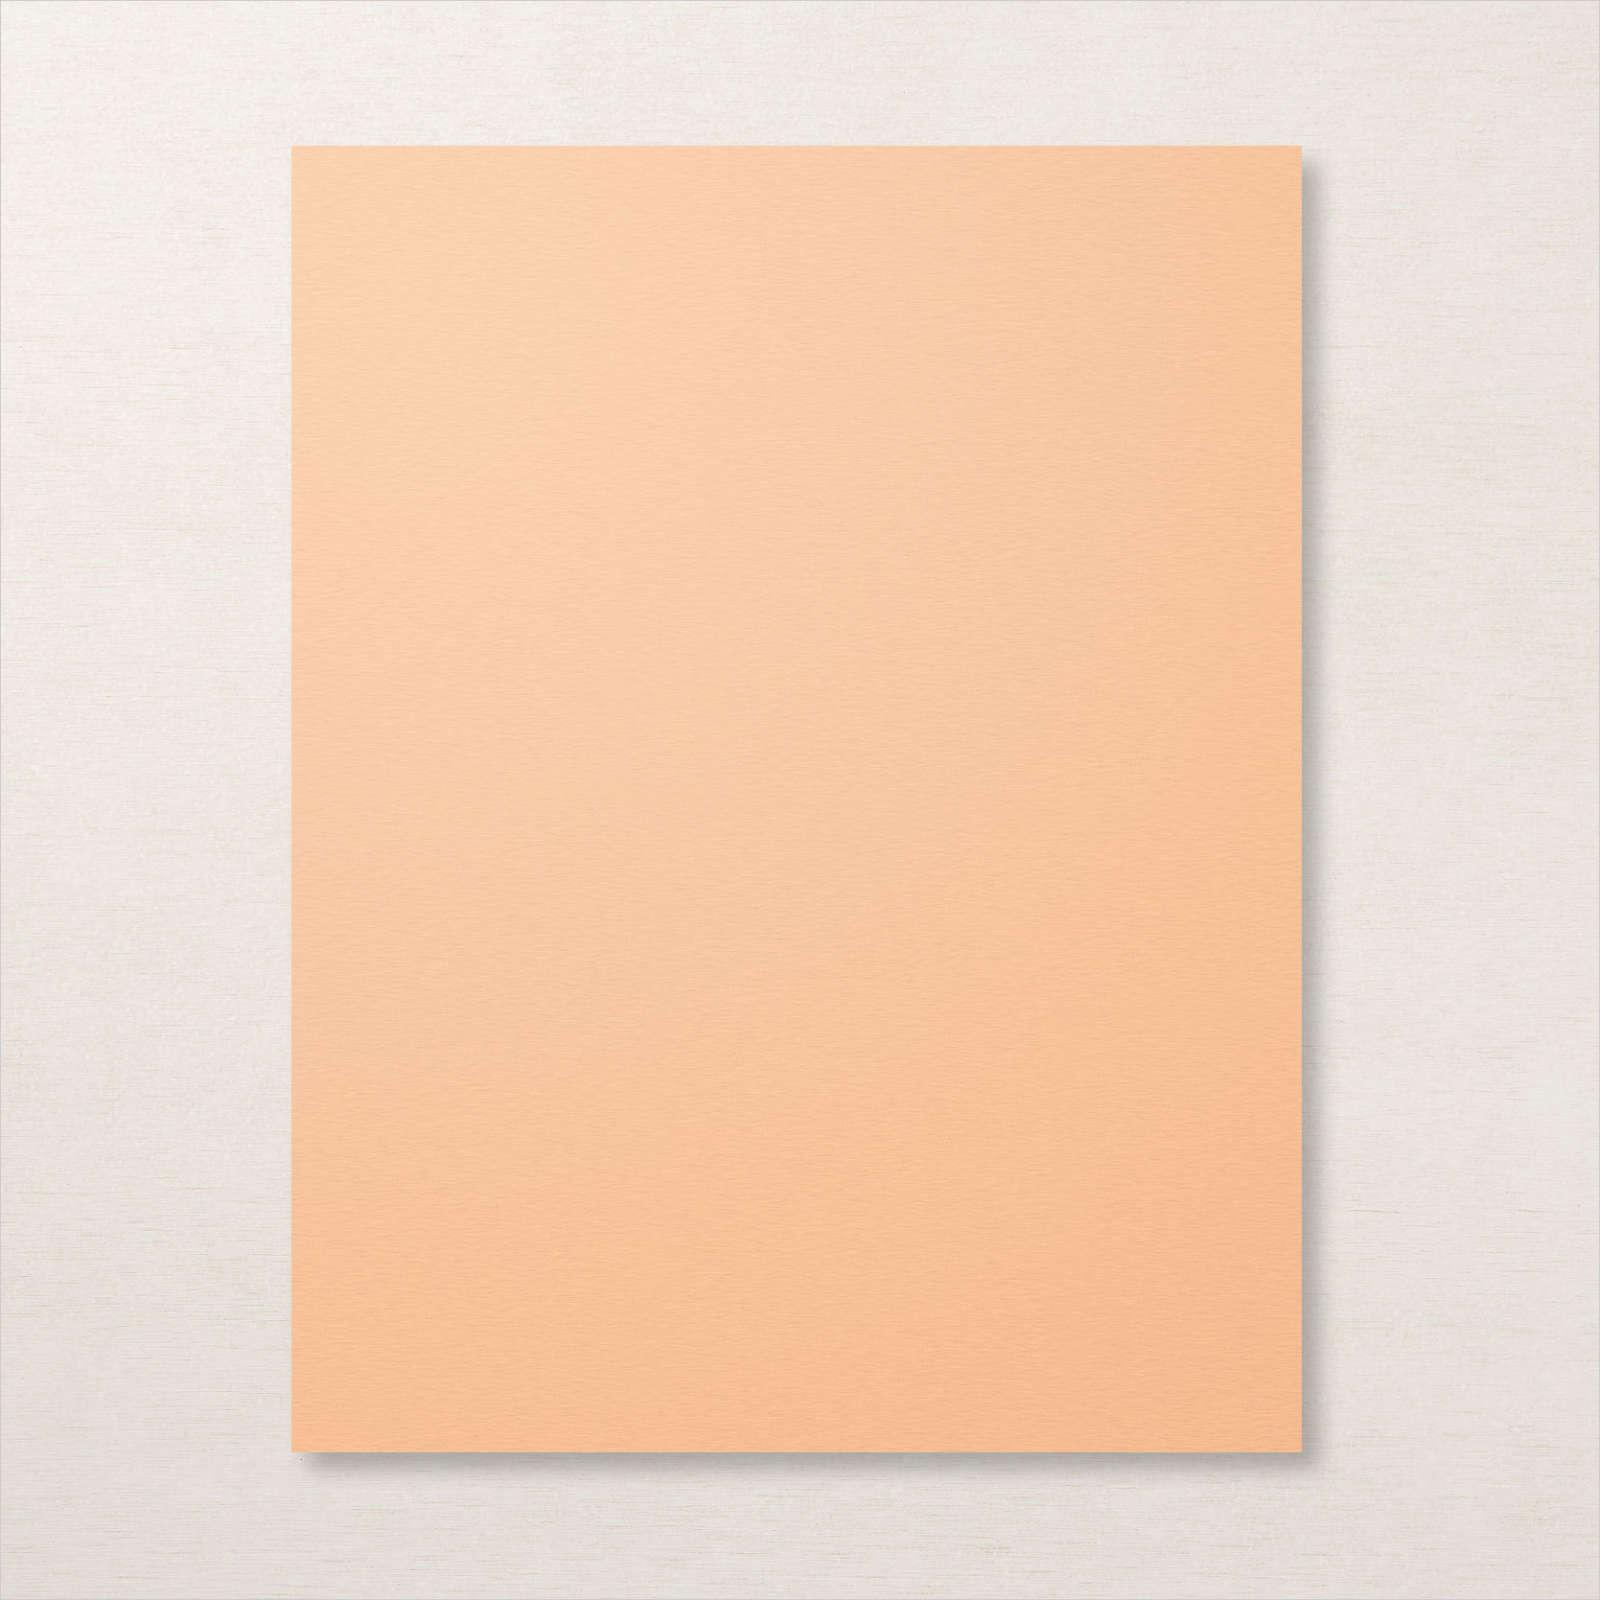
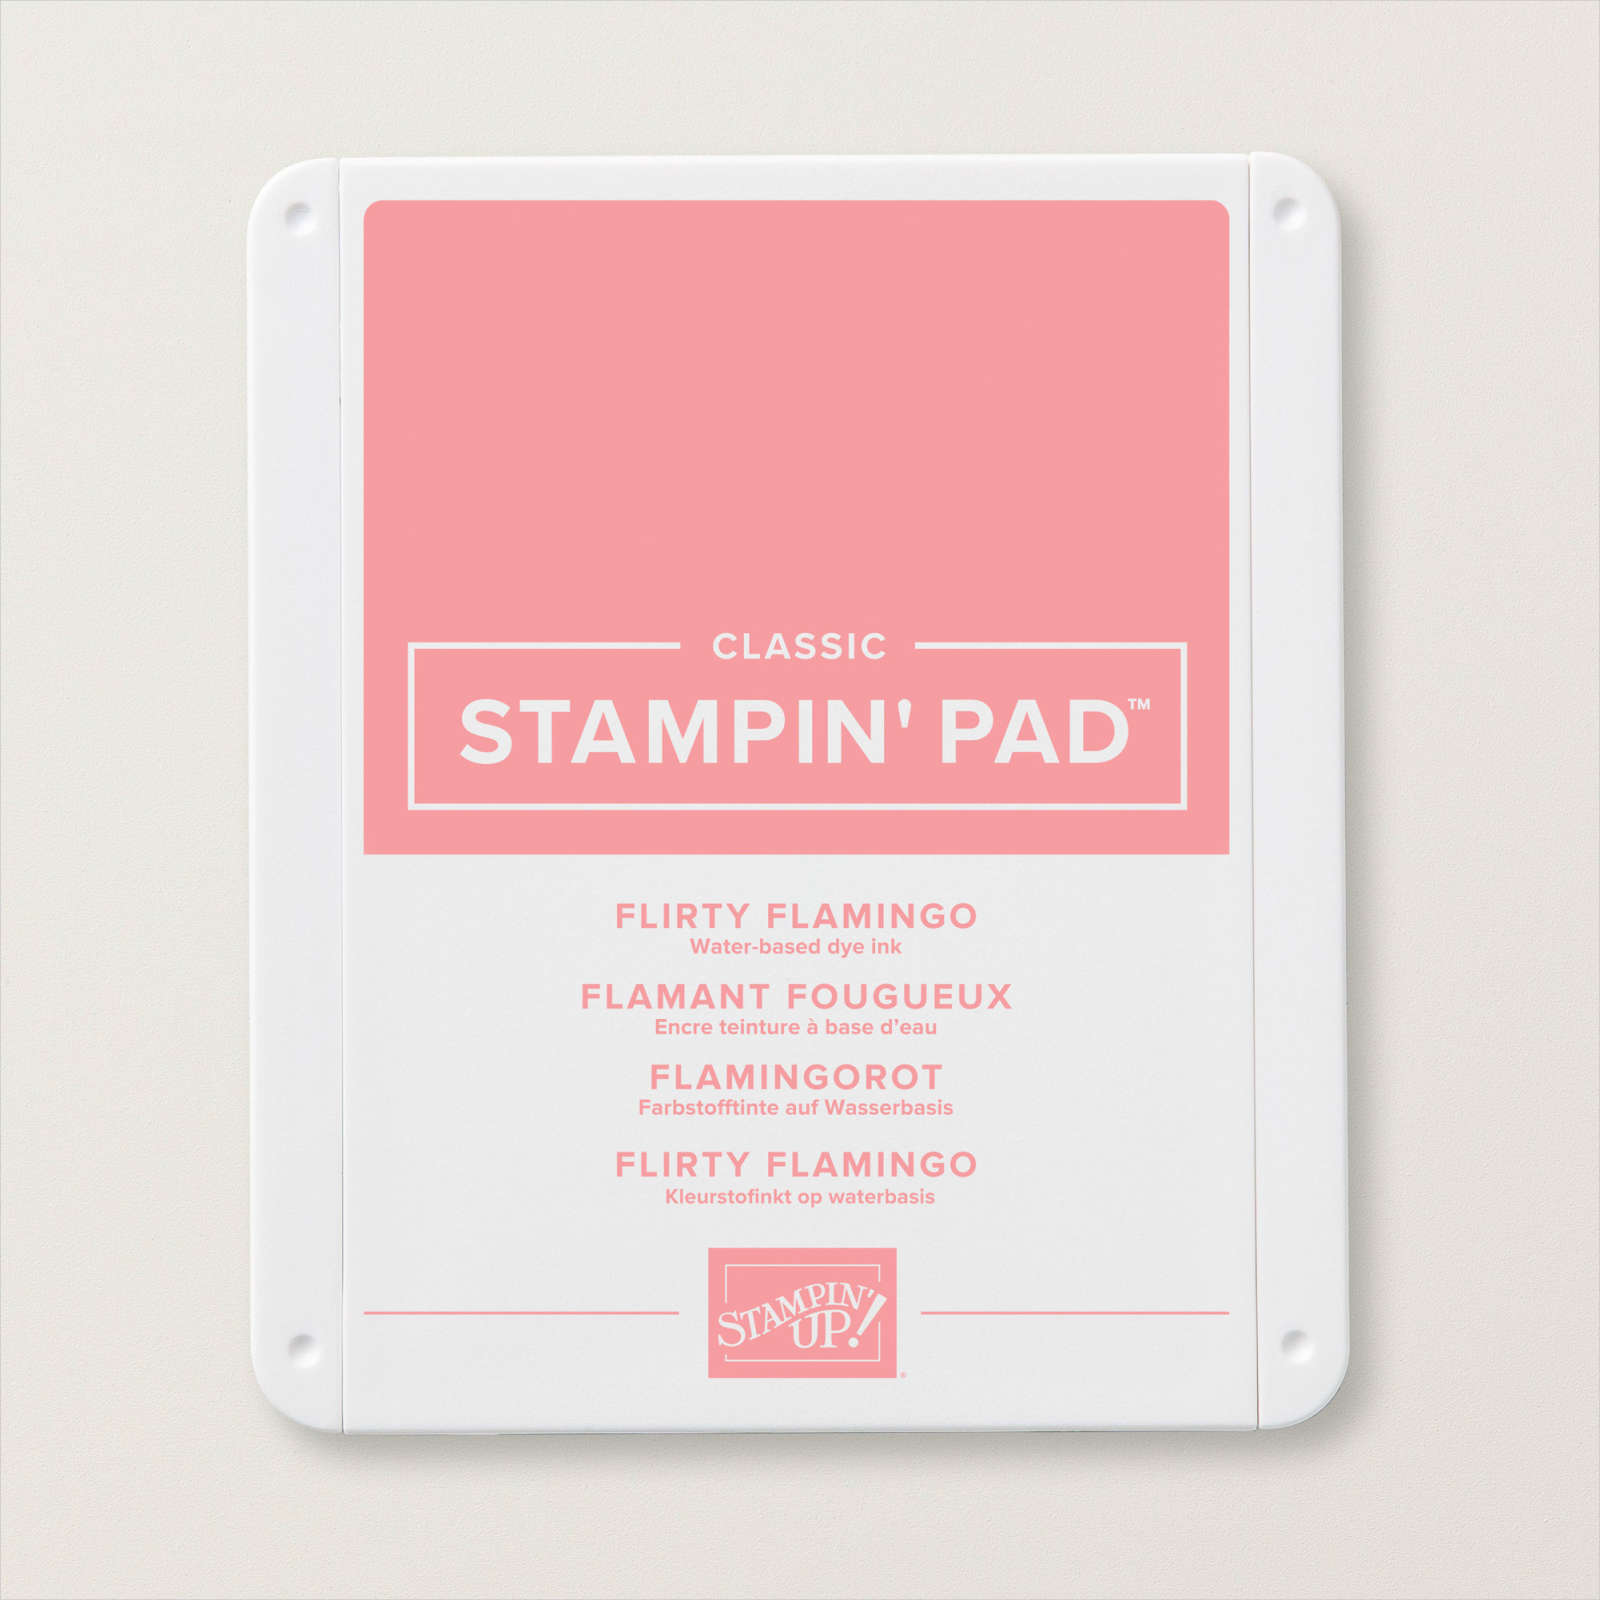
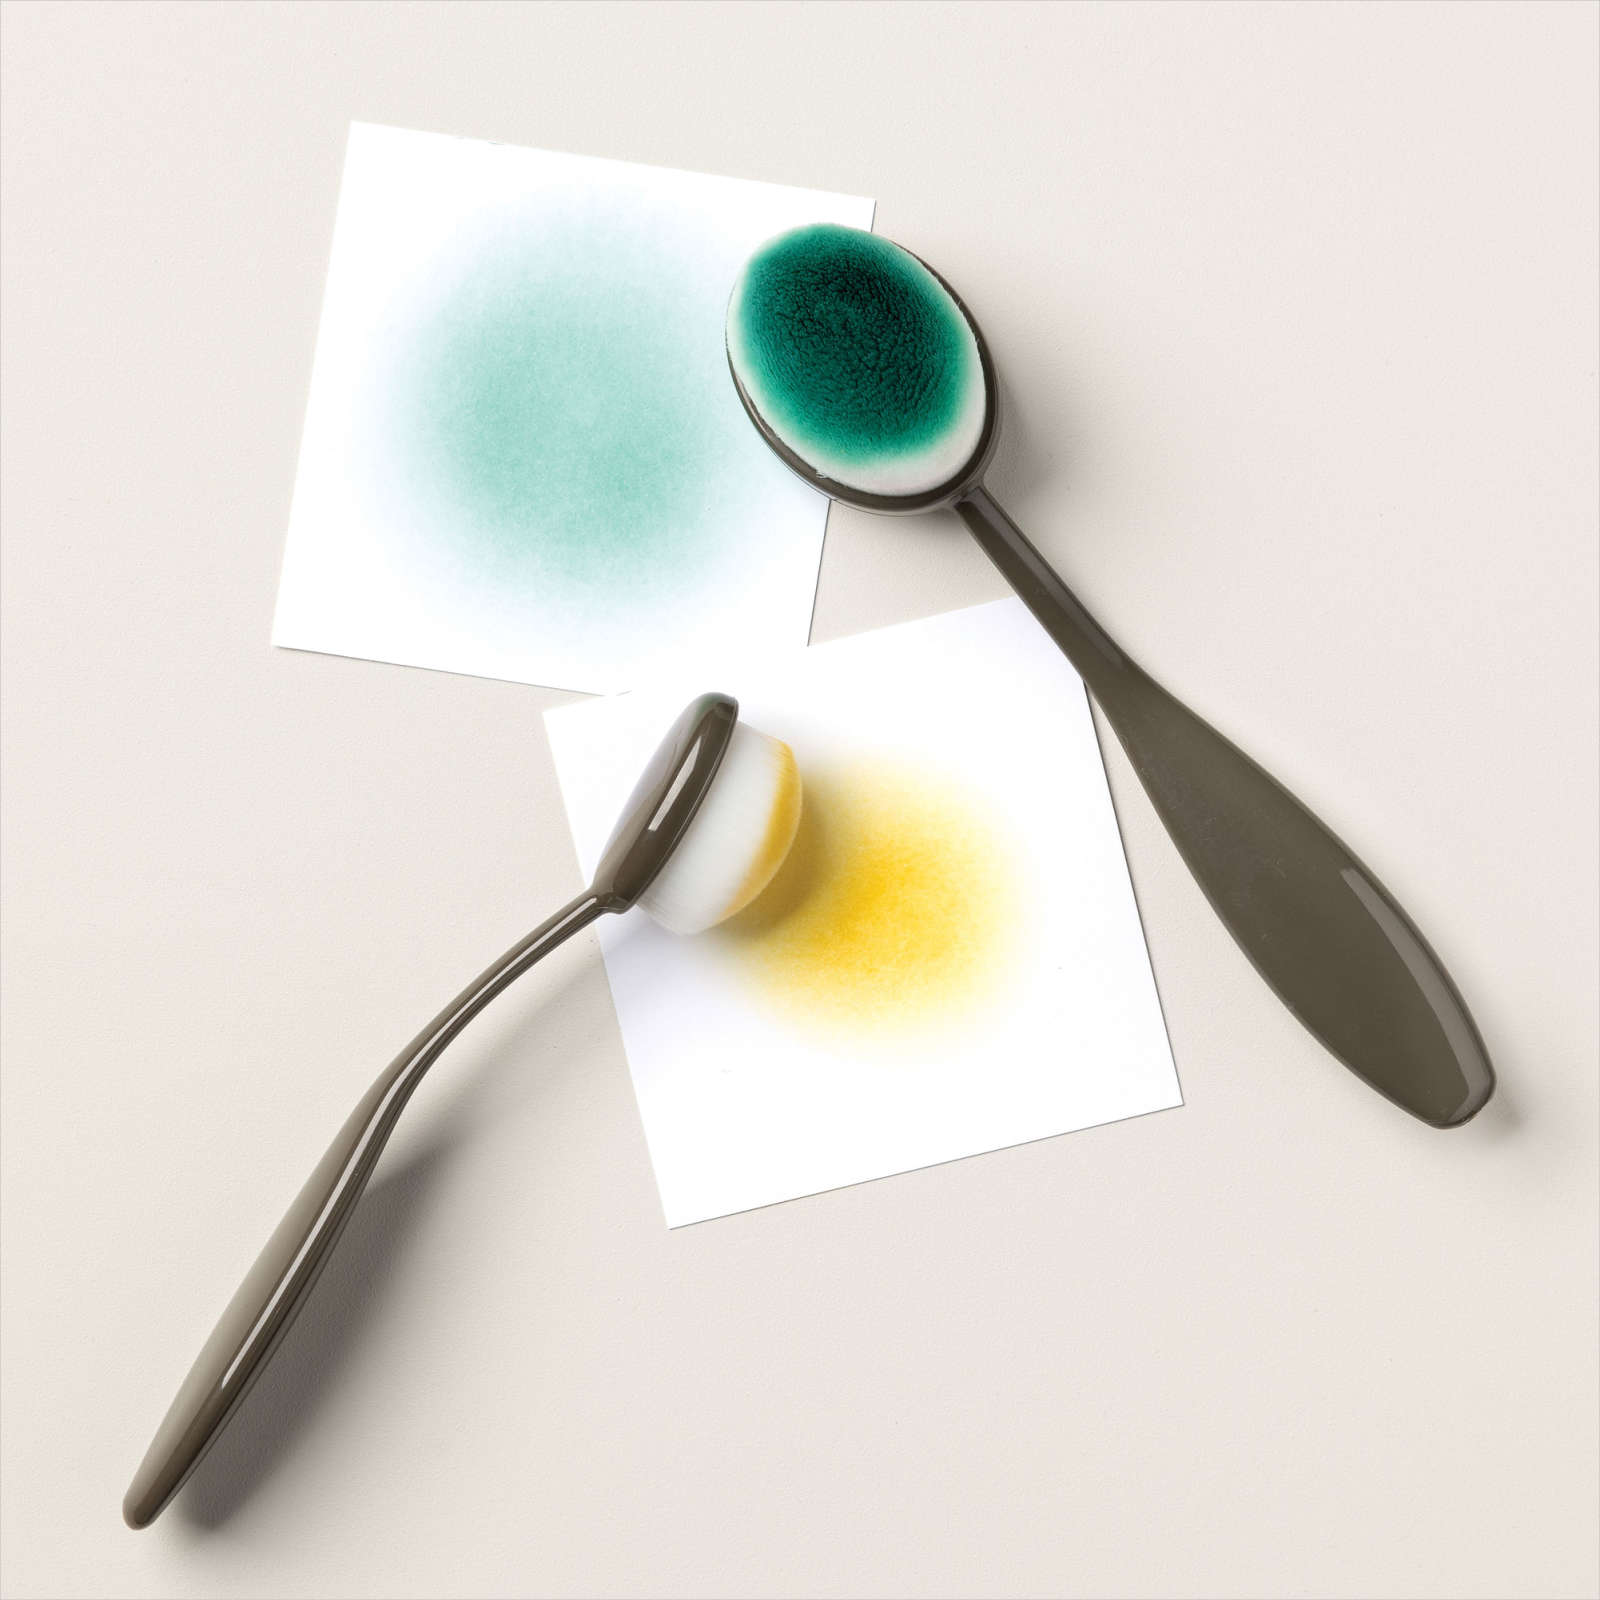
Next, secure the stencil over your white cardstock. I used the larger set of flowers. You can see them in the very bottom right of the picture above. I used my blending brushes to gently add Pale Papaya ink to the two larger flowers and Flirty Flamingo to the two smaller ones. Because these are similar colors, I didn’t worry about covering up the larger flowers. I thought it was okay for the colors to blend a little. Remove the mask.

Butterflies & Flowers Masks Step 1

Step Two

I turned the mask around to line up the detailed flowers on the other end. It’s easiest to line this up by looking at the two smaller flowers. I secured this and used my Blending Brushes to add the same colors to the same flowers – Pale Papaya on the larger flowers and Flirty Flamingo on the smaller flowers. Again, I didn’t worry about overlapping color. Remove the mask.

Butterflies & Flowers Masks Step 2

Step Three

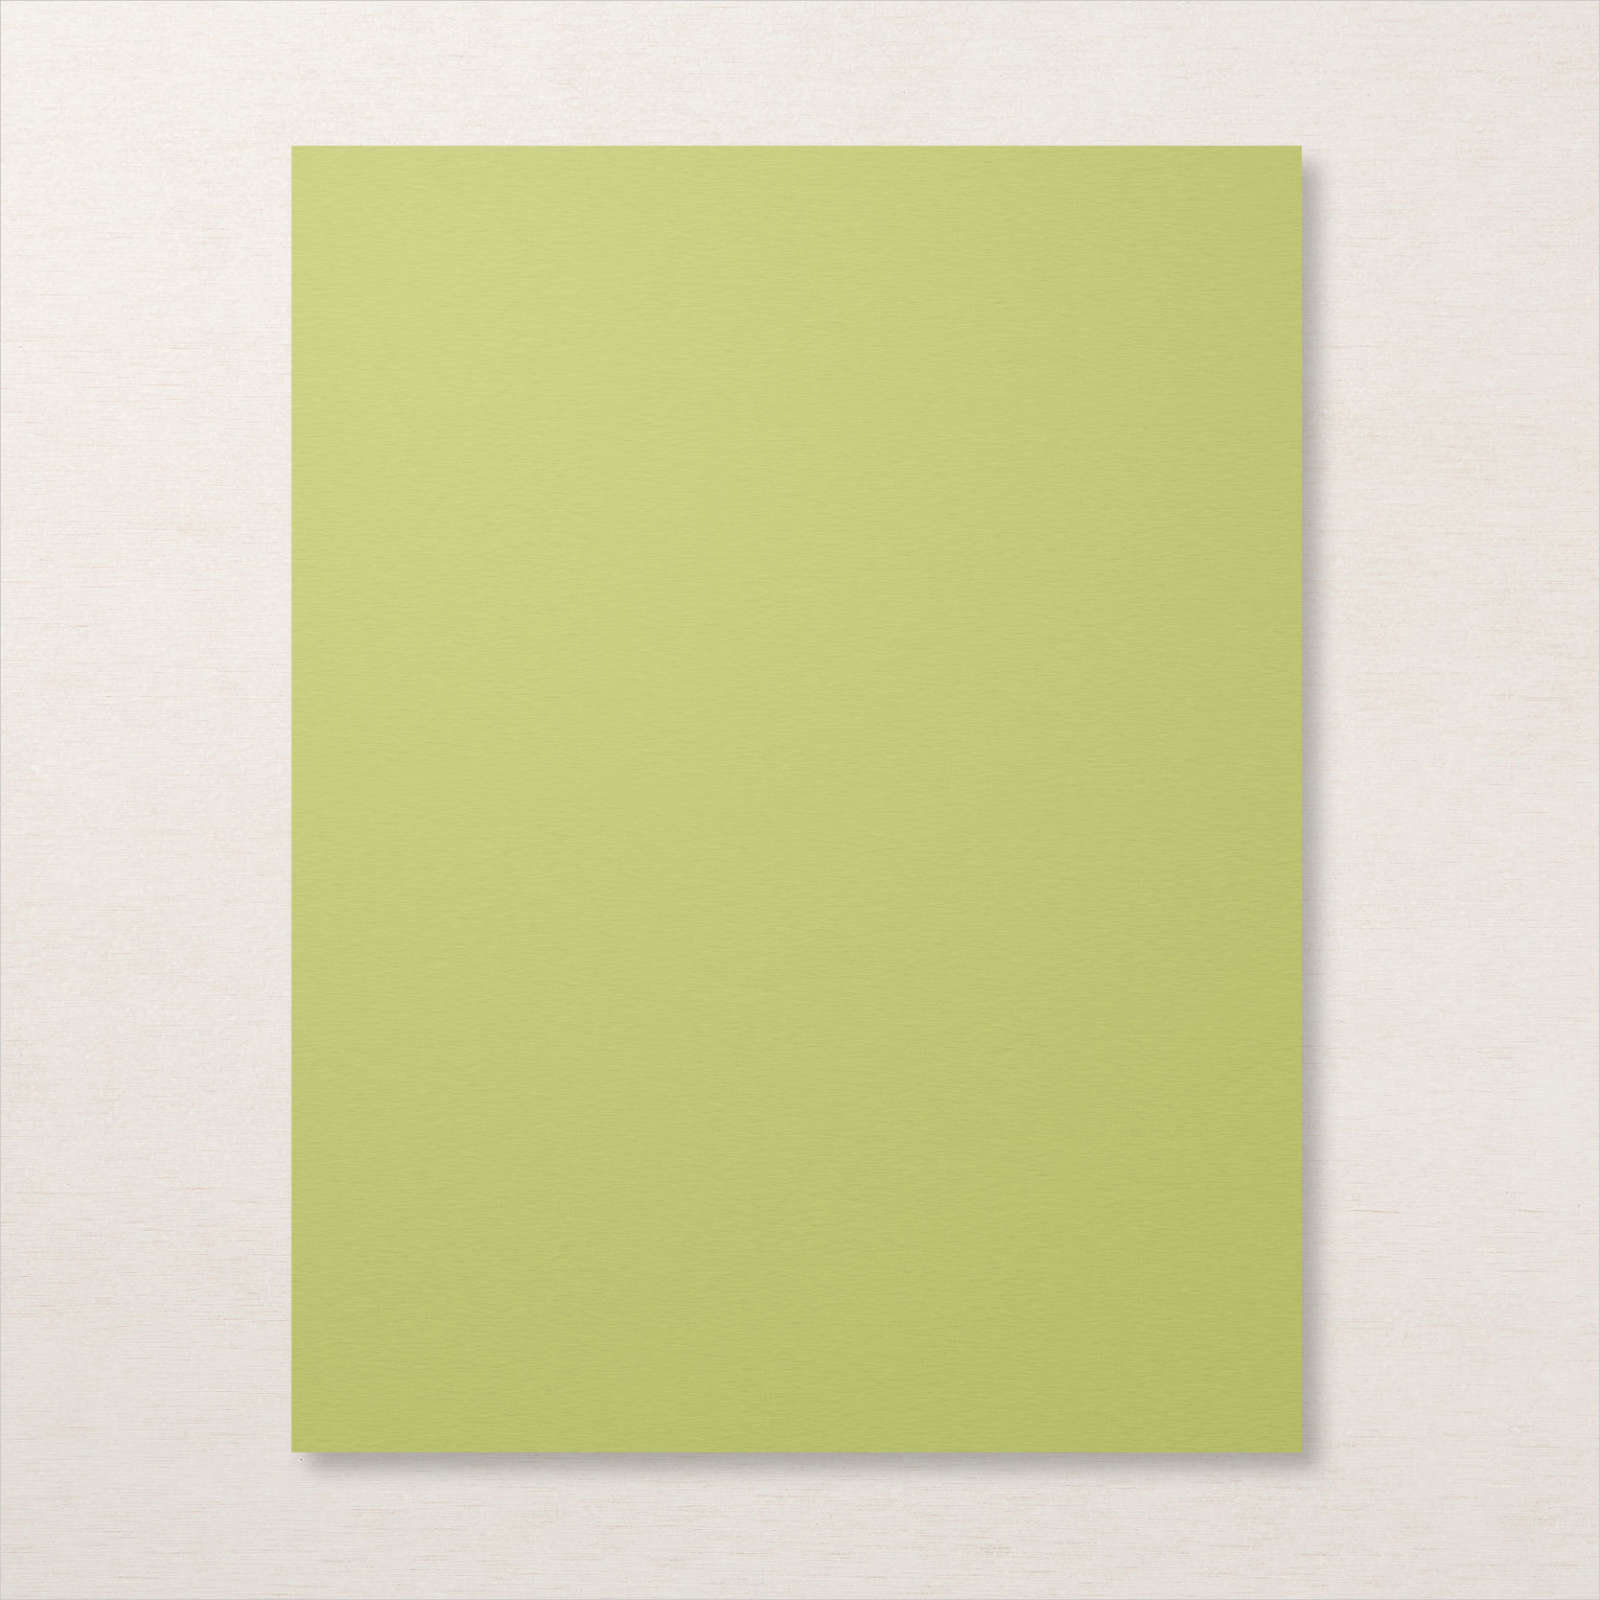
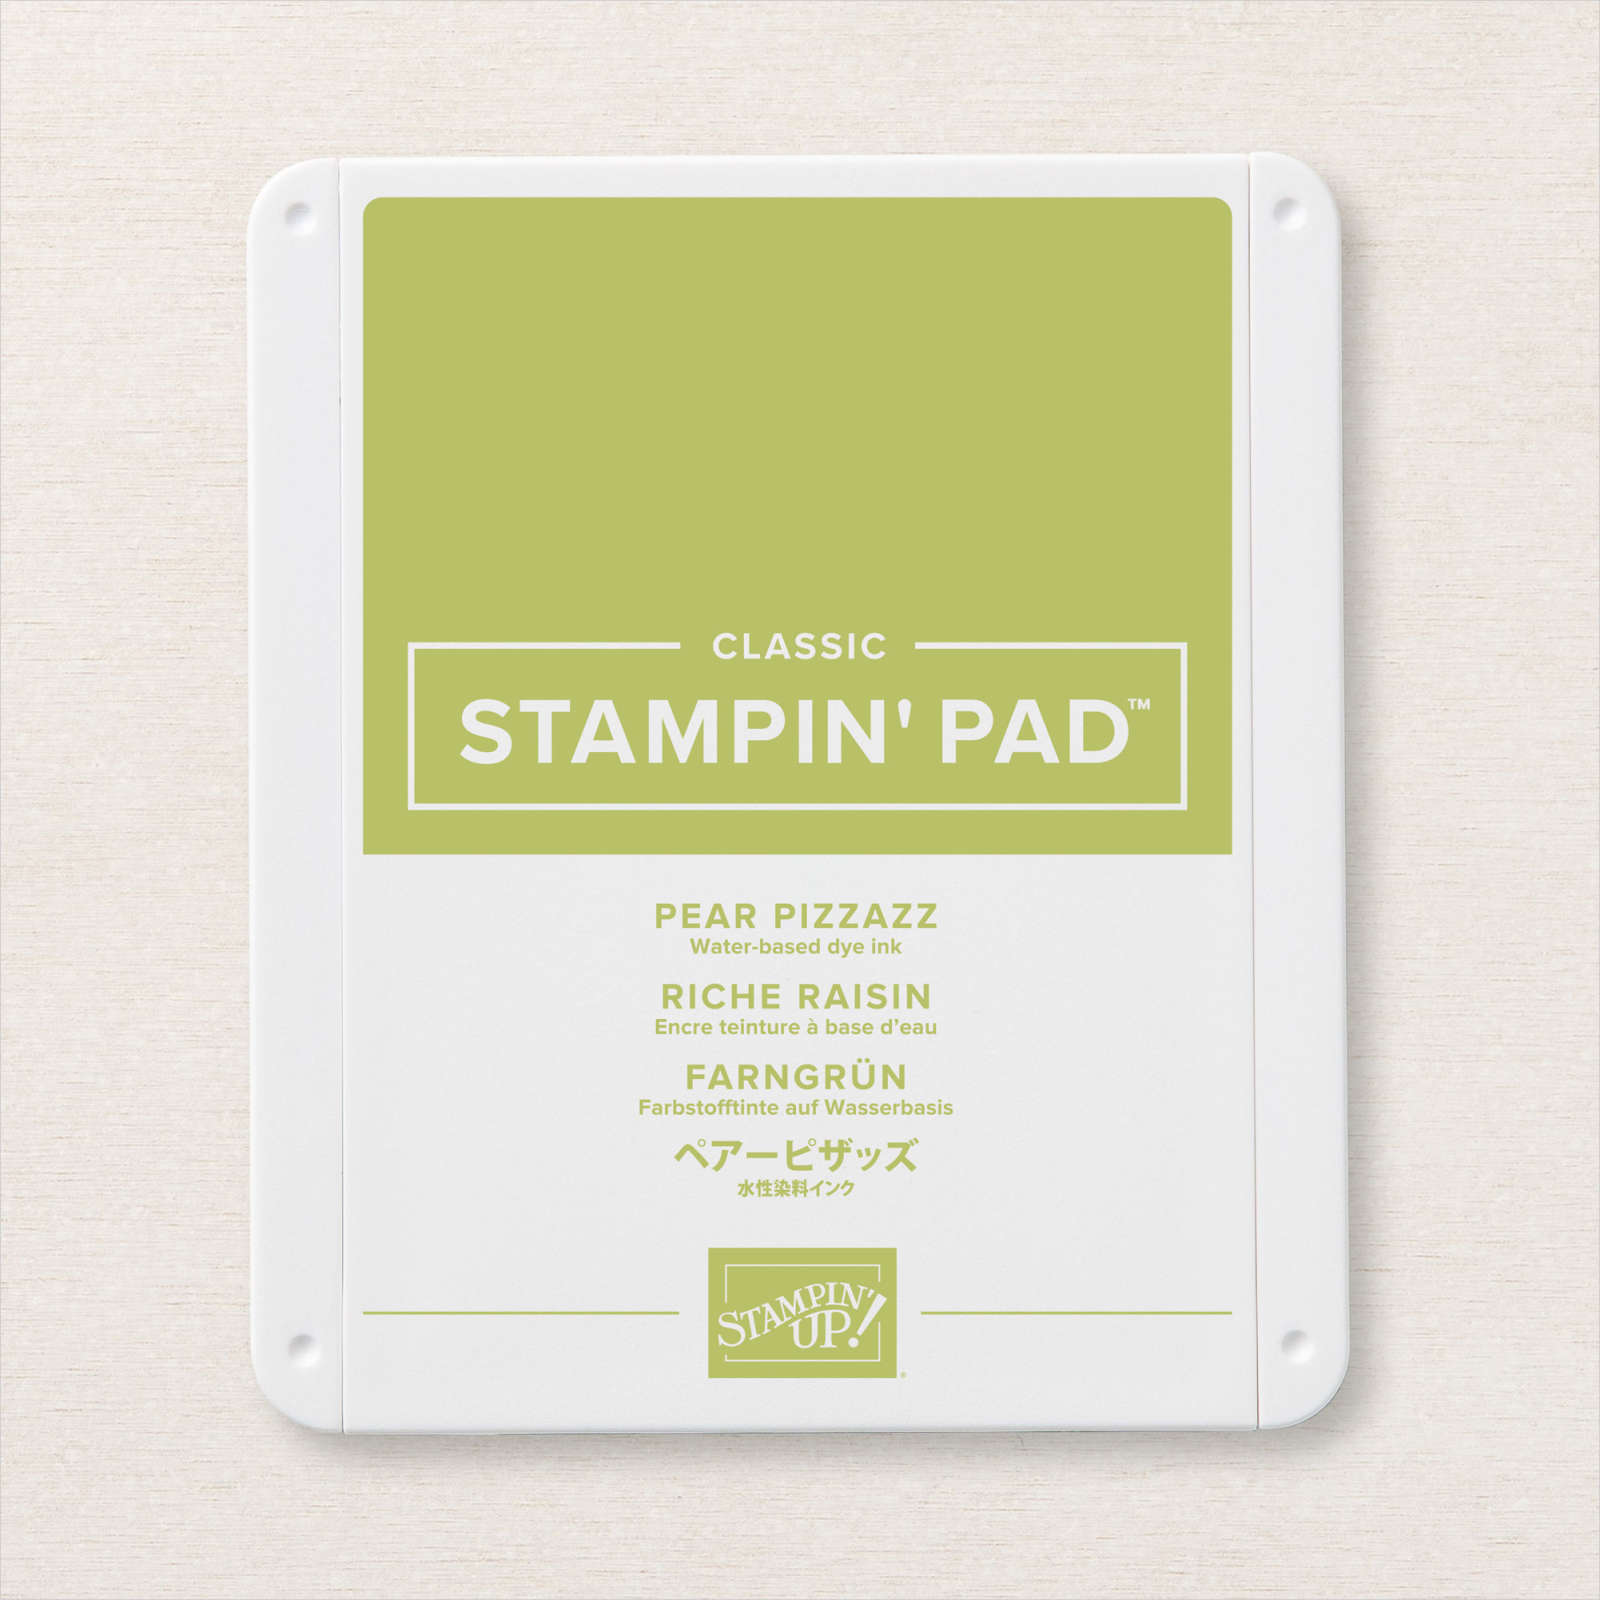
Using the other mask with flowers and leaves, I lined the leaves up with my flowers. Don’t look at the two cut out flowers. They are flowers for other projects. Just look through the mask and you’ll see where the leaves go. Since this is a totally different color, I did NOT want this color to blend, so I used a piece of scrap paper and bits of the tape to cover any areas that I thought I might accidently hit. I learned this by experience. You can see in my photo below that I hit my flower with green ink. I actually had to start over. Use your Blending Brushes to add Pear Pizzazz ink to the leaves. Remove mask.

Butterflies & Flowers Masks Step 3

The Finished Product

I cut out my flowers using a die from the Scalloped Contours Dies set. But I had so much fun with the masks that I decided to add the vines to a background piece. I used the vine stencil and Pear Pizzazz ink to add interest to the Pear Pizzazz panel. I also used the same stencil used for the leaves to add a flower to the inside of my card.

Butterflies & Flowers Masks Card
Butterflies & Flowers Masks Card Inside

Details

I finished off this card with words from the Happy & Heartfelt stamp set, a Pale Papaya bow and Rhinestone Basic Jewels colored with the Flirty Flamingo Blends.

The Fixin’s

Want to Try it?

If you have any questions or need any Stampin’ Supplies, I’d love to be your Demonstrator! You may shop with me by clicking on any of the products above or my 24/7 shopping link at the bottom of the page.

If your order is less than $150, please use the Host Code. If your order is $150 or more, DON’T use the code. You’ve earned FREE PRODUCT!

CURRENT HOST CODE: R6GWDNFP

Thanks for stopping by! I hope you’ll visit again soon.

If you want to be notified when I post a new product, be sure to Subscribe to my Blog. And, while you’re there, sign up for my Newsletter. It contains totally different projects!

In The Moment

In The Moment Lead
FAB Stampers Logo

From Connie

Let’s Get Colouring!

This week the FAB stampers play with colouring. As crafters, we play with colour every time we craft, but there are so many ways to craft it is hard to find time for all of them. Today we play with colouring, while we play with colour, using the In The Moment stamp set!

In The Moment Lead

The In The Moment stamp set has some wonderful line images that are perfect for colouring. It features strong women, and reminds us to take care of ourselves, while we take care of others. A message many of us need to hear from time to time.

In The Moment Window

The Details

I stamped the image with Memento Black Ink, and used the Watercolour Pencils to colour the image. I then coloured over the pencil colouring with a Blender Pen. This smooths out the colouring, and diminishes the ‘pencil crayon lines’, giving a smooth coloured look. The backdrop is Basic Grey cardstock, embossed with the Hive 3D Embossing Folder, and I used White Frayed Ribbon wrapped around the bottom of my card to border my sentiment.

In The Moment Reading

Another Card

The image on this card was coloured the same way as the first one, using Watercolour Pencils and Blender Pens. I cut the image and a scalloped frame using the Layering Circles Dies. The sentiment and frame are punched with the Everyday Label Punch. The backdrop on this card is some of the 2021-2023 6 x 6 In Colour Designer Series Paper. I used Pale Papaya Open Weave Ribbon and Clear Rhinestone Basic Jewels to embellish the card.

In The Moment Both

The fixin’s

Need Supplies:

If you’re in Canada, please visit Connie’s blog HERE to shop with her or attend one of her many fun events.

If you’re in the USA, I’d love for you to shop with me by clicking on any of the products above, or the shopping link below.

CURRENT HOST CODE: R6GWDNFP

Thanks for stopping by!