Another Happy New Year Case
This week, Connie challenged me to CASE a card from the current Annual Catalog. She picked this card, which can be found on page 111, and I’ll be using the Friendly Hello Bundle for my card.

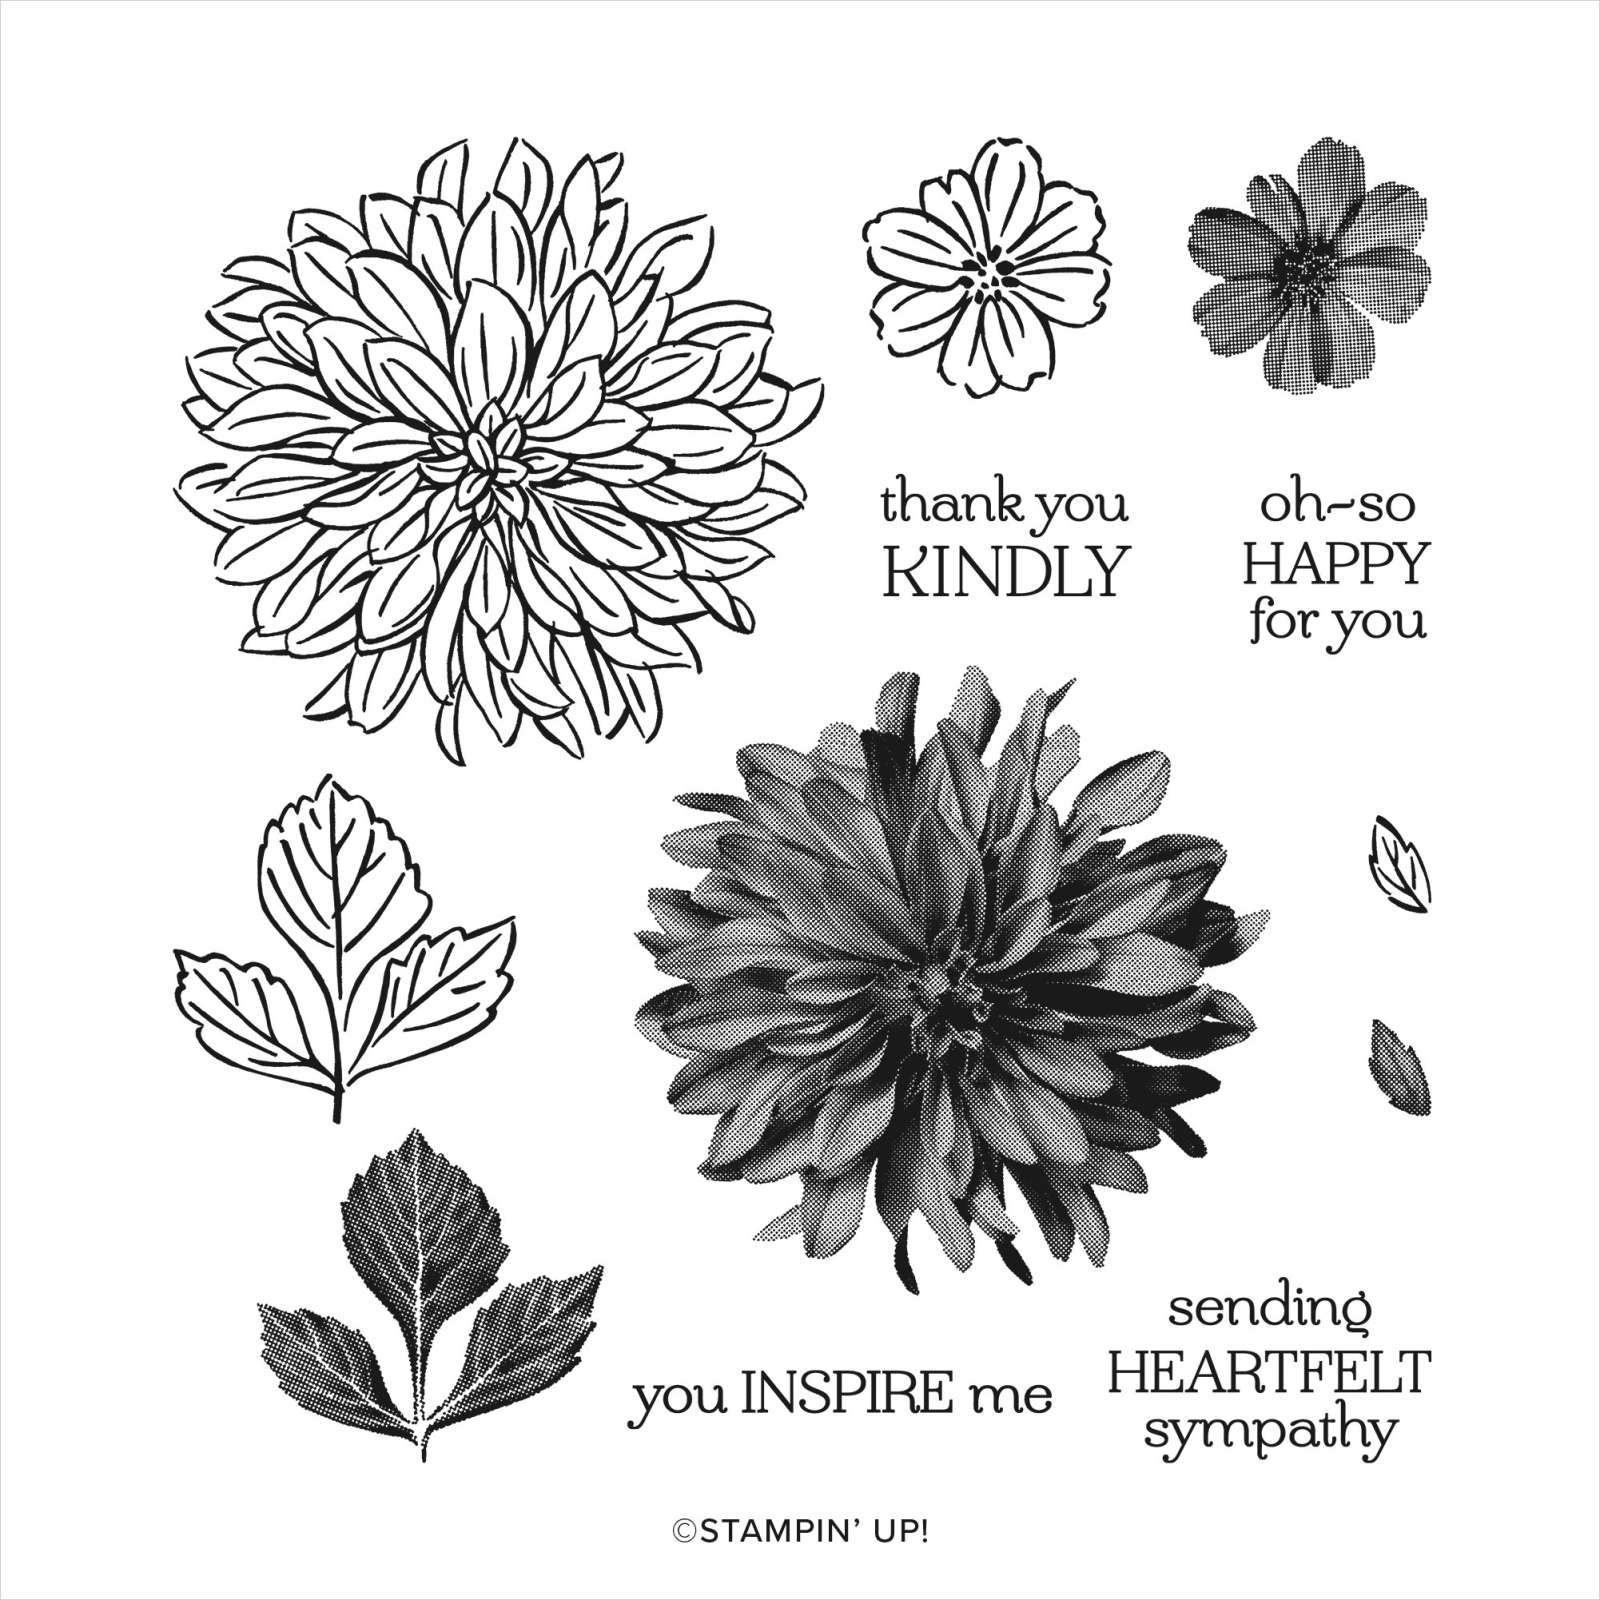
Friendly Hello Bundle

I chose to use the Friendly Hello bundle from the new Sale-a-bration brochure, which goes LIVE on January 4th. This bundle contains a stamp set and coordinating DSP. You can get this bundle FREE with a qualifying order during January and February!
Hello Friend CASE

I used colors included in the Friendly Hello DSP. I chose Fresh Freesia for my card base, which is 5 ½” x 8 ½”, folded in half.
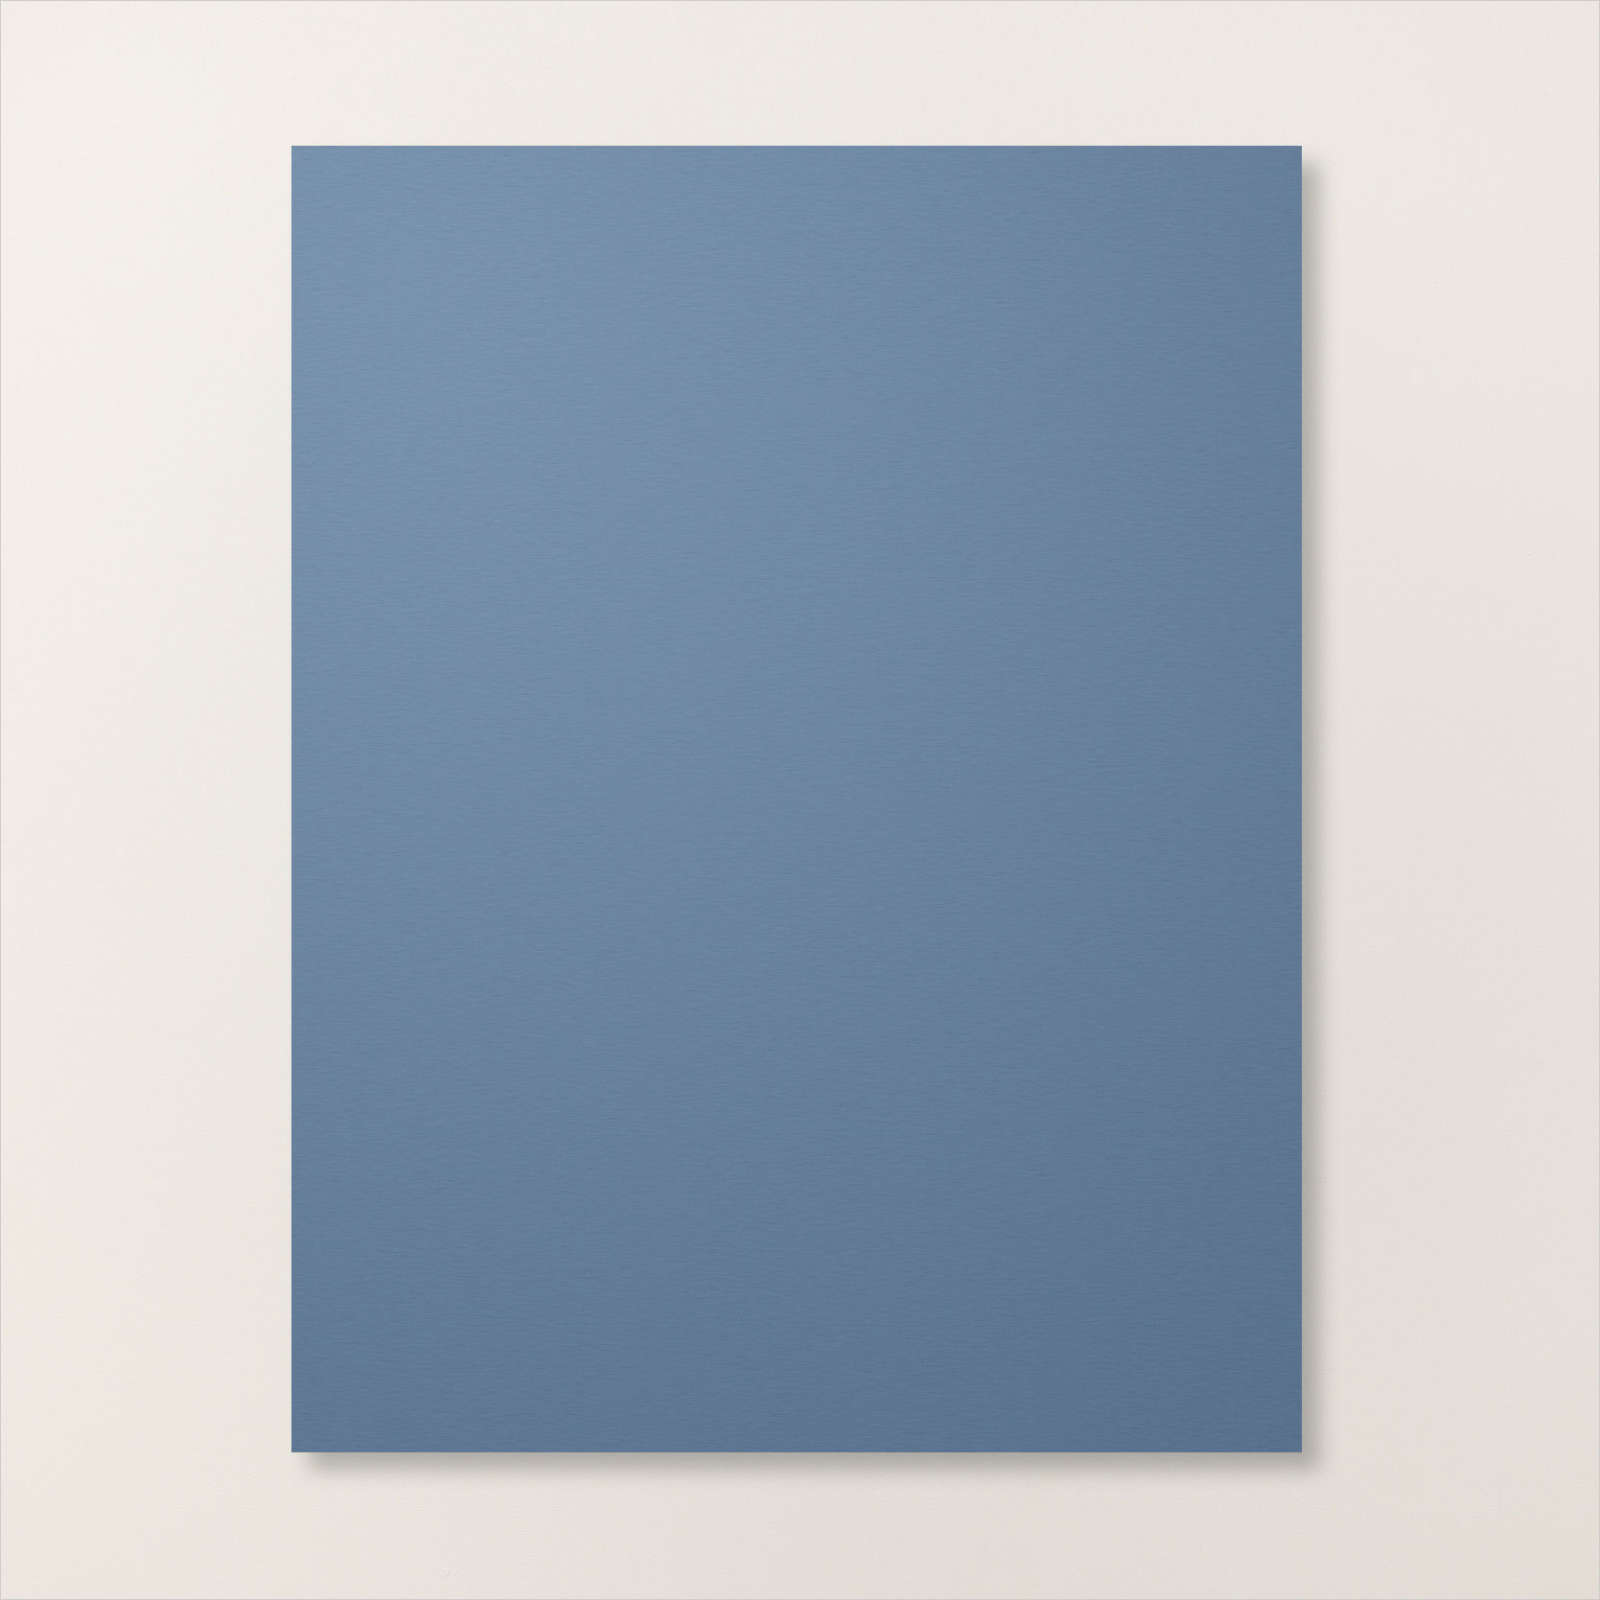
Instead of layering strips directly on the card base like the sample, I chose to add an extra panel of Shaded Spruce, cut to 4” x 5 ¼”. The strips of DSP measure 1 ¼” x 5 ¼”, 5/8” x 5 ¼”, and 1” x 5 ¼”, and are adhered directly onto the Shaded Spruce Panel. This panel is adhered to the card base.
Details

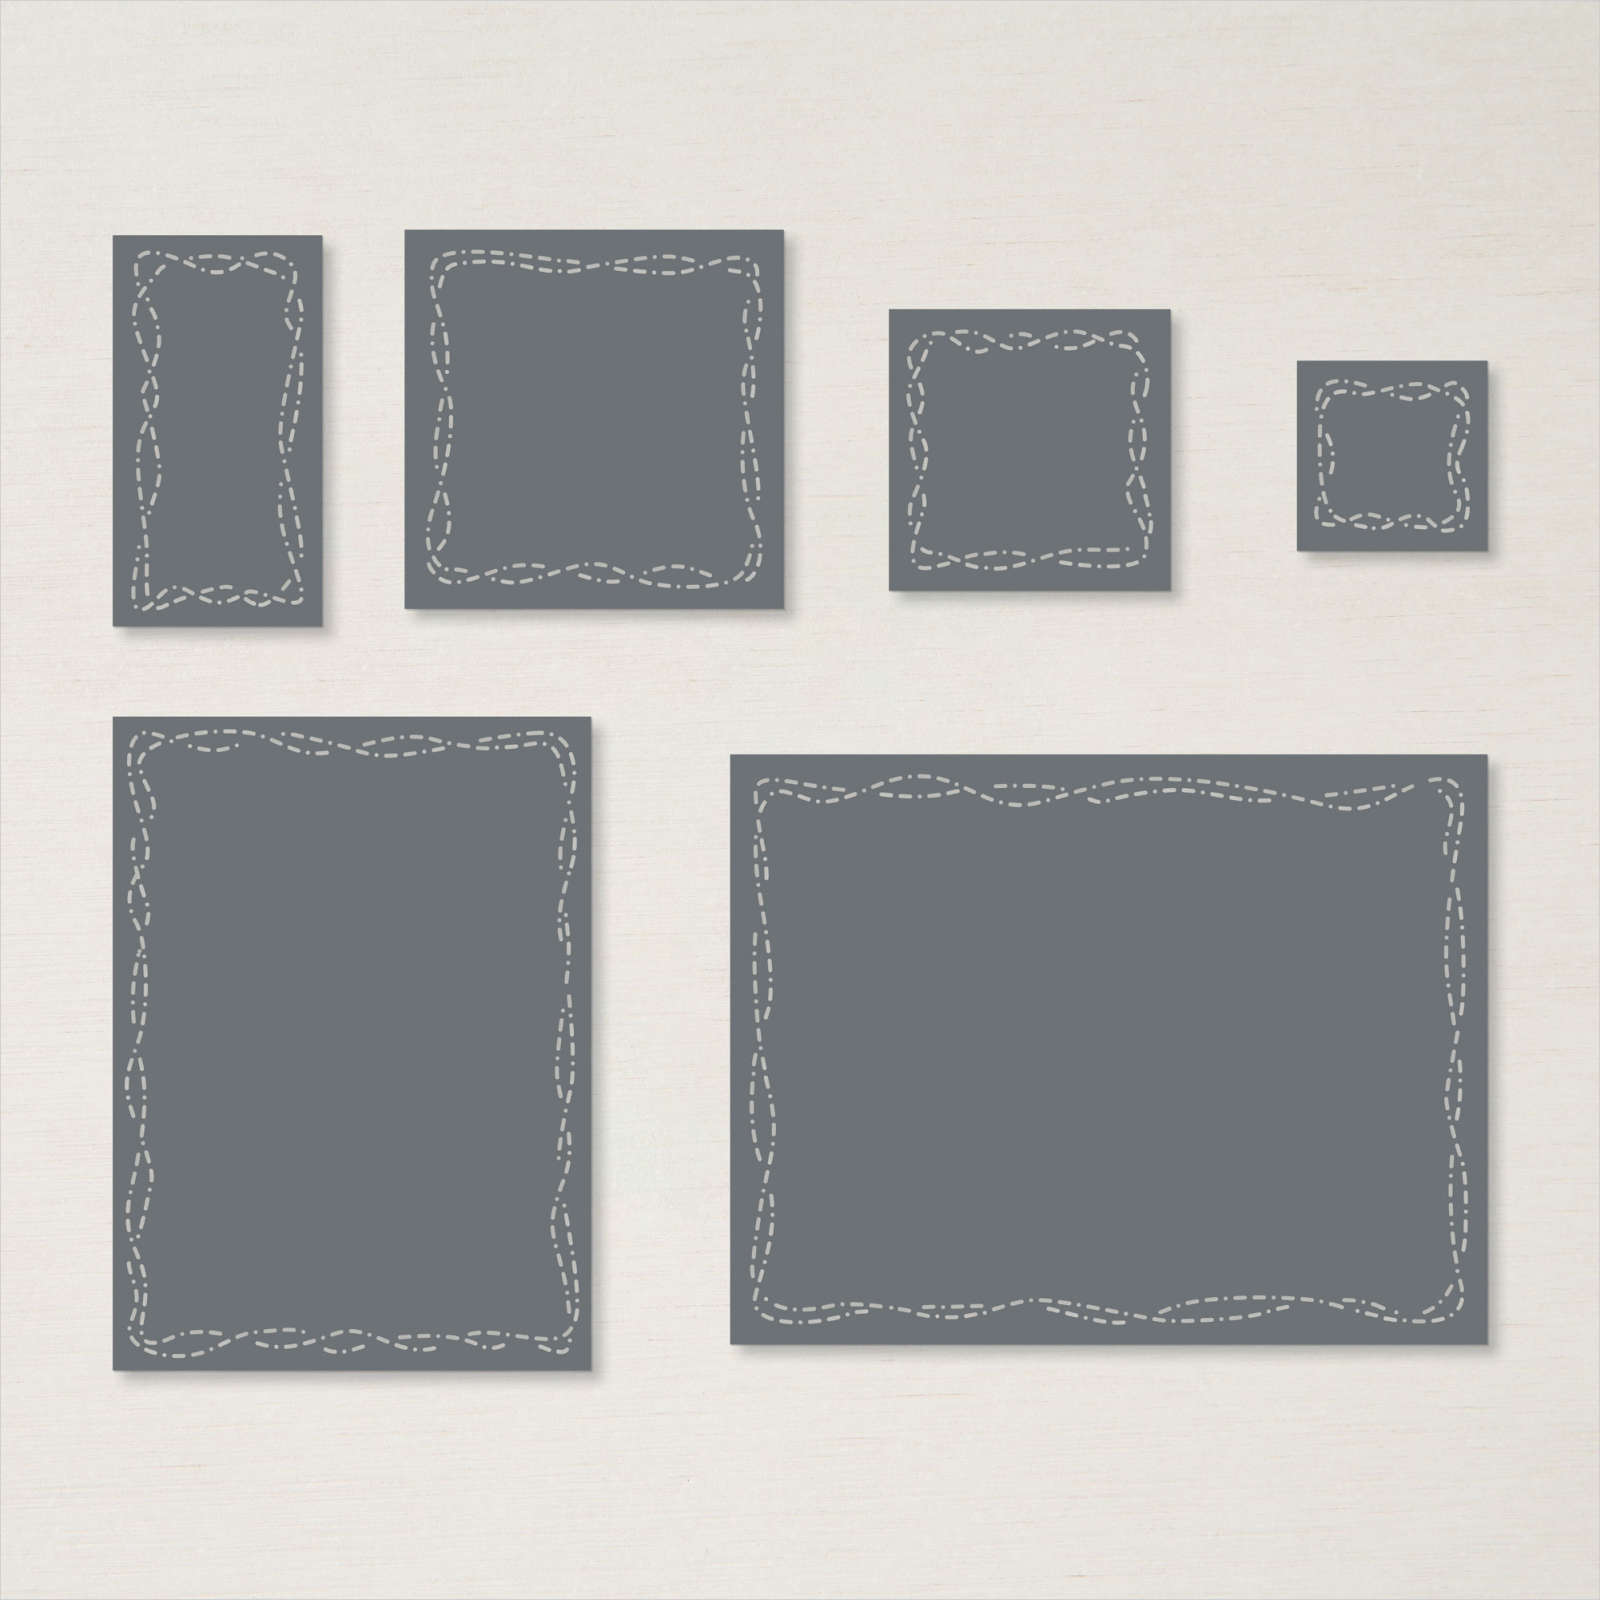
I stamped the Hello friend greeting in Shaded Spruce on Basic White and cut it out using a die from the Stitched Rectangles Die. Then, I used the next largest die in the same set to cut a Shaded Spruce rectangle. I ran Stampin’ Seal just in the center of the Shaded Spruce rectangle, folded a piece of Fresh Freesia ribbon and adhered it to the rectangle. Then, I used Dimensionals to pop up the greeting over the ribbon.
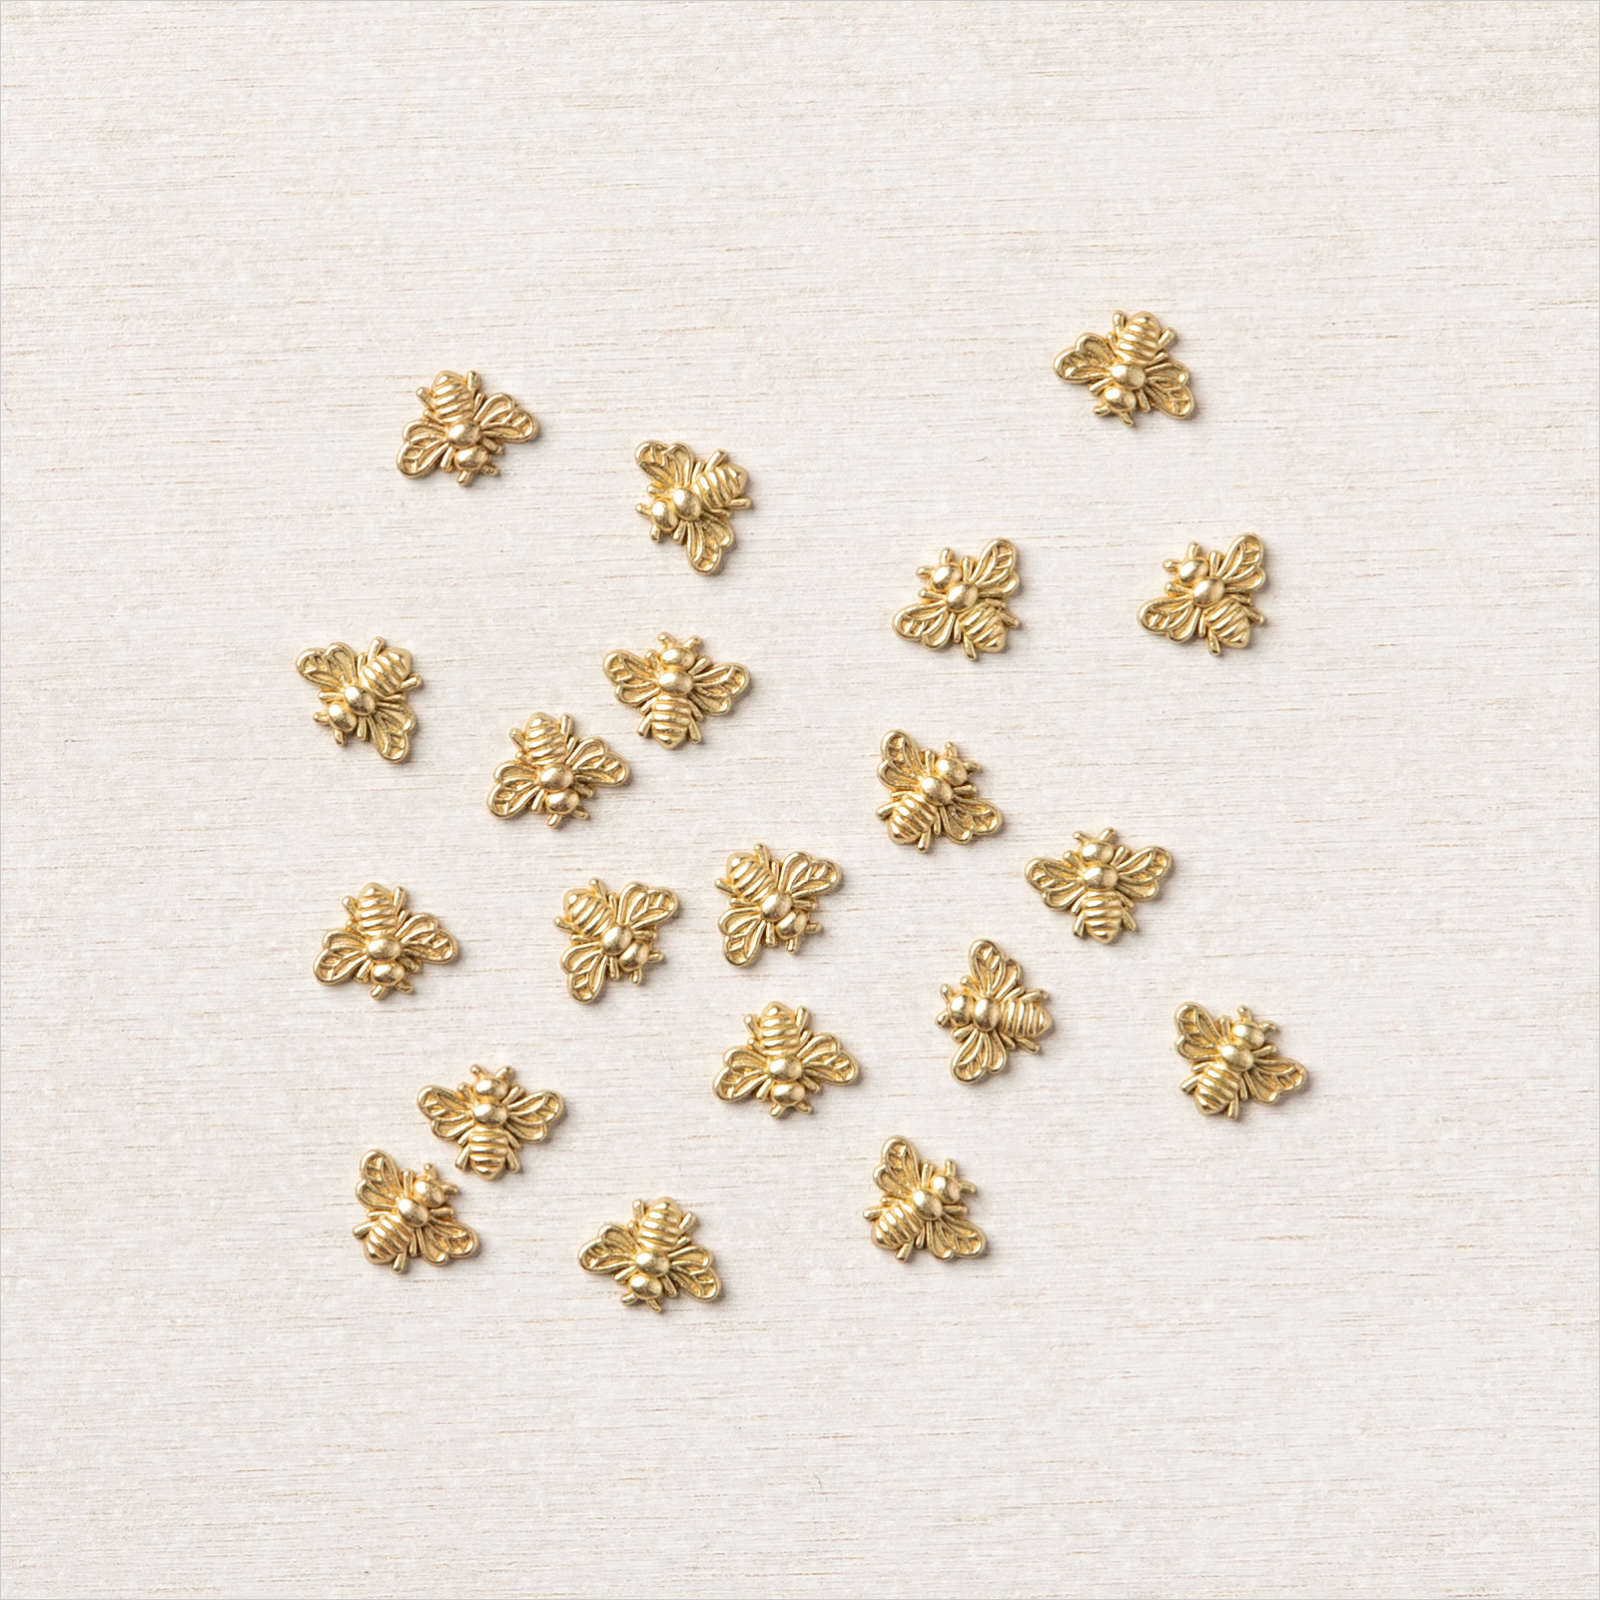
The Shaded Spruce rectangle was adhered directly over the DSP. Of course, no project is complete without a little bling, so I added three Loose Flower Flourishes to finish it off.
The fixin’s


Thanks for visiting
You can see how different my card is from Connie’s, even though we used the same card sample as inspiration!
If you’re in the USA, and need a demonstrator, I’d love to help in any way I can. And, if you’d like to BE a demonstrator, I’d love to have you on my team.
Shopping
If you’re in Canada, please visit Connie’s blog and shopping link here.
If you’re in the USA, you may shop with me by clicking on any of the products listed above, or on my Shopping link below. Please use the following Host Code. THANK YOU!!