It’s time for another FAB Stampers post. Today, I’ll be sharing two Valentine projects made with the Sweet Conversations Bundle.
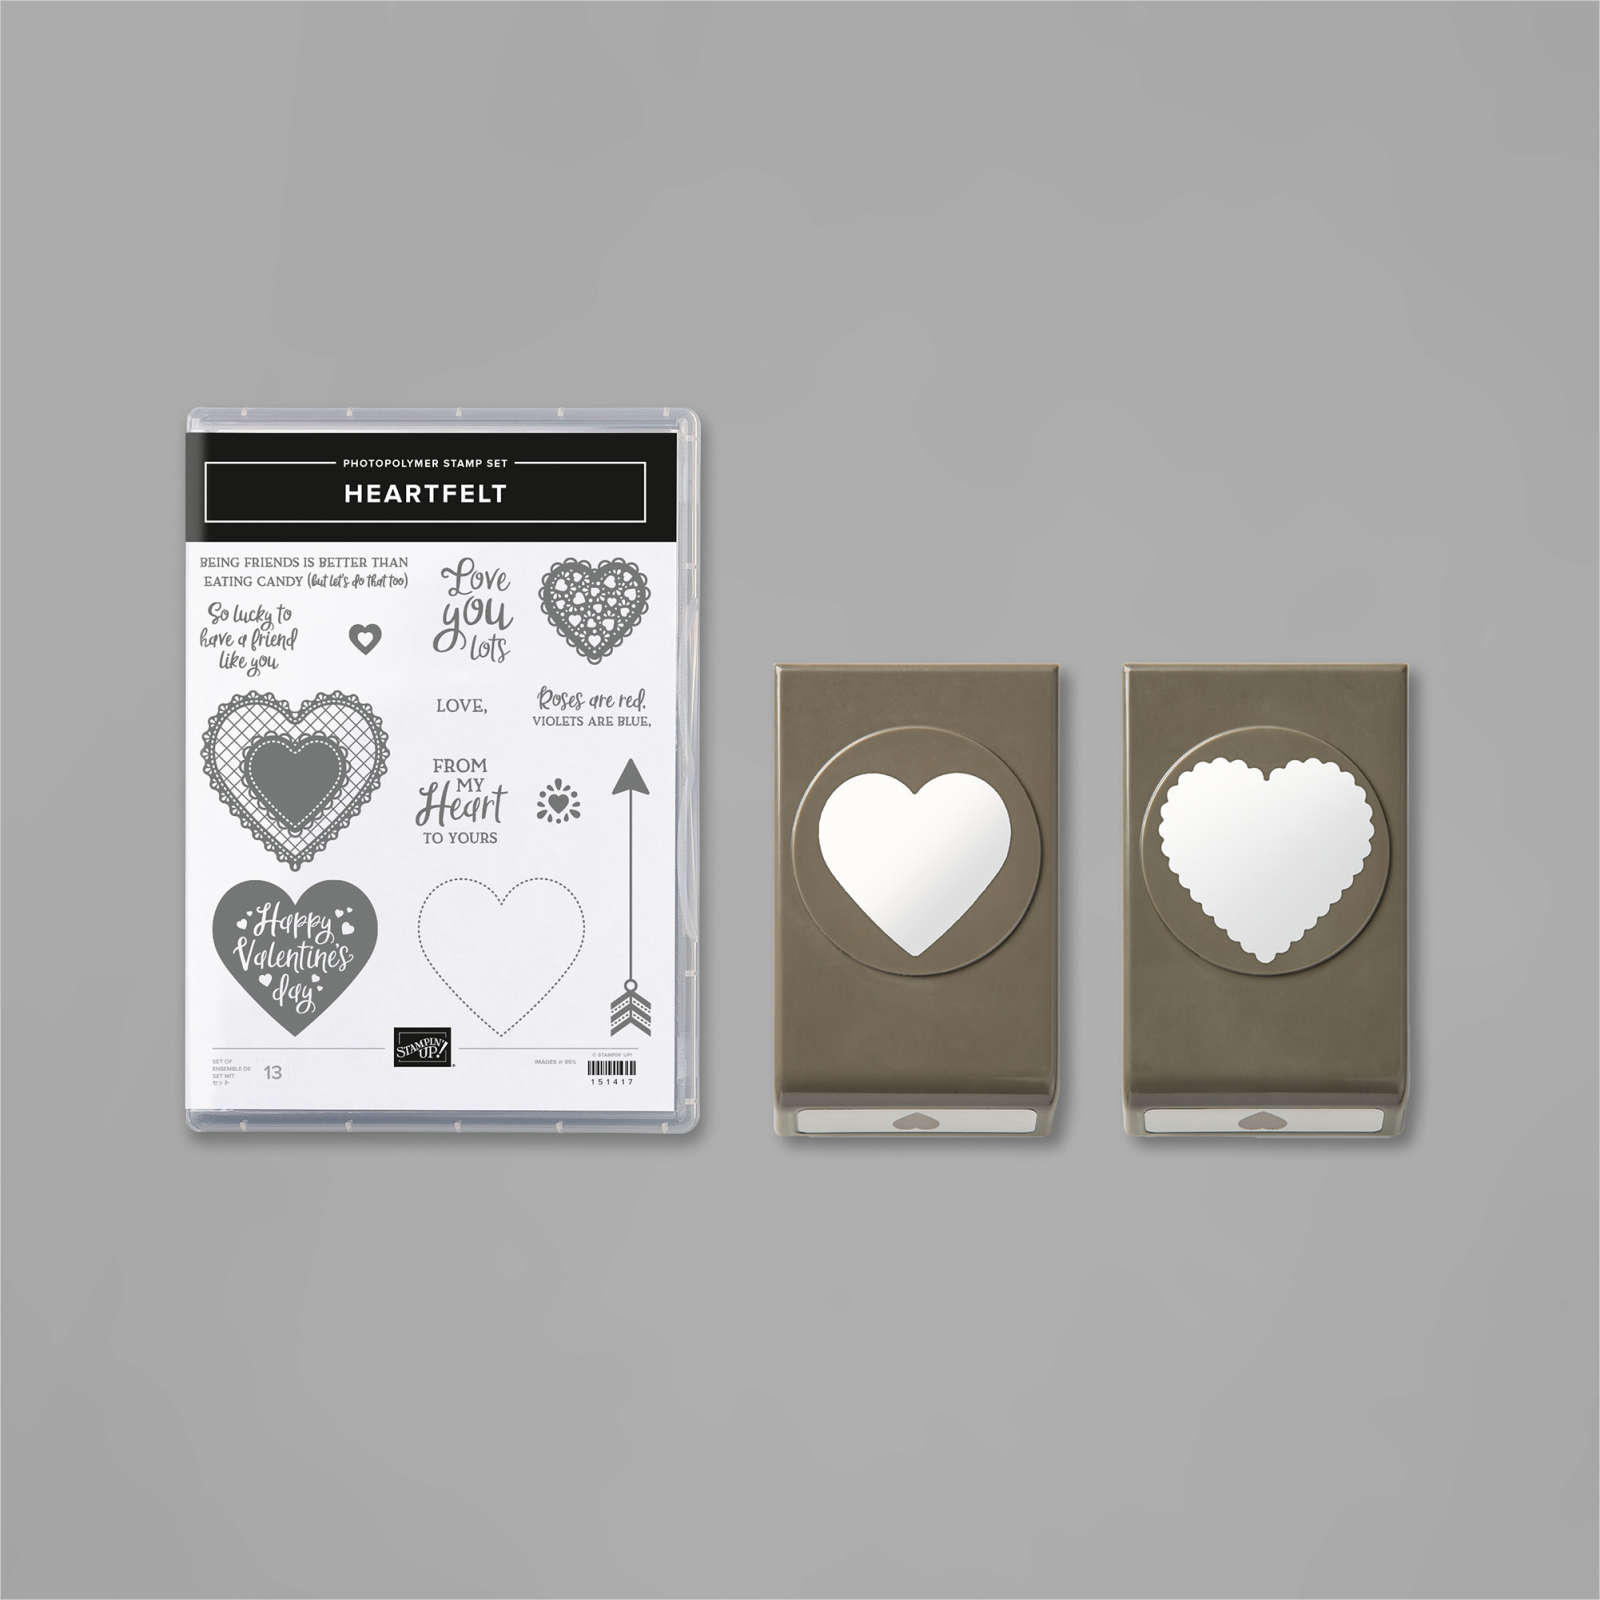
Sweet Conversations Bundle
For today’s projects, I’ll be using the Sweet Conversations bundle and EVERY SINGLE PRODUCT in the Sweet Talk Suite on page 8 and 9 of the 2022 January-June Mini Catalog. This is a great suite of products for all your Valentine needs!

Sweet Conversations Book Fold Card
This is called a book fold card because the left side is a “spine” that doesn’t open. It’s a simple card to make. Cut a Highland Heather card base to 4 1/4″ x 11″ and score at 5 1/2″ and 6 3/4″. Fold in half on the 5 1/2″ score line and then fold the front back on the second score line. Place glue or adhesive on the inside of the card BETWEEN the two score lines, close the card and press. This will create the “spine” of the card.

Details and a Paper Saving Tip!
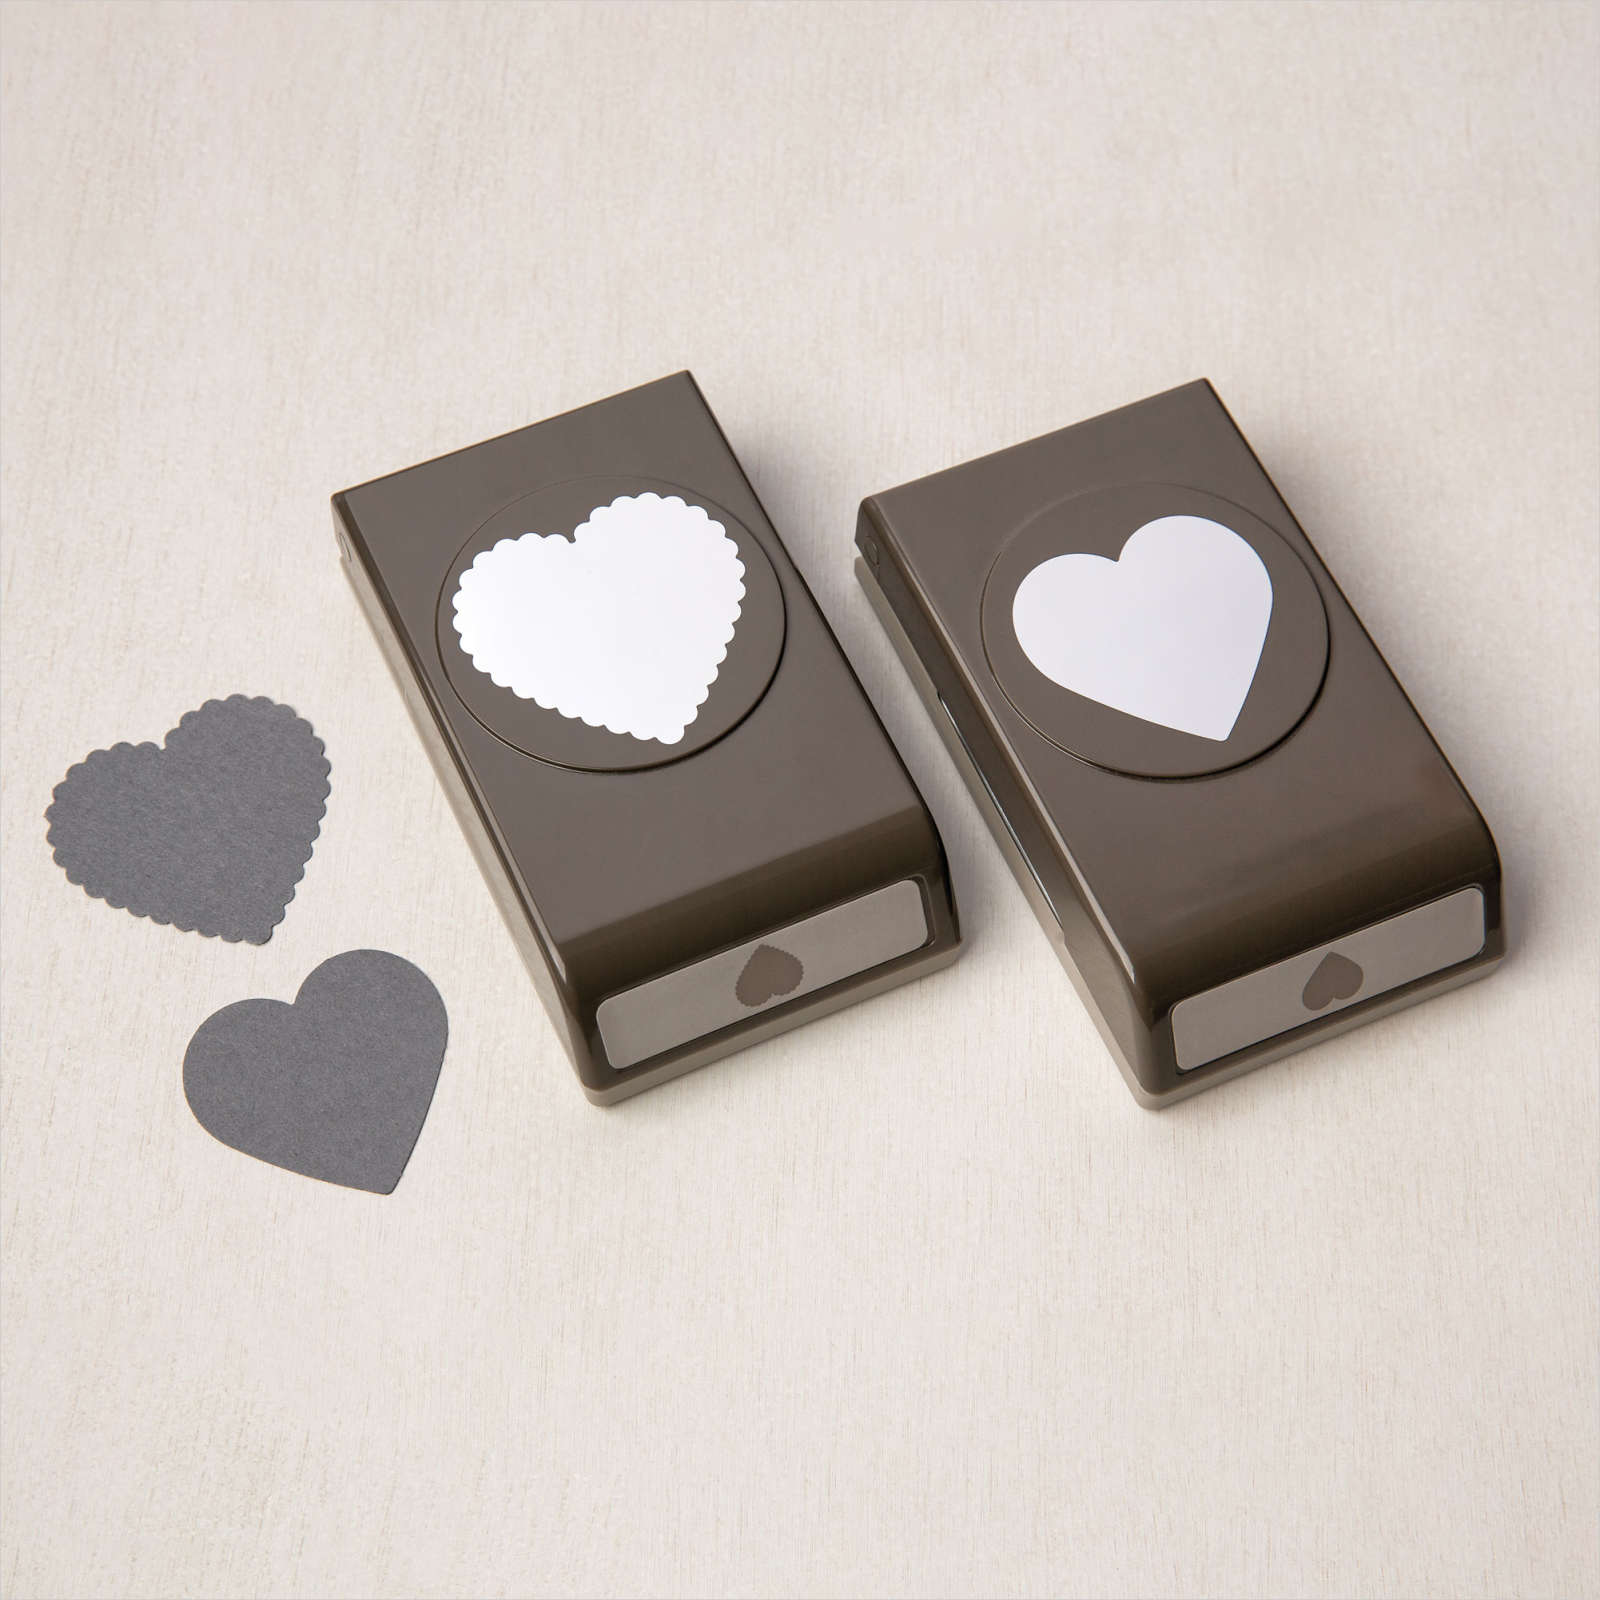
I took a 4″ Real Red square and cut EVERY SINGLE red cardstock element in BOTH of these projects from that square. The string of hearts (which also gives you six small red hearts) and the three hearts on the treat box are ALL cut from this 4″ square! The 4″ square is adhered to the card front and covered with a 3 3/4″ square of Basic White embossed with the Gingham Embossing Folder. If you could lift that white panel, you’d see that the red panel is full of holes! Just stay away from the edges when you cut out your pieces and NO ONE will ever know unless they disassemble your card, and then they’ll just know how smart you are!
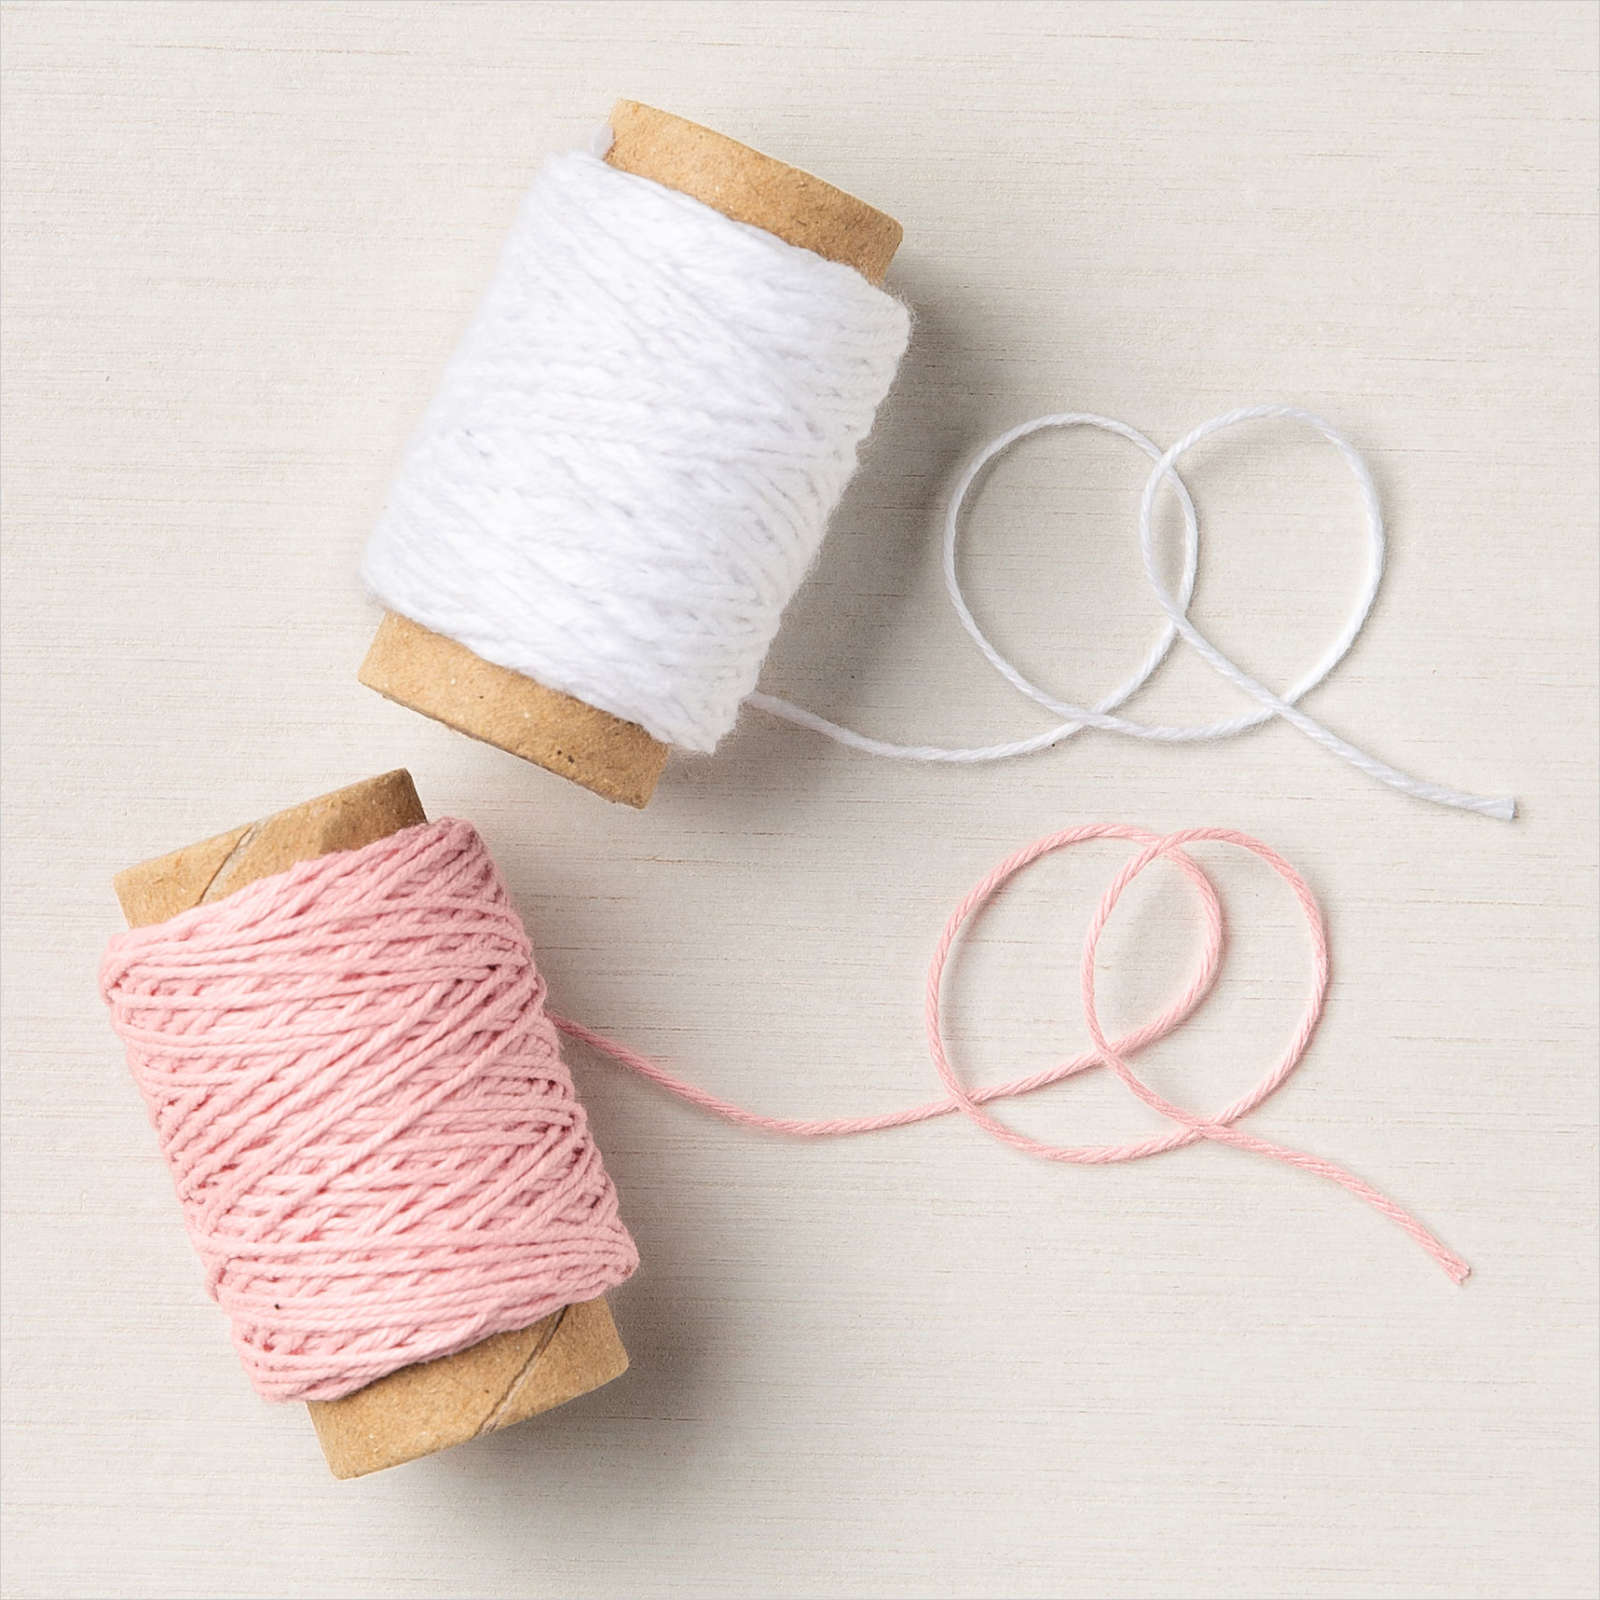
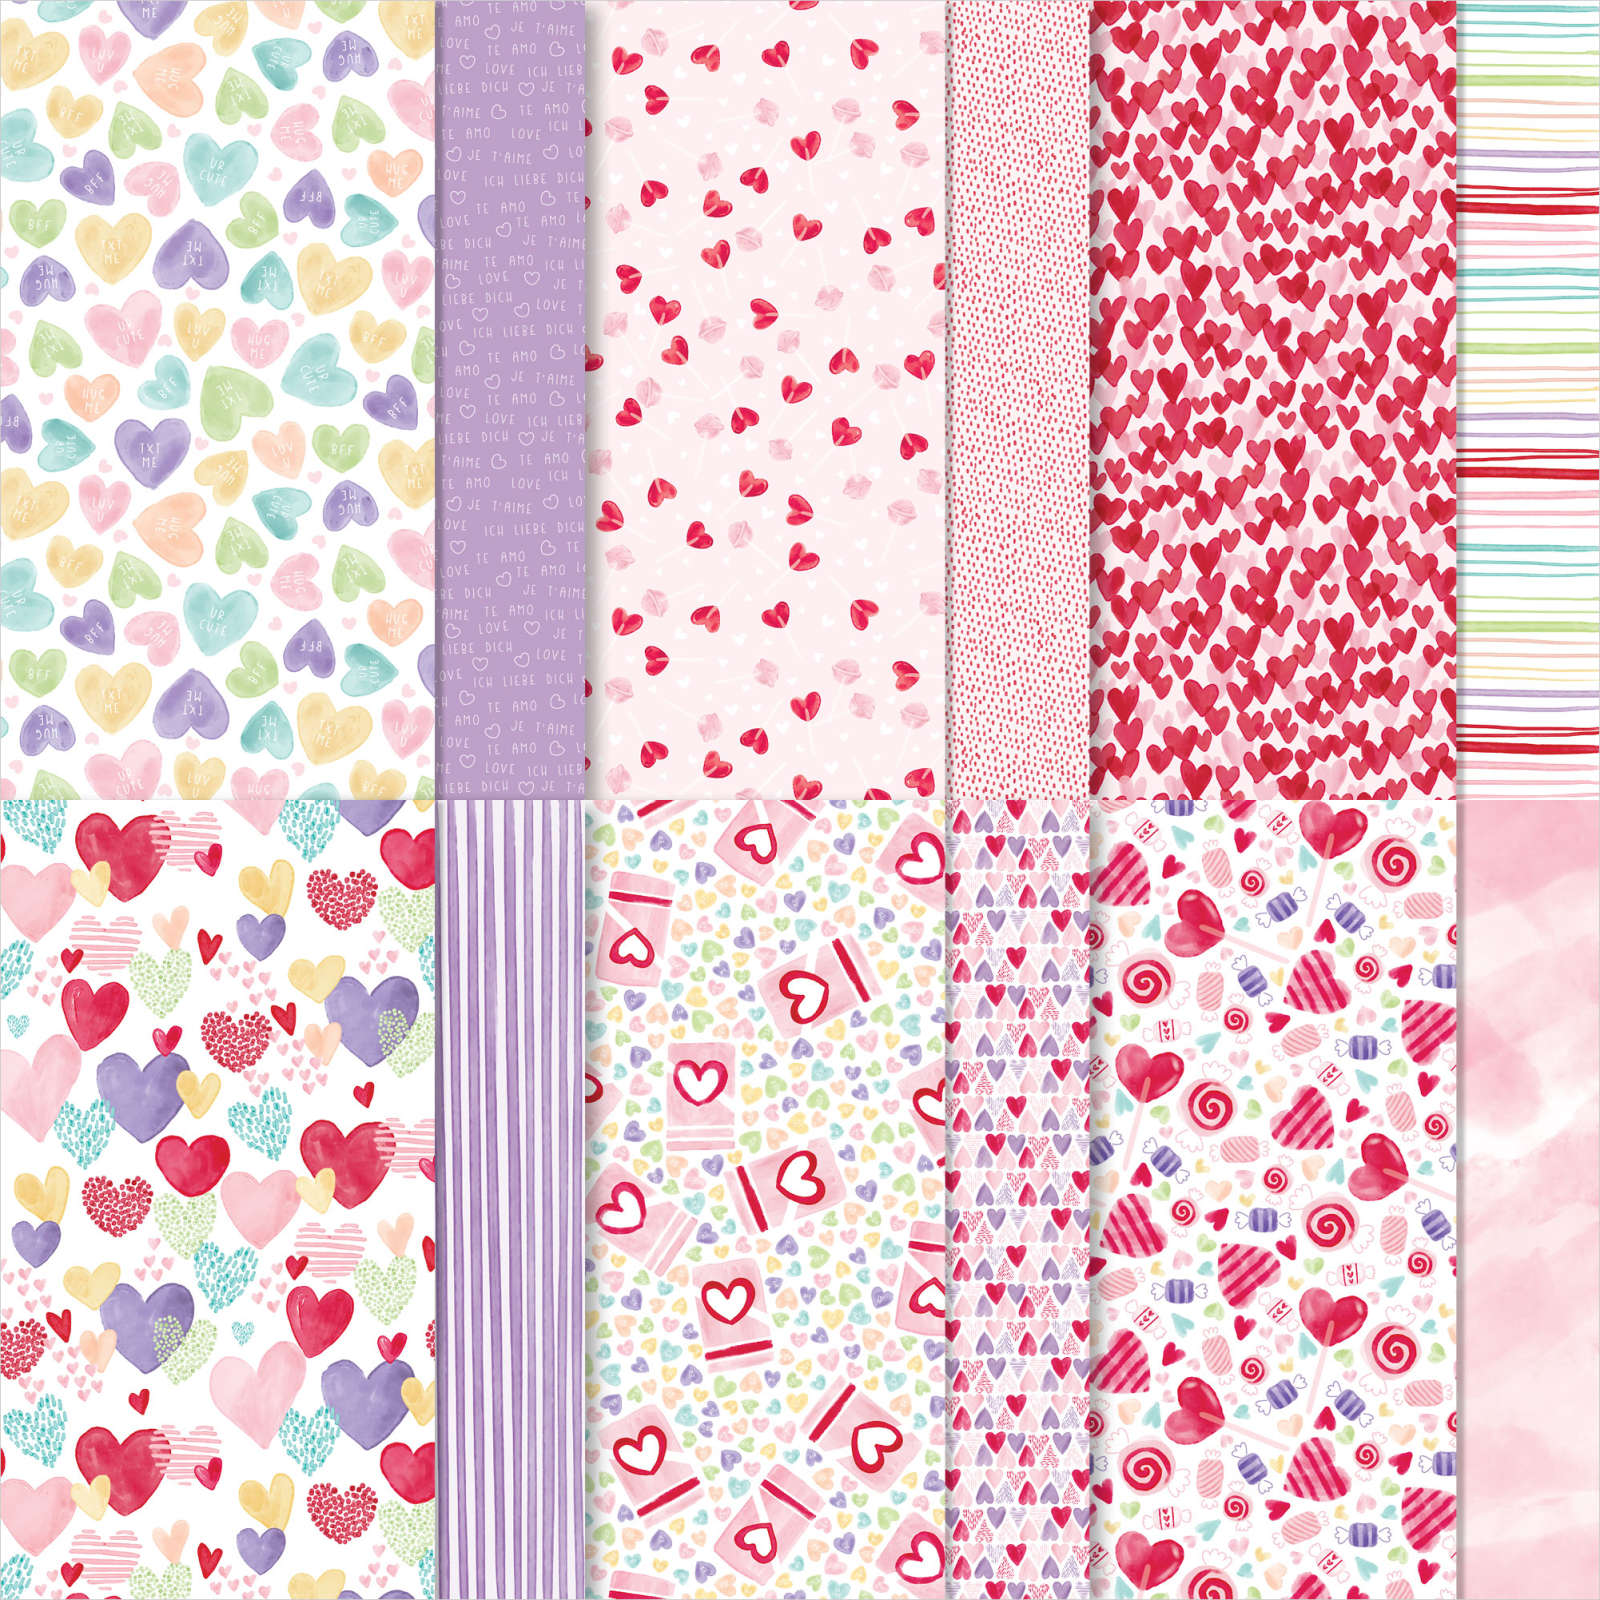
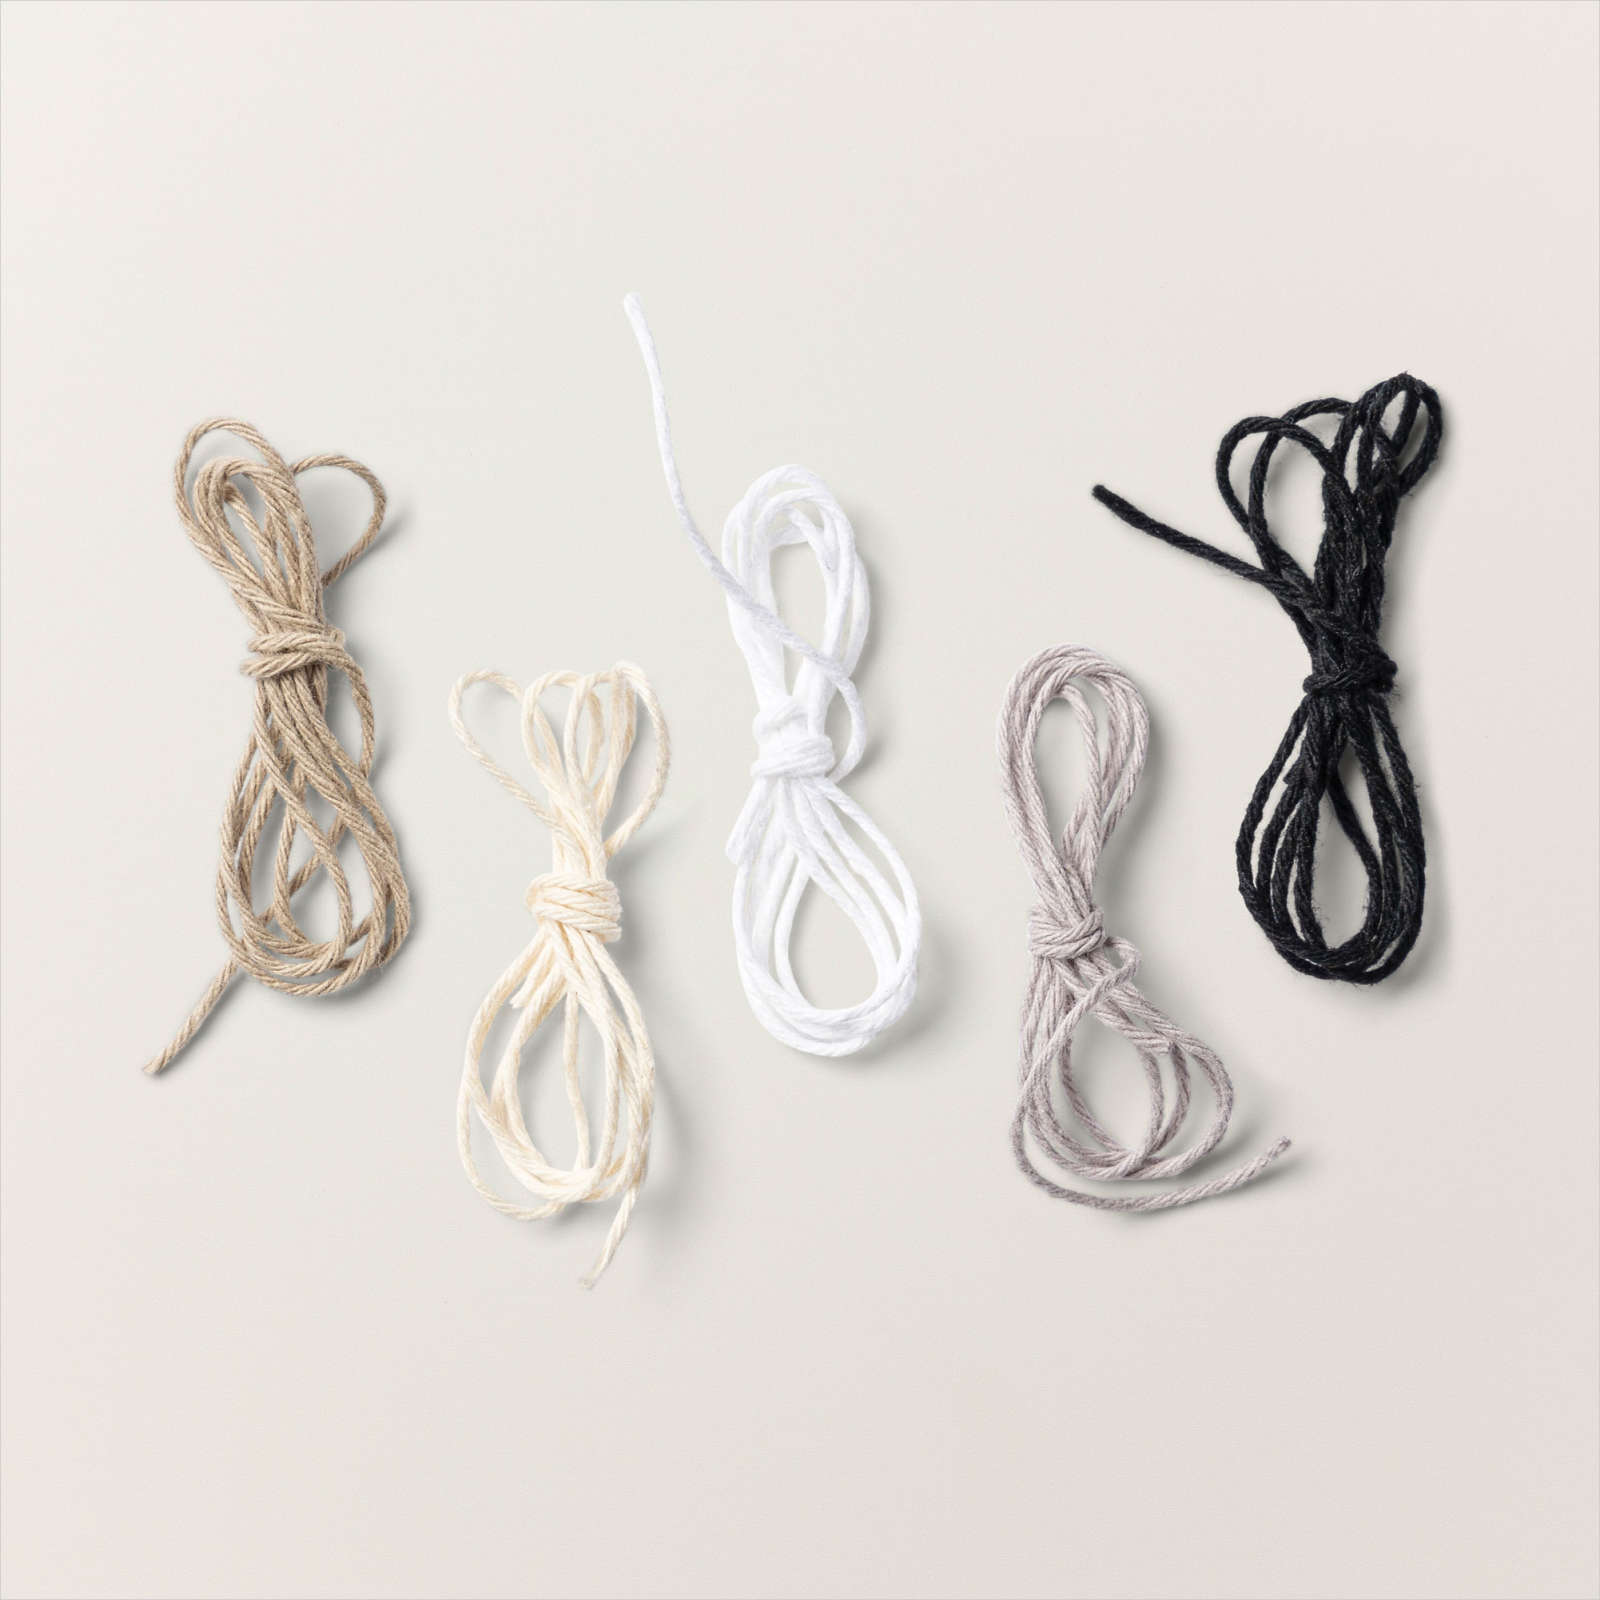
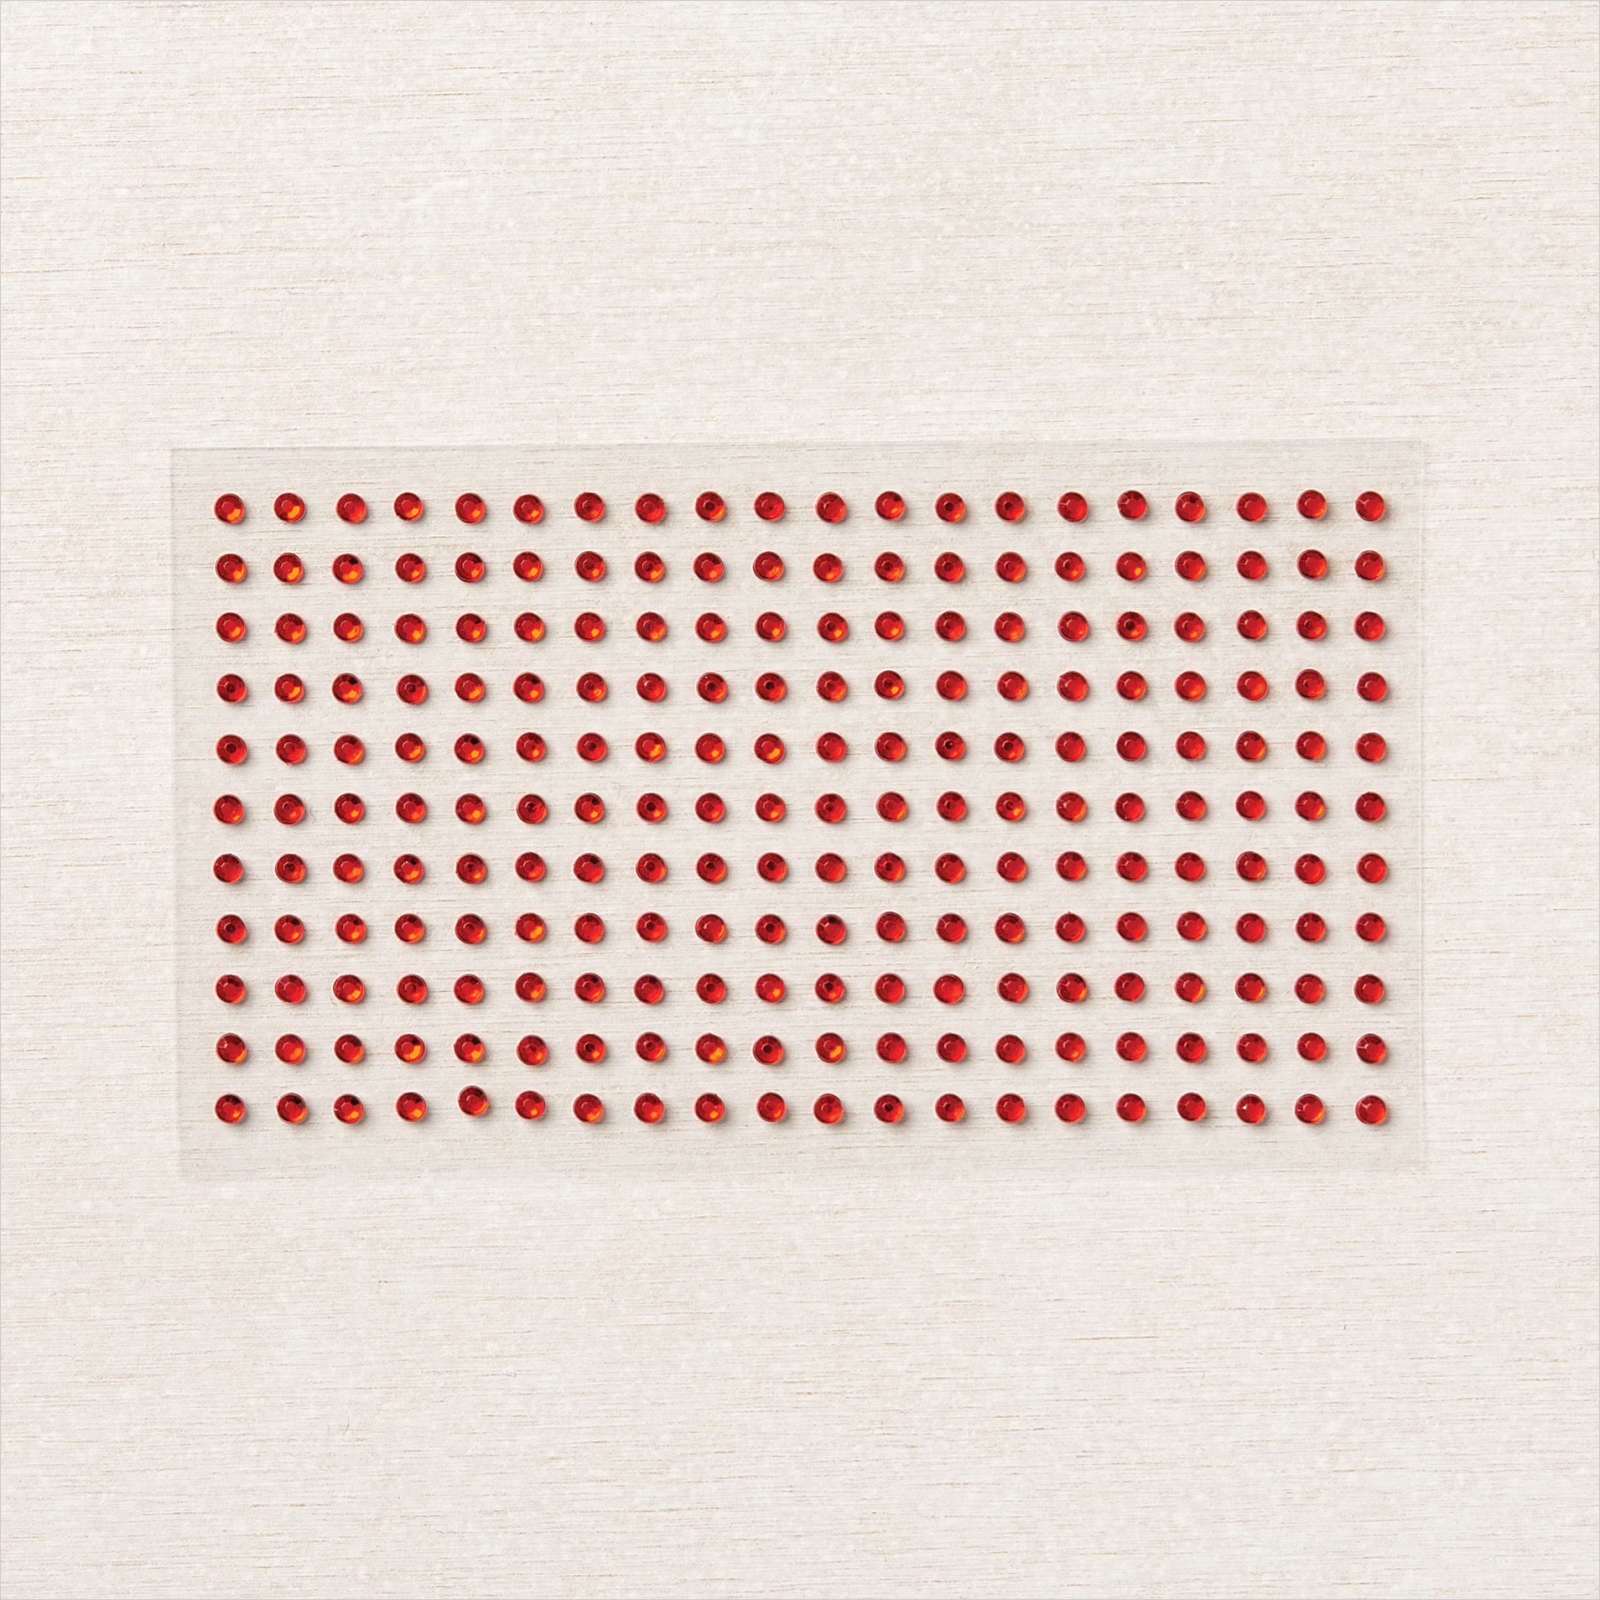
I cut the tag from the Sweet Talk DSP along with a strip for the card “spine”. Next, I stamped the heart in Blushing Bridge and Real Red and cut and mounted it on the tag with a Dimensional. I tied a small piece of ribbon in a half knot and adhered it with a glue dot. I finished the card off with twine, the small hearts and Red Rhinestones.

Sweet Little Box Treat
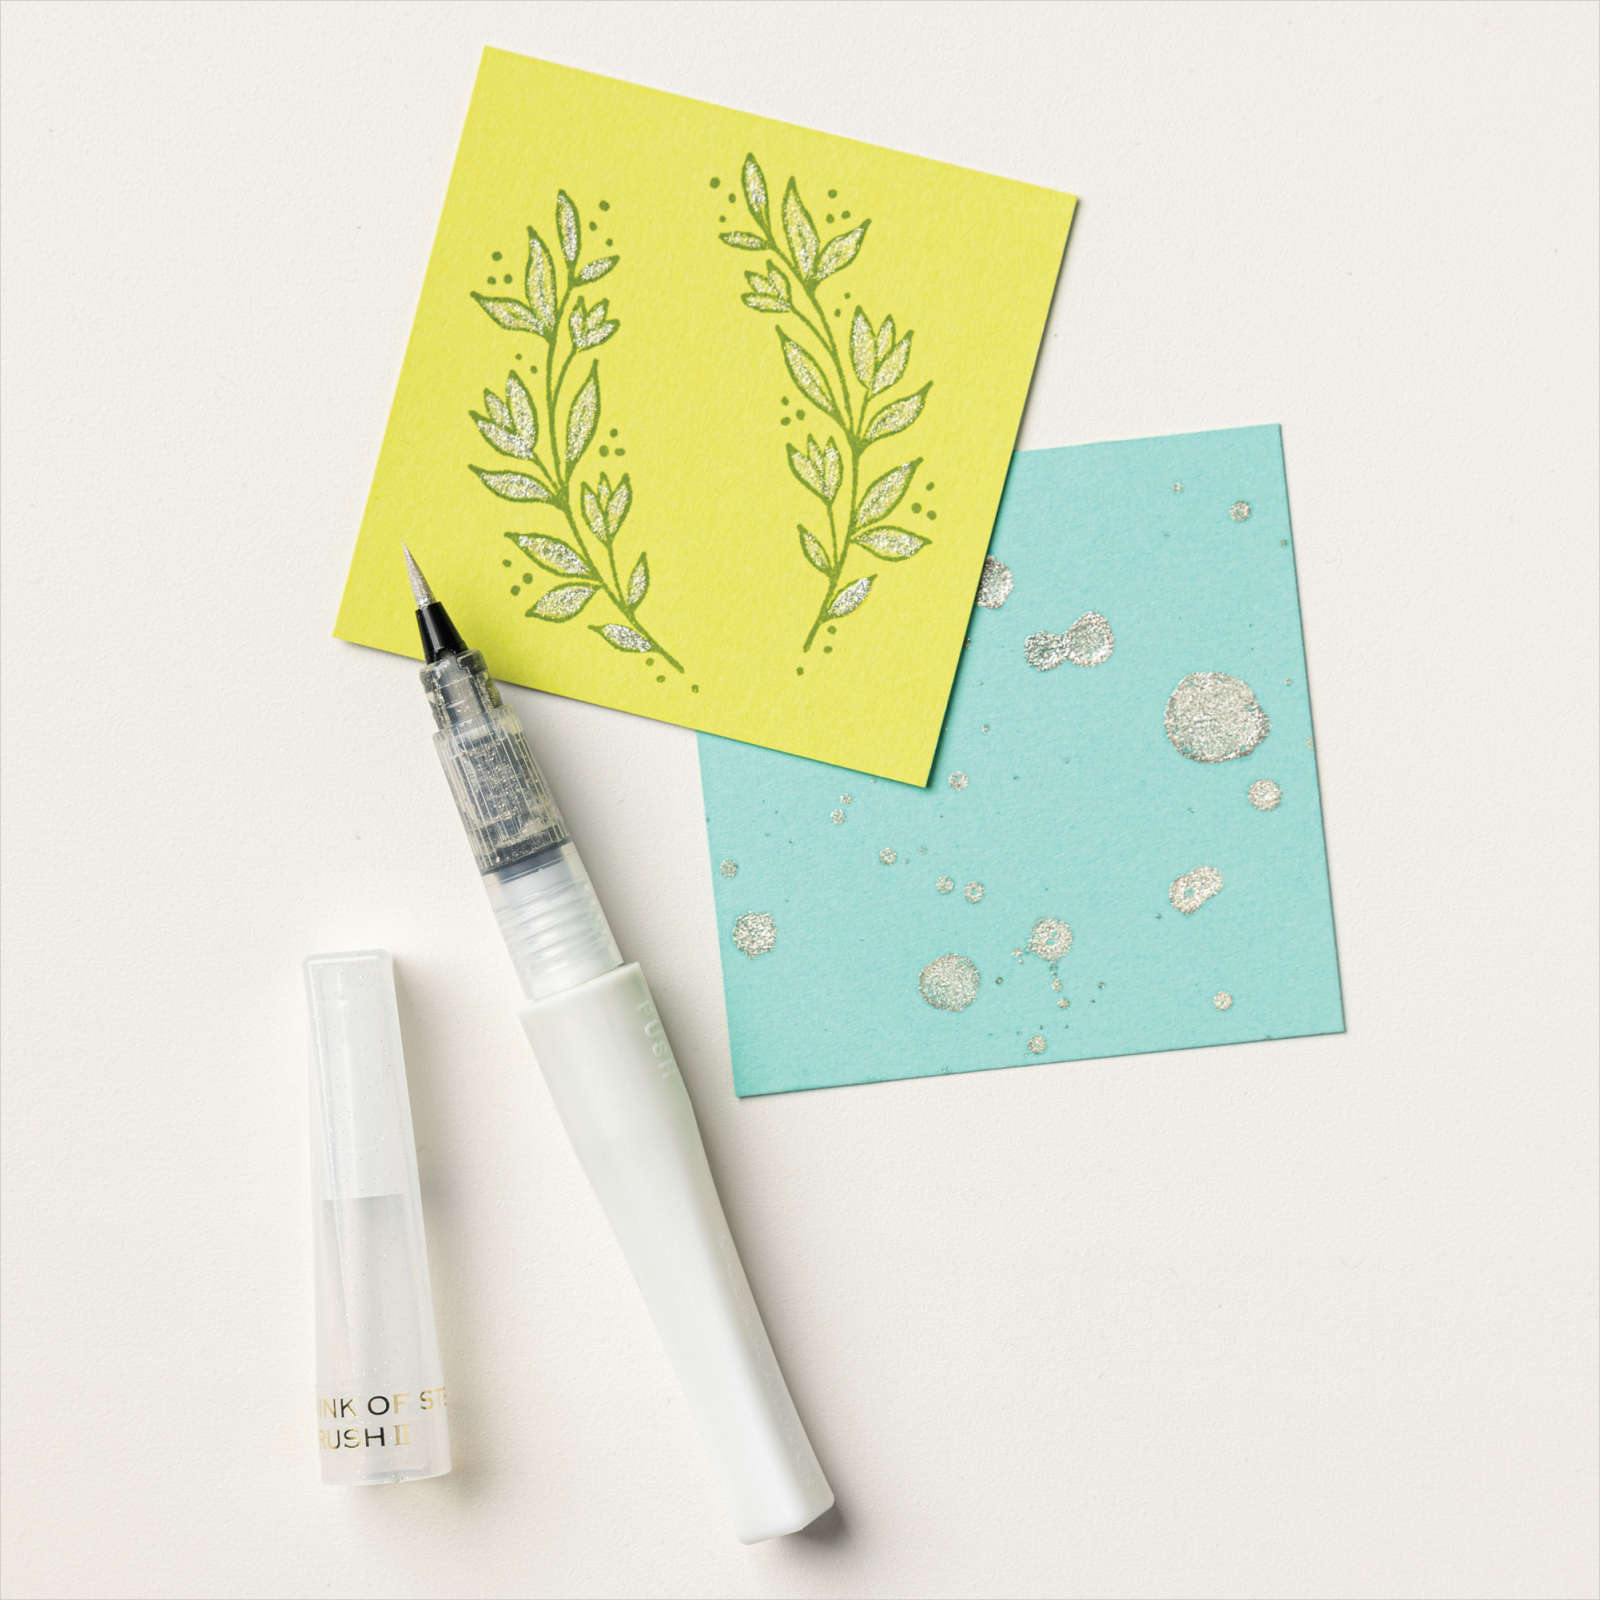
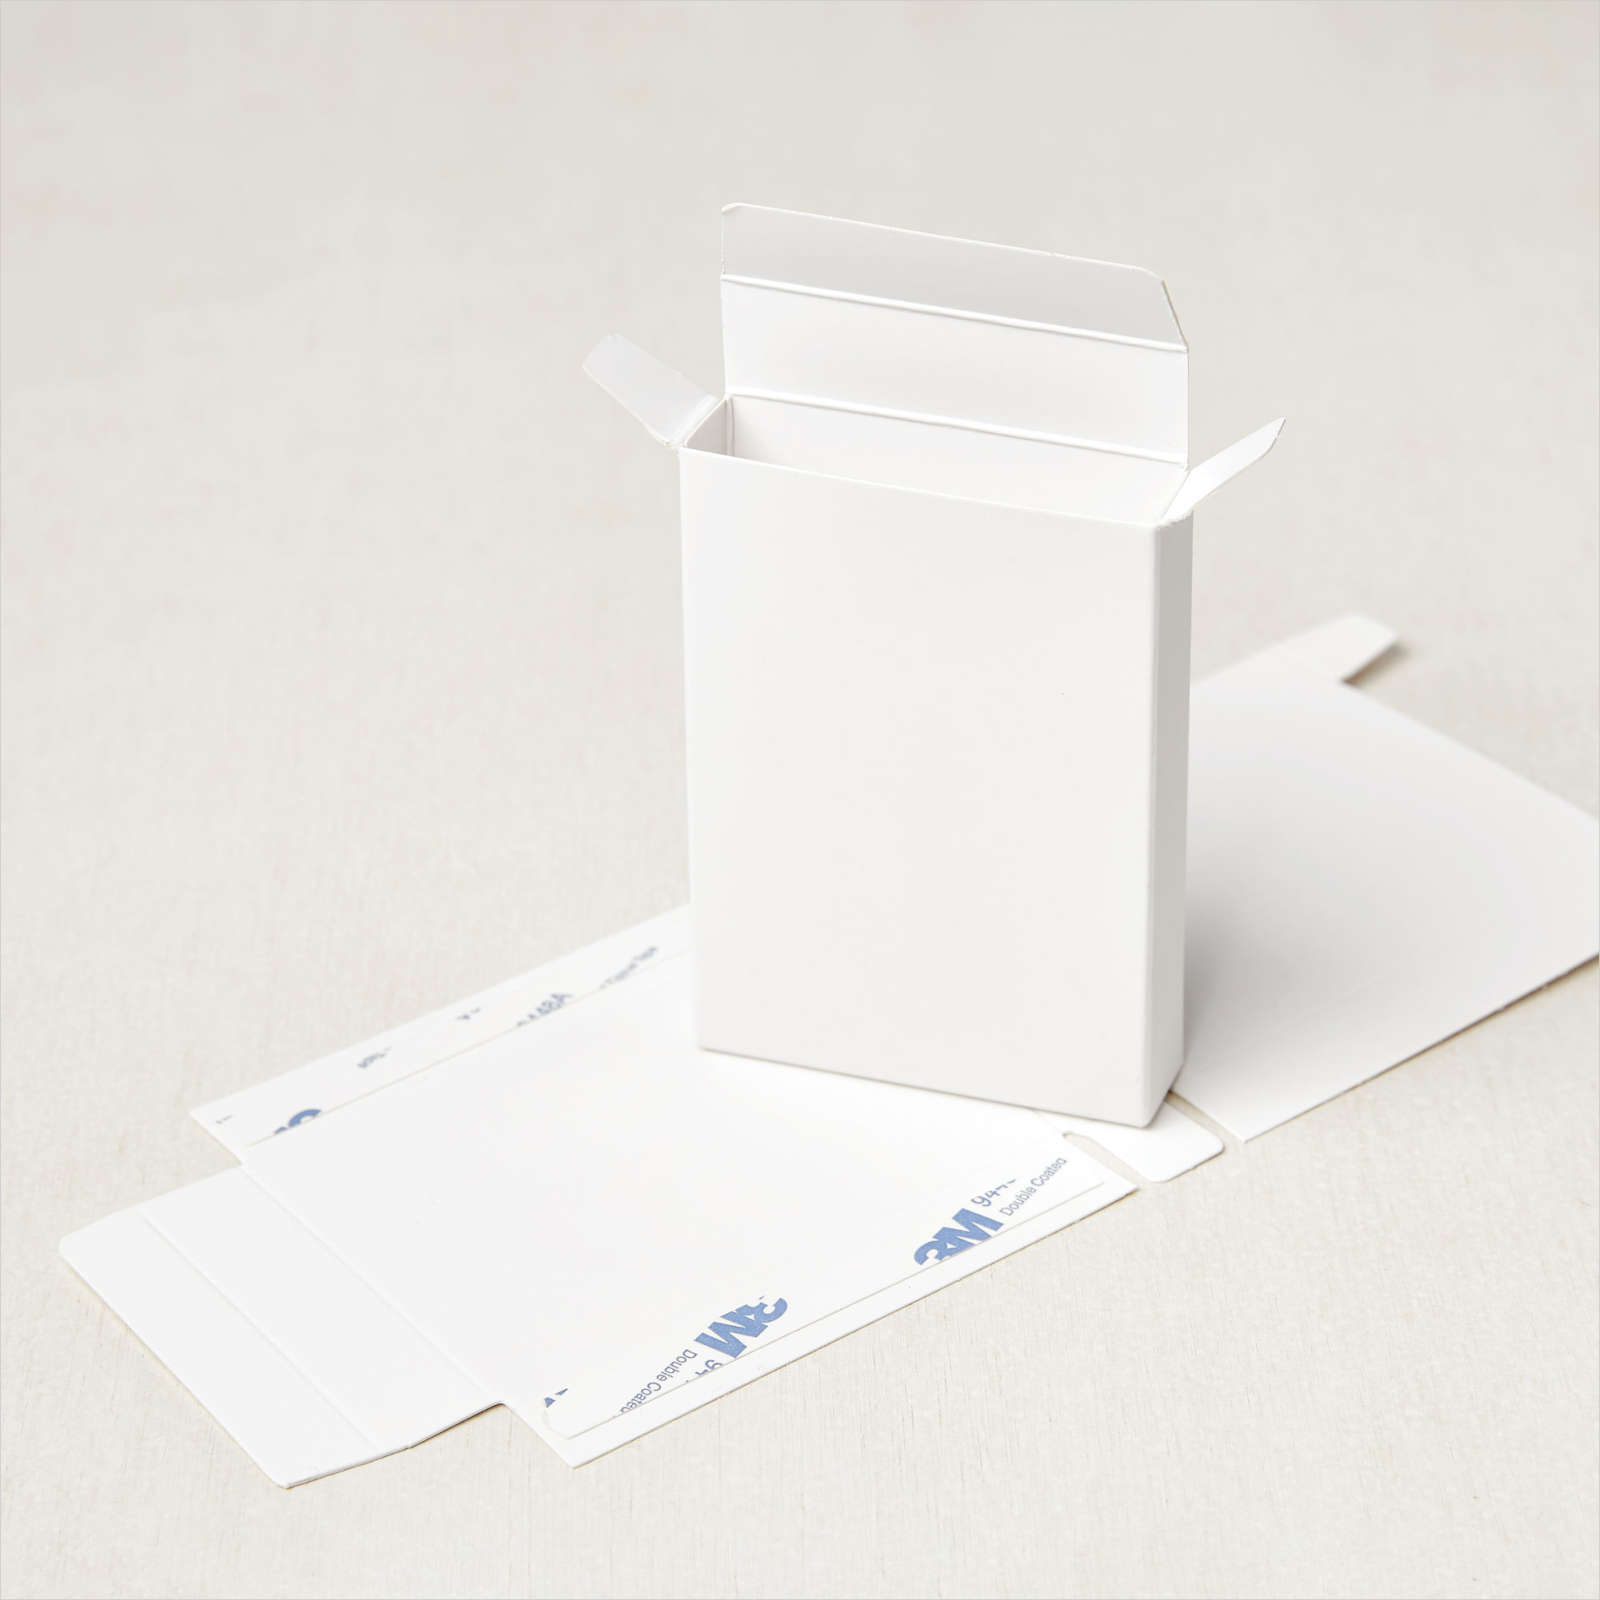
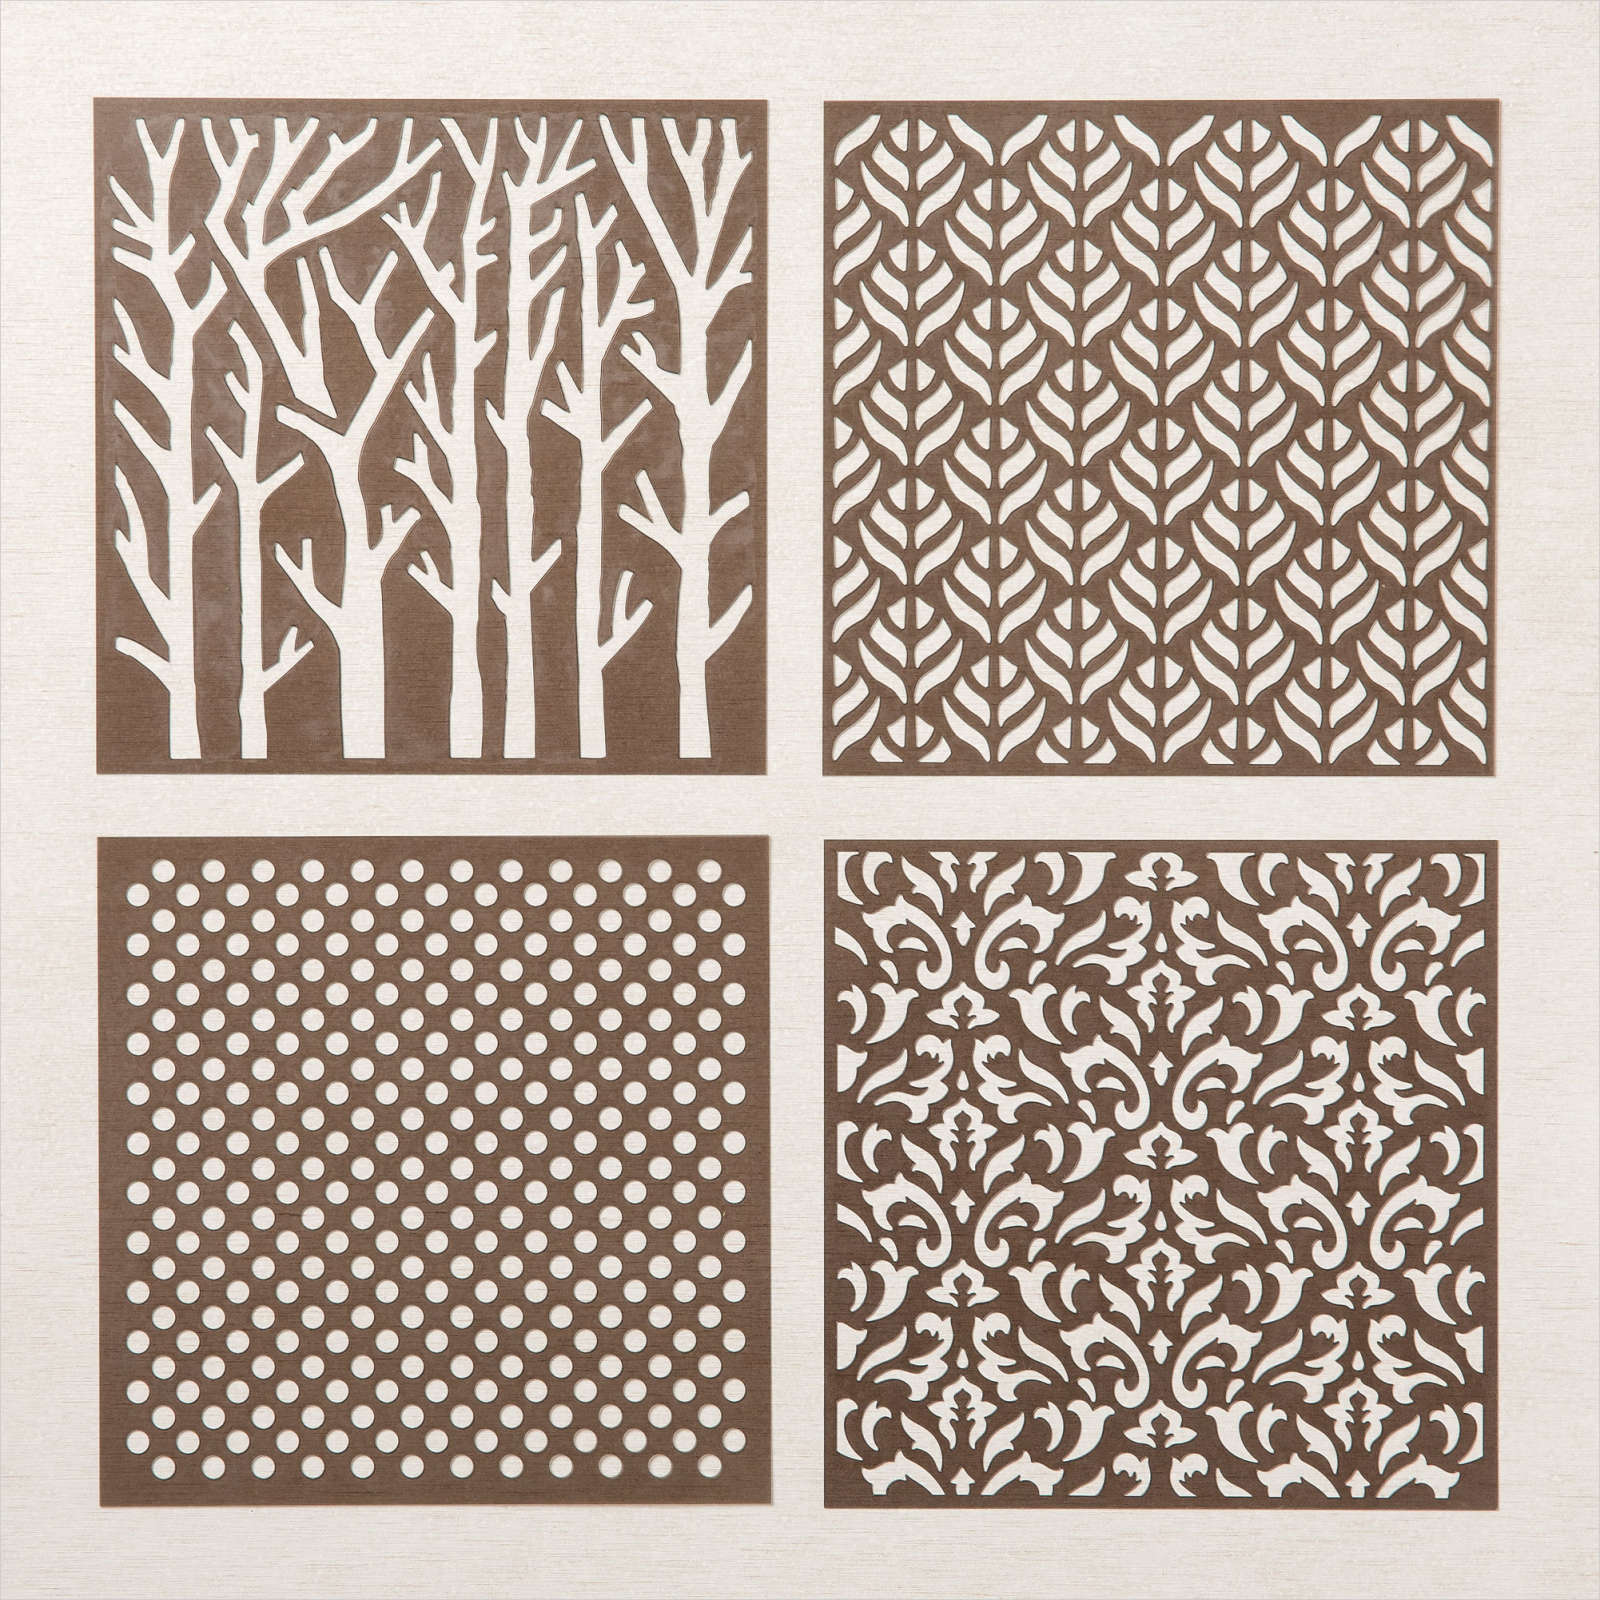
This little treat is made with one of the Sweet Little Boxes from the Sweet Talk Suite. They come in a package of ten and have adhesive strips, so no glue is needed to assemble. Because they arrive flat and have a smooth matte finish, it’s easy to color or stamp on them. Just be sure to set them aside for a bit to dry or use your heat tool to set the ink. I used the Basic Patterns masks, Blending Brushes and Blushing Bride ink to add the polka dot background.

Details
I wrapped the box with a 2″ x 6″ strip of the Sweet Talk DSP. It’s not quite long enough to go all the way around the box, but this size allows me to get 12 from a sheet of DSP. Our ovals and hearts cover the small gap, so no one will ever know!
I stamped all the images on this project with Memento Tuxedo Black ink. Using glue, I adhered the ovals over the gap between the ends of the DSP. and adhered the red hearts with Dimensionals. I tied black twine around a small piece of the Real Red Faux Linen Ribbon and adhered it with a glue dot. I finished the box off with Iridescent Rhinestone Basic Jewels for a beautiful sparkle.

A Punch Tip!
Because I was using black ink for the treat box, I wanted to tie in more black elements like the twine and the layered oval.
I used the Double Oval punch for the Highland Heather Scalloped Oval and the smaller Basic White smooth oval. In addition, I cut a Basic Black oval the same size as the Basic White oval. I cut the black oval in half lengthwise and glued the two halves to the Highland Heather oval, leaving a small gap in the middle. This allowed me to adhere my white oval and have a small black layer between the Basic White and Highland Heather. I covered the small gap at each end with the red hearts.
You can use this tip with ALL of your punches to create a layered look!!

The fixin’s


Shopping
If you’d like to recreate either of these projects, I’d love to help you with your supply needs. You may shop with me by clicking on any of the products above, or by clicking on my 24/7 shopping link below.
If you live in Canada, my FABulous friend Connie would love for you to visit her store or sign up for one of her events or classes. You can find more information HERE.