
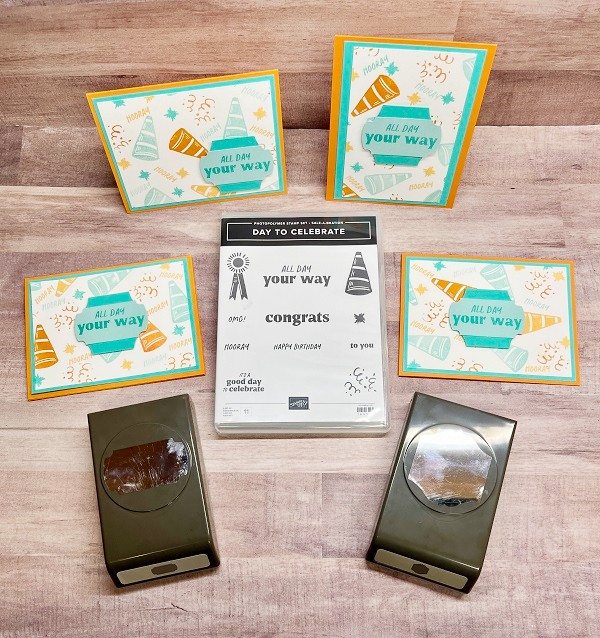
Who doesn’t like a cute turtle card? This is such a fun suite of products.
Turtle-y Cute Suite Collection

Create turtle-themed cards, tags, and scrapbook pages with the Turtle-y Cute Suite Collection! This suite features designs of talented turtles, bright paper, and other decorative supplies that you can use to accessorize each turtle and make turtle-tastic scenes.
Turtle-y Awesome Birthday

Turtle-y Awesome Birthday Inside

How It’s Made
- Cut Garden Green cardstock 5 ½” x 8 ½”. Score at 4 ¼” on the long side and fold for card base.
- Cut two 4” x 5 ¼” panels of Two-Toned Granny Apple Green cardstock. Stack with one light side up and one dark side up. Mark at 3 ½” from top on the left side, and 2 ¼” from the top on right side. Place together in Paper Trimmer and cut diagonally from one mark to the other. You’ll have four pieces which will make two cards.
- Adhere two of these (one light and one dark) to the card front.
- Cut DSP 2” x 3 ½” and another pattern ½” x 4 ¼”. Adhere rectangle to card slightly right of center. Adhere strip on top near right edge.
- Die cut circle using Stylish Shapes Dies. Stamp sentiment in Garden Green. Adhere over DSP using Dimensionals.
- Fussy cut turtle of your choice from DSP and adhere with glue and Dimensionals to card on left side of circle.
- Paint desired areas with Wink of Stella. I painted the glasses, party hat pompom and ribbon/bow on present.
- Embellish with Hexagons.
- Cut a white panel 4” x 5 ¼”. Stamp inside sentiment and decorate with images cut from DSP using coordinating dies.
- Don’t forget to decorate your envelope, too!
The Fixin’s
Product List![Turtle Y Awesome Bundle (English) [ 165229 ]](https://i0.wp.com/assets1.tamsnetwork.com/images/EC042017NF/165229s.jpg?w=140&ssl=1 "Turtle Y Awesome Bundle (English) [ 165229 ]")
![Stylish Shapes Dies [ 159183 ]](https://i0.wp.com/assets1.tamsnetwork.com/images/EC042017NF/159183s.jpg?w=140&ssl=1 "Stylish Shapes Dies [ 159183 ]")
![Turtle Y Cute 12" X 12" (30.5 X 30.5 Cm) Designer Series Paper [ 165221 ]](https://i0.wp.com/assets1.tamsnetwork.com/images/EC042017NF/165221s.jpg?w=140&ssl=1 "Turtle Y Cute 12\" X 12\" (30.5 X 30.5 Cm) Designer Series Paper [ 165221 ]")
![Garden Green 8-1/2" X 11" Cardstock [ 102584 ]](https://i0.wp.com/assets1.tamsnetwork.com/images/EC042017NF/102584s.jpg?w=140&ssl=1 "Garden Green 8-1/2\" X 11\" Cardstock [ 102584 ]")
![Granny Apple Green 12" X 12" (30.5 X 30.5 Cm) Two Tone Cardstock [ 166663 ]](https://i0.wp.com/assets1.tamsnetwork.com/images/EC042017NF/166663s.jpg?w=140&ssl=1 "Granny Apple Green 12\" X 12\" (30.5 X 30.5 Cm) Two Tone Cardstock [ 166663 ]")
![Basic White 8 1/2" X 11" Cardstock [ 166780 ]](https://i0.wp.com/assets1.tamsnetwork.com/images/EC042017NF/166780s.jpg?w=140&ssl=1 "Basic White 8 1/2\" X 11\" Cardstock [ 166780 ]")
![Garden Green Classic Stampin' Pad [ 147089 ]](https://i0.wp.com/assets1.tamsnetwork.com/images/EC042017NF/147089s.jpg?w=140&ssl=1 "Garden Green Classic Stampin' Pad [ 147089 ]")
![Clear Wink Of Stella Glitter Brush [ 141897 ]](https://i0.wp.com/assets1.tamsnetwork.com/images/EC042017NF/141897s.jpg?w=140&ssl=1 "Clear Wink Of Stella Glitter Brush [ 141897 ]")
![Shades Of Green Hexagons [ 165233 ]](https://i0.wp.com/assets1.tamsnetwork.com/images/EC042017NF/165233s.jpg?w=140&ssl=1 "Shades Of Green Hexagons [ 165233 ]")
![Take Your Pick [ 144107 ]](https://i0.wp.com/assets1.tamsnetwork.com/images/EC042017NF/144107s.jpg?w=140&ssl=1 "Take Your Pick [ 144107 ]")
![Stampin' Cut & Emboss Machine [ 149653 ]](https://i0.wp.com/assets1.tamsnetwork.com/images/EC042017NF/149653s.jpg?w=140&ssl=1 "Stampin' Cut & Emboss Machine [ 149653 ]")
![Stampin' Seal [ 152813 ]](https://i0.wp.com/assets1.tamsnetwork.com/images/EC042017NF/152813s.jpg?w=140&ssl=1 "Stampin' Seal [ 152813 ]")
![Multipurpose Liquid Glue [ 110755 ]](https://i0.wp.com/assets1.tamsnetwork.com/images/EC042017NF/110755s.jpg?w=140&ssl=1 "Multipurpose Liquid Glue [ 110755 ]")
![Stampin' Dimensionals [ 104430 ]](https://i0.wp.com/assets1.tamsnetwork.com/images/EC042017NF/104430s.jpg?w=140&ssl=1 "Stampin' Dimensionals [ 104430 ]")
Want to Order?
If your order is $20 or more (before s/t), you’ll receive Stampin’ Rewards of 10% to be used on a future order. You may also save these rewards for up to a year to be used on something special.
When your order is $50 or more (before s/t), you’ll receive a bundle of 16 FREE Tutorials from me. The Tutorial Bundle changes monthly and is sent directly to your email inbox! I do this manually twice a month, so please be patient.

Thanks for supporting my small business. I appreciate every single order!!


")


")

 Designer Series Paper")


 Diagonal Trim Combo Pack")

