Dahlia Days Bundle – Birthday Girl

Dahlia Days Bundle Birthday Girl Lead

It’s time for another FBP Blog Hop! Today’s theme is Birthday Girl, and I chose the Dahlia Days Bundle for my project.

Freshly Brewed Projects Blog Banner

Birthday Girl!

Our theme today is Birthday Girl, and what could be more girly than pink and lace? I know a lot of girls, big and little, who would love to receive a card like this! Don’t you?

Dahlia Days Bundle Birthday Girl Lead

Dahlia Days Bundle

The Dahlia Days Bundle is such a beautiful set of stamps and dies. Not only are there dies to cut out your stamped images but look at that large lovely lacy die! That’s what I’ve used for the front of my card.

Dahlia Days Bundle

Impressive but easy

This is a pretty impressive card, but it’s much easier than it looks. I started with a Polished Pink card base. I didn’t think I liked Polished Pink, but when I pulled it out of my bin, I found I really LOVE it!

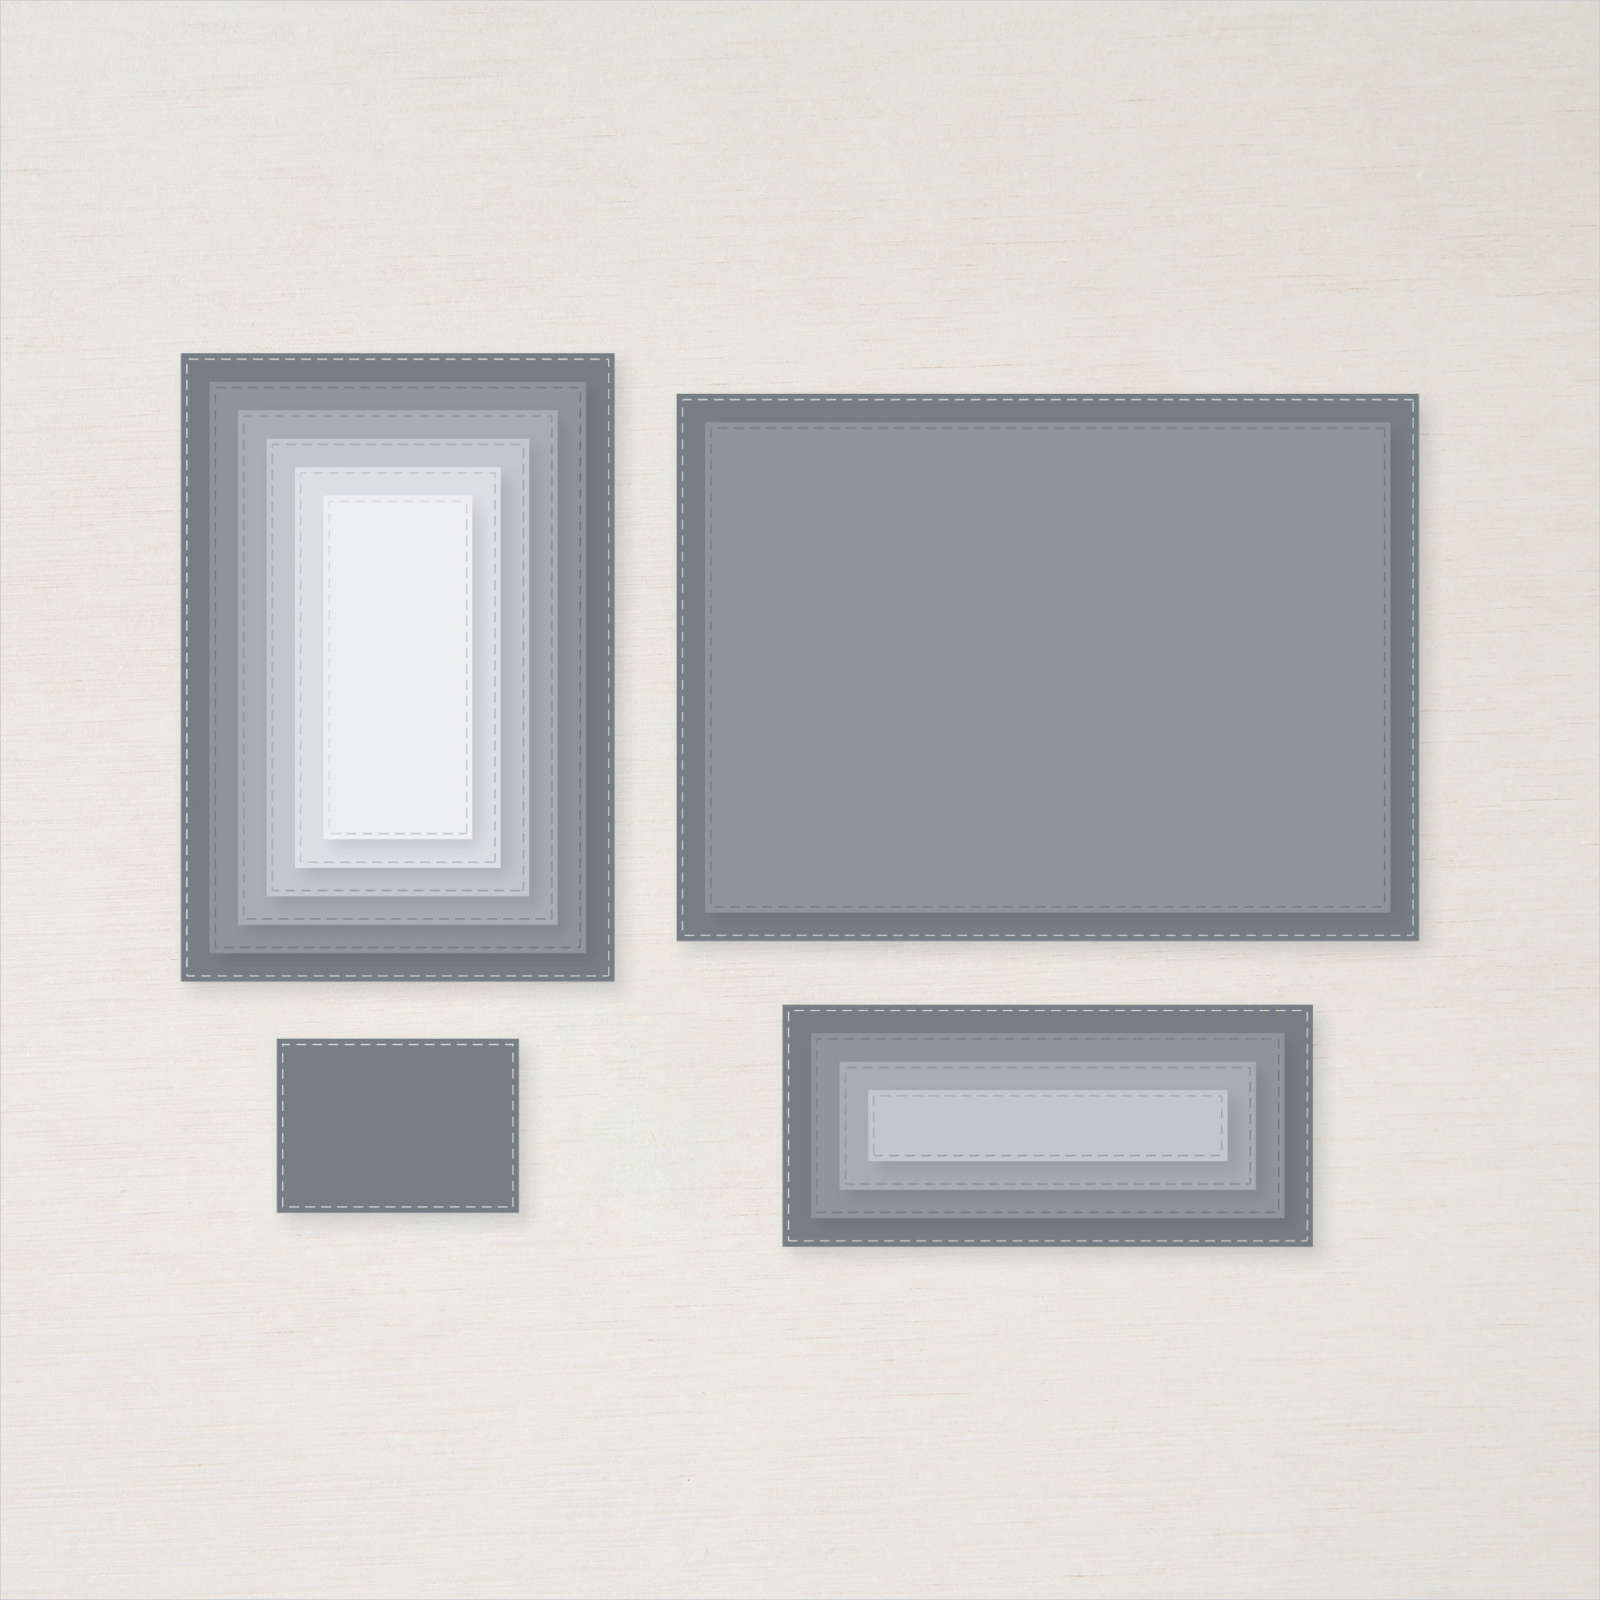
Next, I cut two pieces of white slightly smaller than my card front. One was used to cut out the lace. I used the Stitched Rectangle Dies to cut a Frame from the other piece. Don’t throw that inside rectangle away. That’s what I used for all the additional pieces!

Dahlia Days Bundle Birthday Girl

First, I flipped the white frame over and placed Tear N Tape next to the inside border on all four sides of the frame. Second, I placed the lace die cut face down on top of the Tear N Tape and sealed it to the frame. Third, I trimmed off any pieces that were too close to the outer edge.

Next, I placed a piece of Polished Pink ribbon across the front and stuck it to the excess tape on the back. If you need to add more adhesive for the ribbon, that’s ok, but I didn’t need it.

Finally, I added the frame with lace and ribbon to the card front. I still didn’t need any more adhesive. The Tear N Tape behind the lace worked fine for me. But, if you need more adhesive, that’s ok, too.

Details

I used the rectangle cut from our white frame for all my stamped pieces. First, I stamped the frame with foliage with Soft Succulent Ink and the Happy Birthday from Pansy Patch with Evening Evergreen inside the stamped frame. Next, I stamped the flowers with Polished Pink Ink in the extra space.

I cut all these pieces with the coordinating dies and glued the three small flowers to the stamped frame. I used a Dimensional to add the largest flower.

Finally, I added 2021-2022 In Color Jewels to give it a little sparkle.

Dahlia Days Bundle Birthday Girl Details

Let’s Hop!

I hope you enjoyed my project. Now, let’s see what Leonie has created! Just click on the link below.

The Fixin’s

Product List

Need Stampin’ Supplies?

Rainbow of Happiness Calendar Card

Rainbow of Happiness Lead

Hello Stampers! I hope everything is going well in your world. We’ve had a couple of nice snows here in Kentucky. I know most people aren’t crazy about snow, but I LOVE IT!! Of course, it’s the perfect time to stay inside and stamp. And that’s what I’ve been doing. I’ve been playing with the Rainbow of Happiness bundle to create a project that will last all year.

View from my craft room
View from my craft studio window

Rainbow of Happiness Bundle

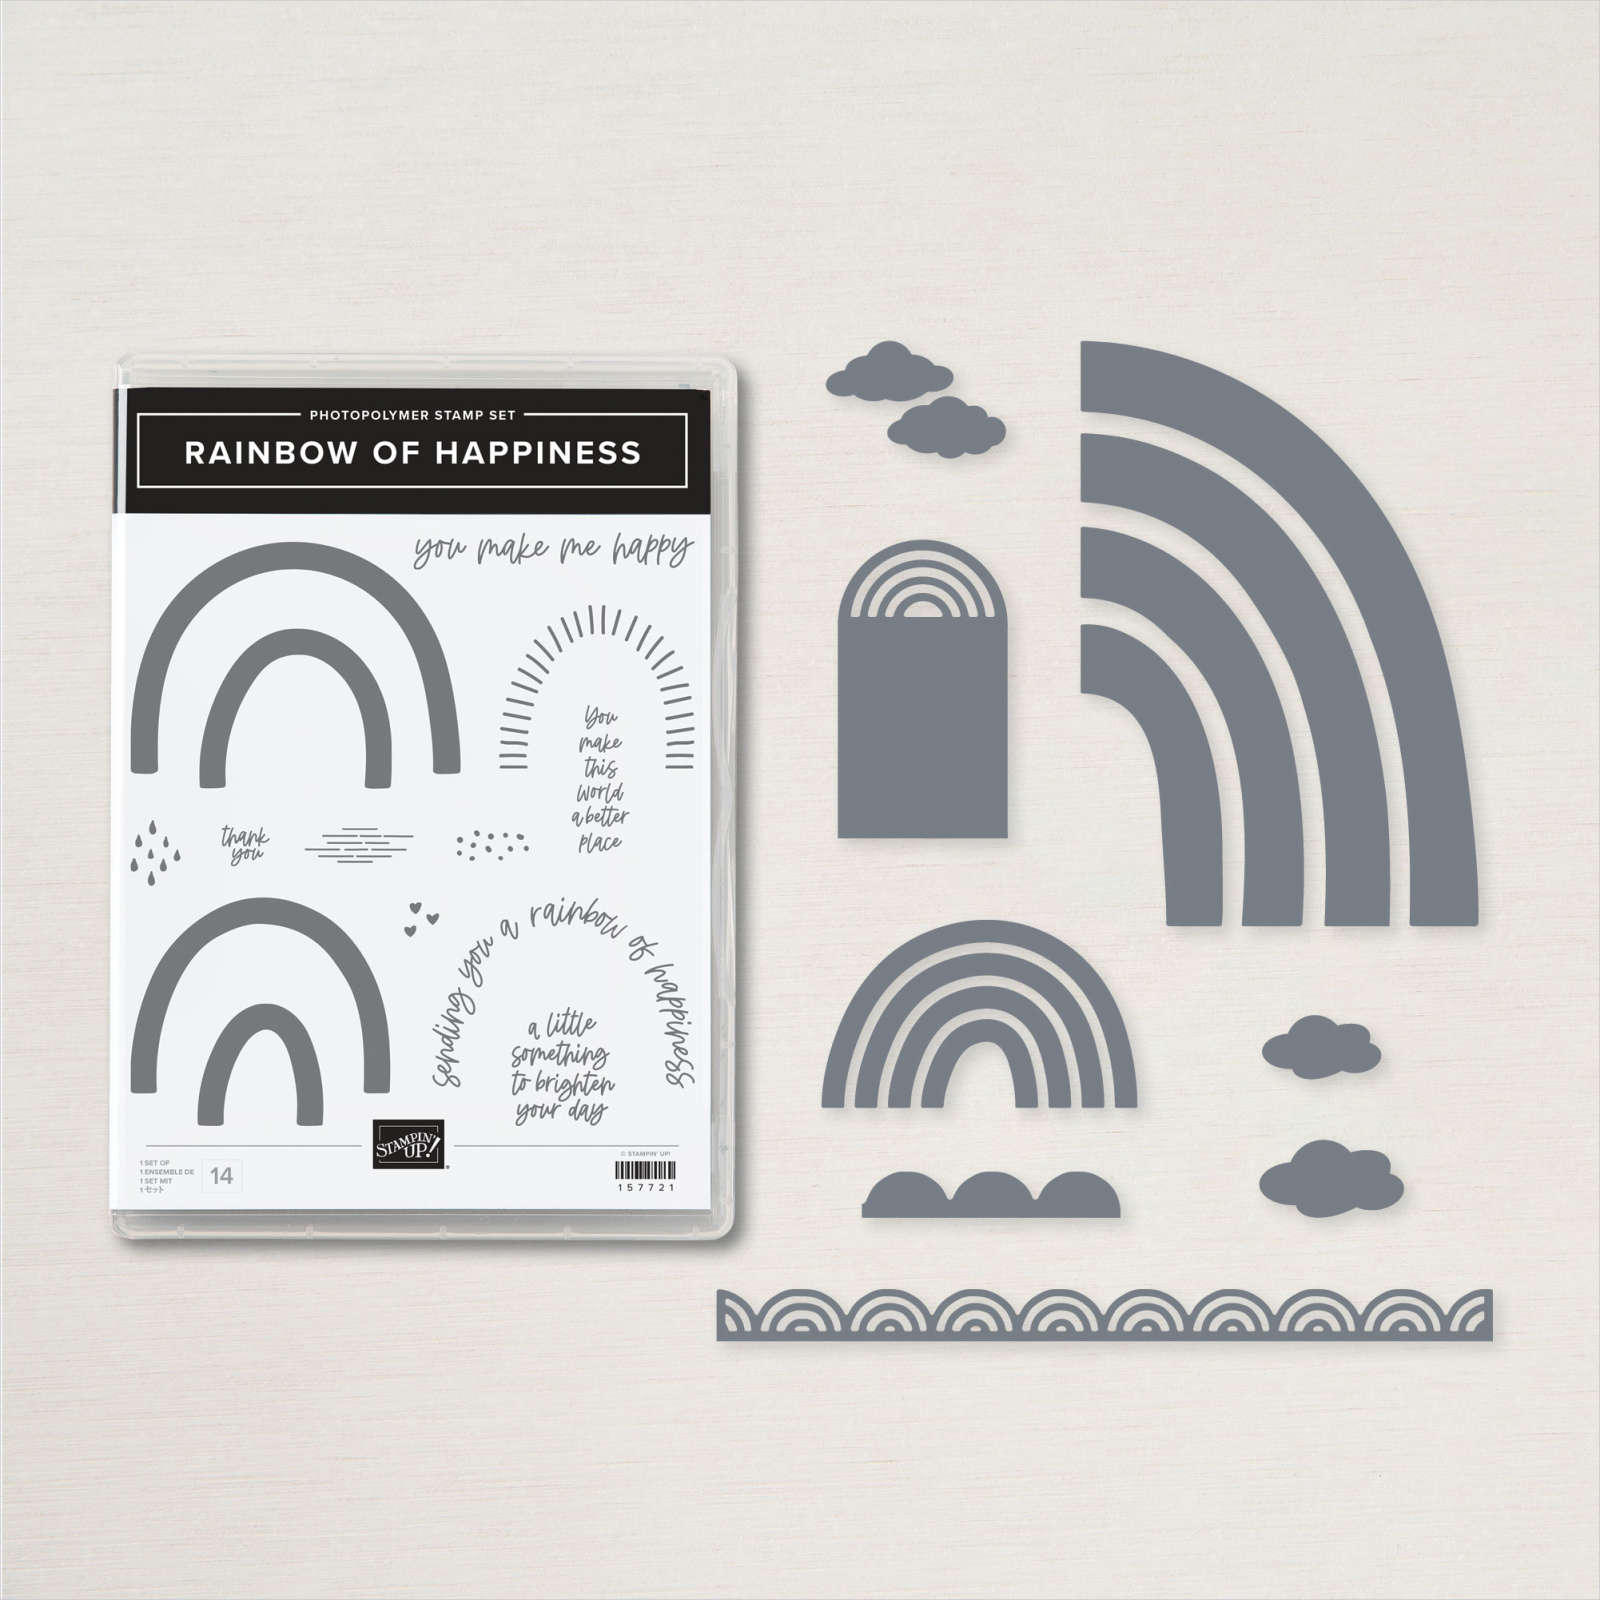
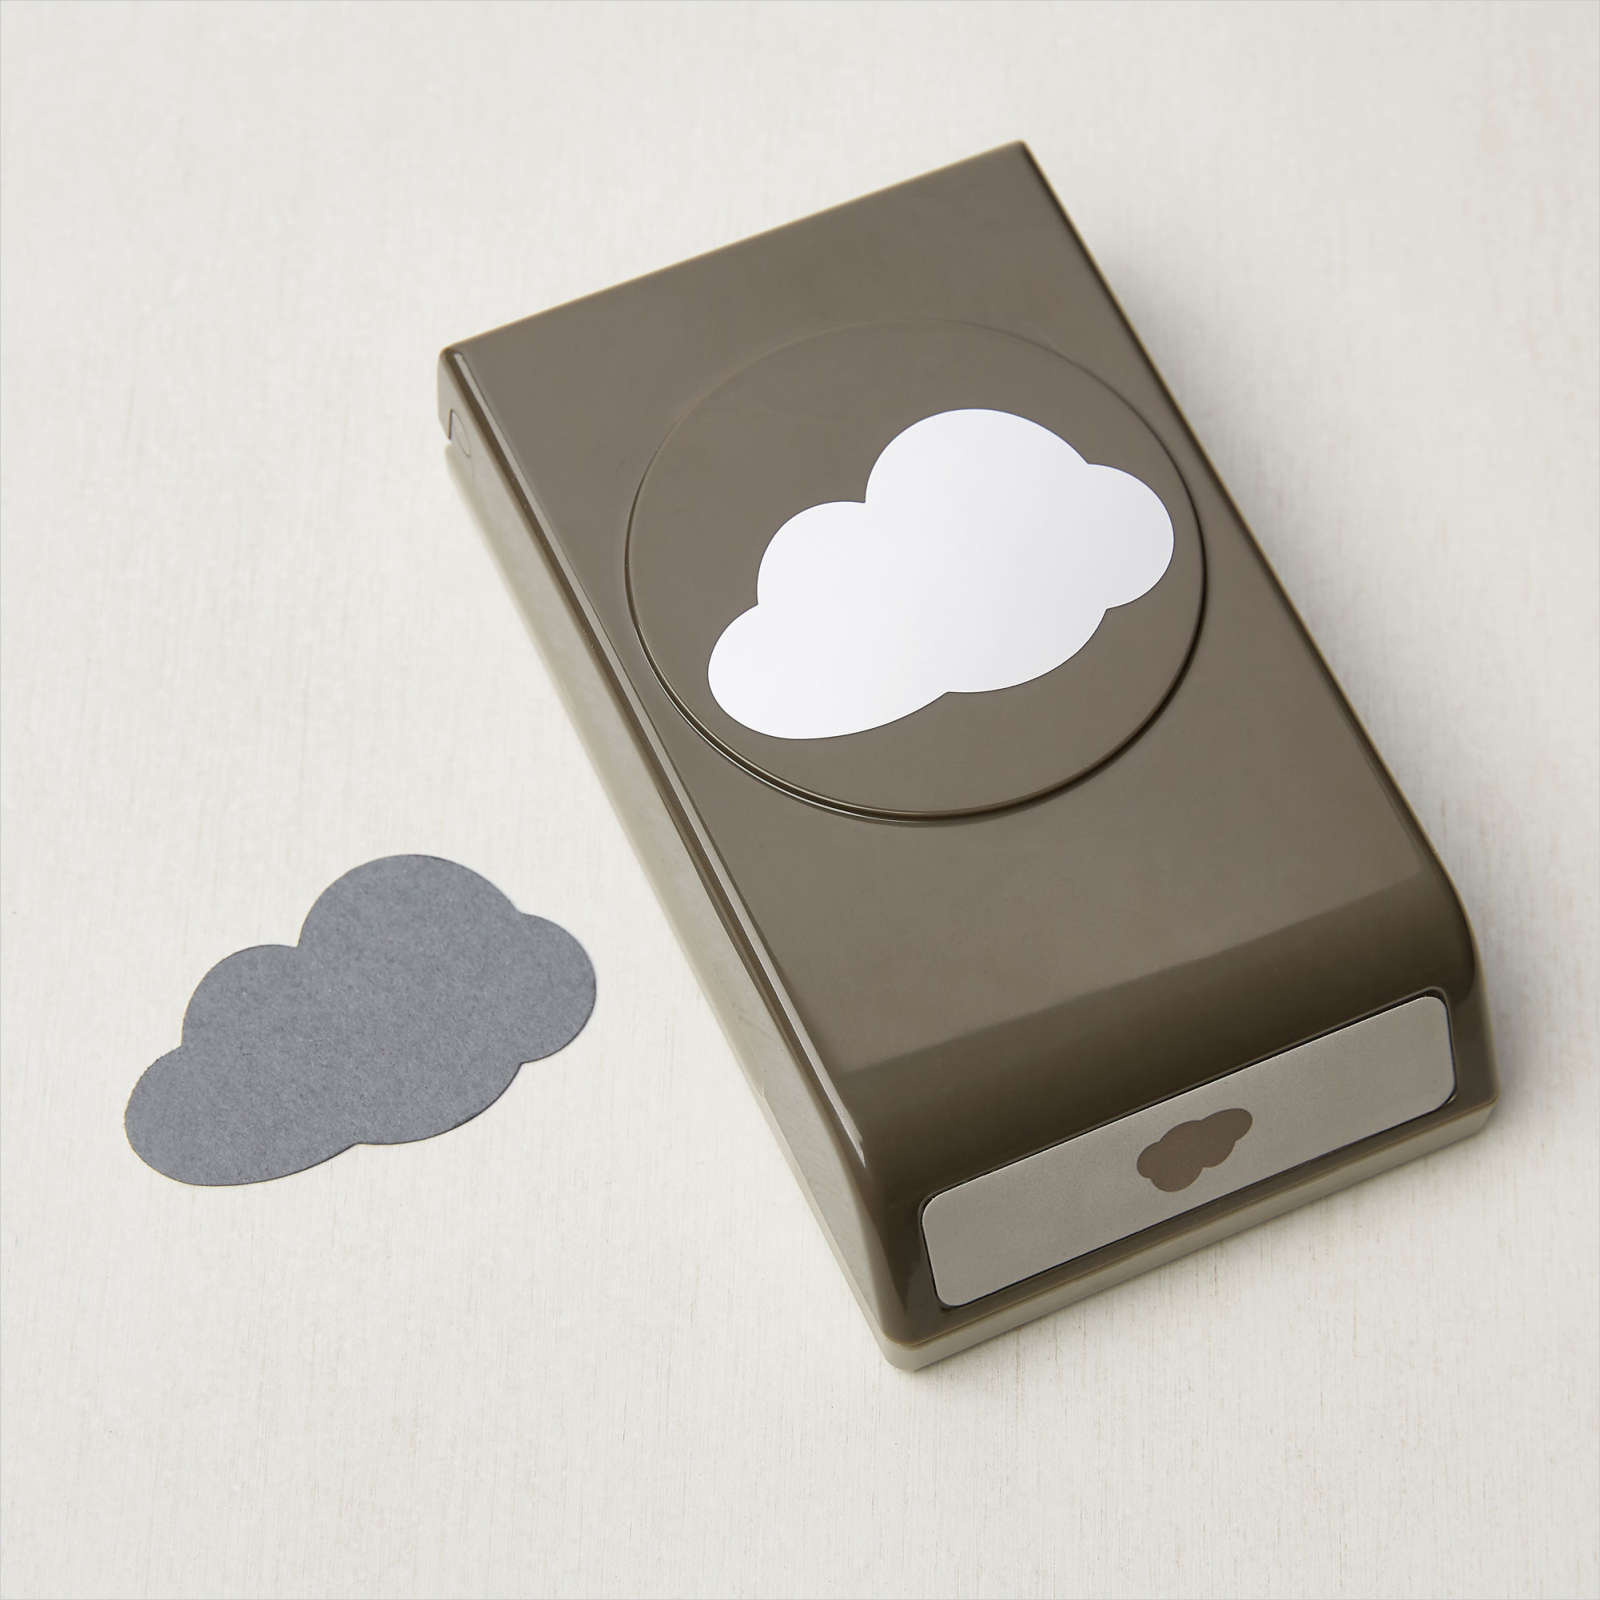
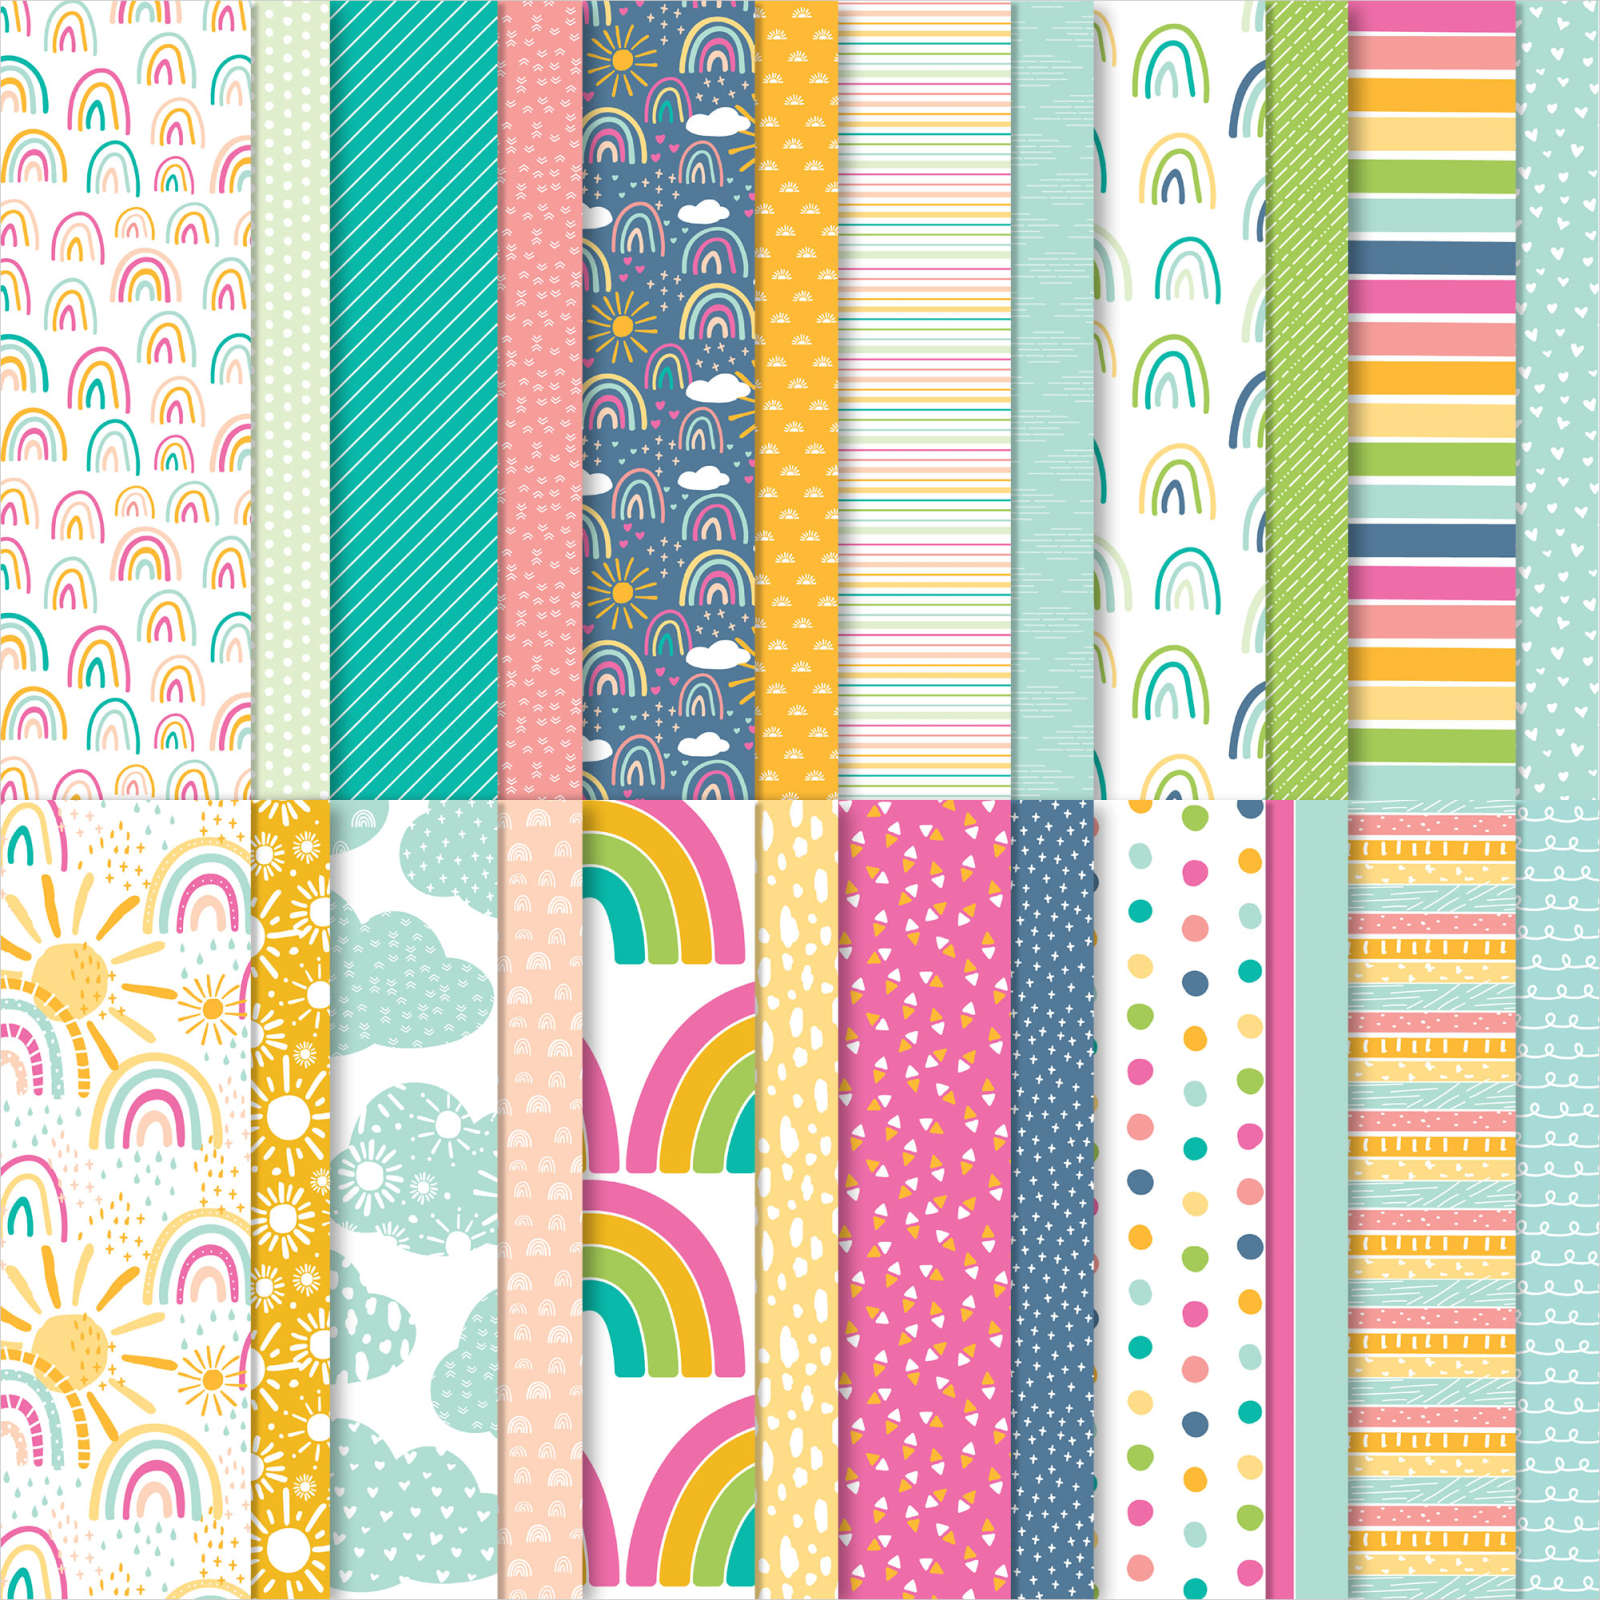
The Rainbow of Happiness Bundle comes with a great stamp set and coordinating rainbow dies. But instead of using the dies for this project, I used the coordinating cloud punch. I also used a strip of the Sunshine and Rainbows DSP (designer series paper) that is FREE with a $50 order during Sale-a-bration.

Rainbow of Happiness Lead

Calendar card

A calendar card is a great gift for the new year. It’s small enough to sit on your desk, nightstand, or anywhere else you need a calendar. The fold for this card is very simple, but it allows the card to stand up.

To create this simple easel fold, cut a Melon Mambo card base to 4 1/4″ x 11″. That’s a half sheet of cardstock cut vertically. Score at 2 3/4″ and 5 1/2″. Fold the card in half on the 5 1/2″ fold. Place glue or other adhesive on the INSIDE between the two score lines and seal the card shut. Gently fold the bottom section back on the other score line, but not completely. Just enough to stand your card. If you fold back completely, your card may not stand up.

Details

The Rainbow of Happiness stamp set has separate stamps for each arch of the rainbow, so it’s easy to make a colorful rainbow. I fussy cut the rainbow. It was easy, just a gentle curve around the outside and the small arch inside.

Rainbow of Happiness Detail

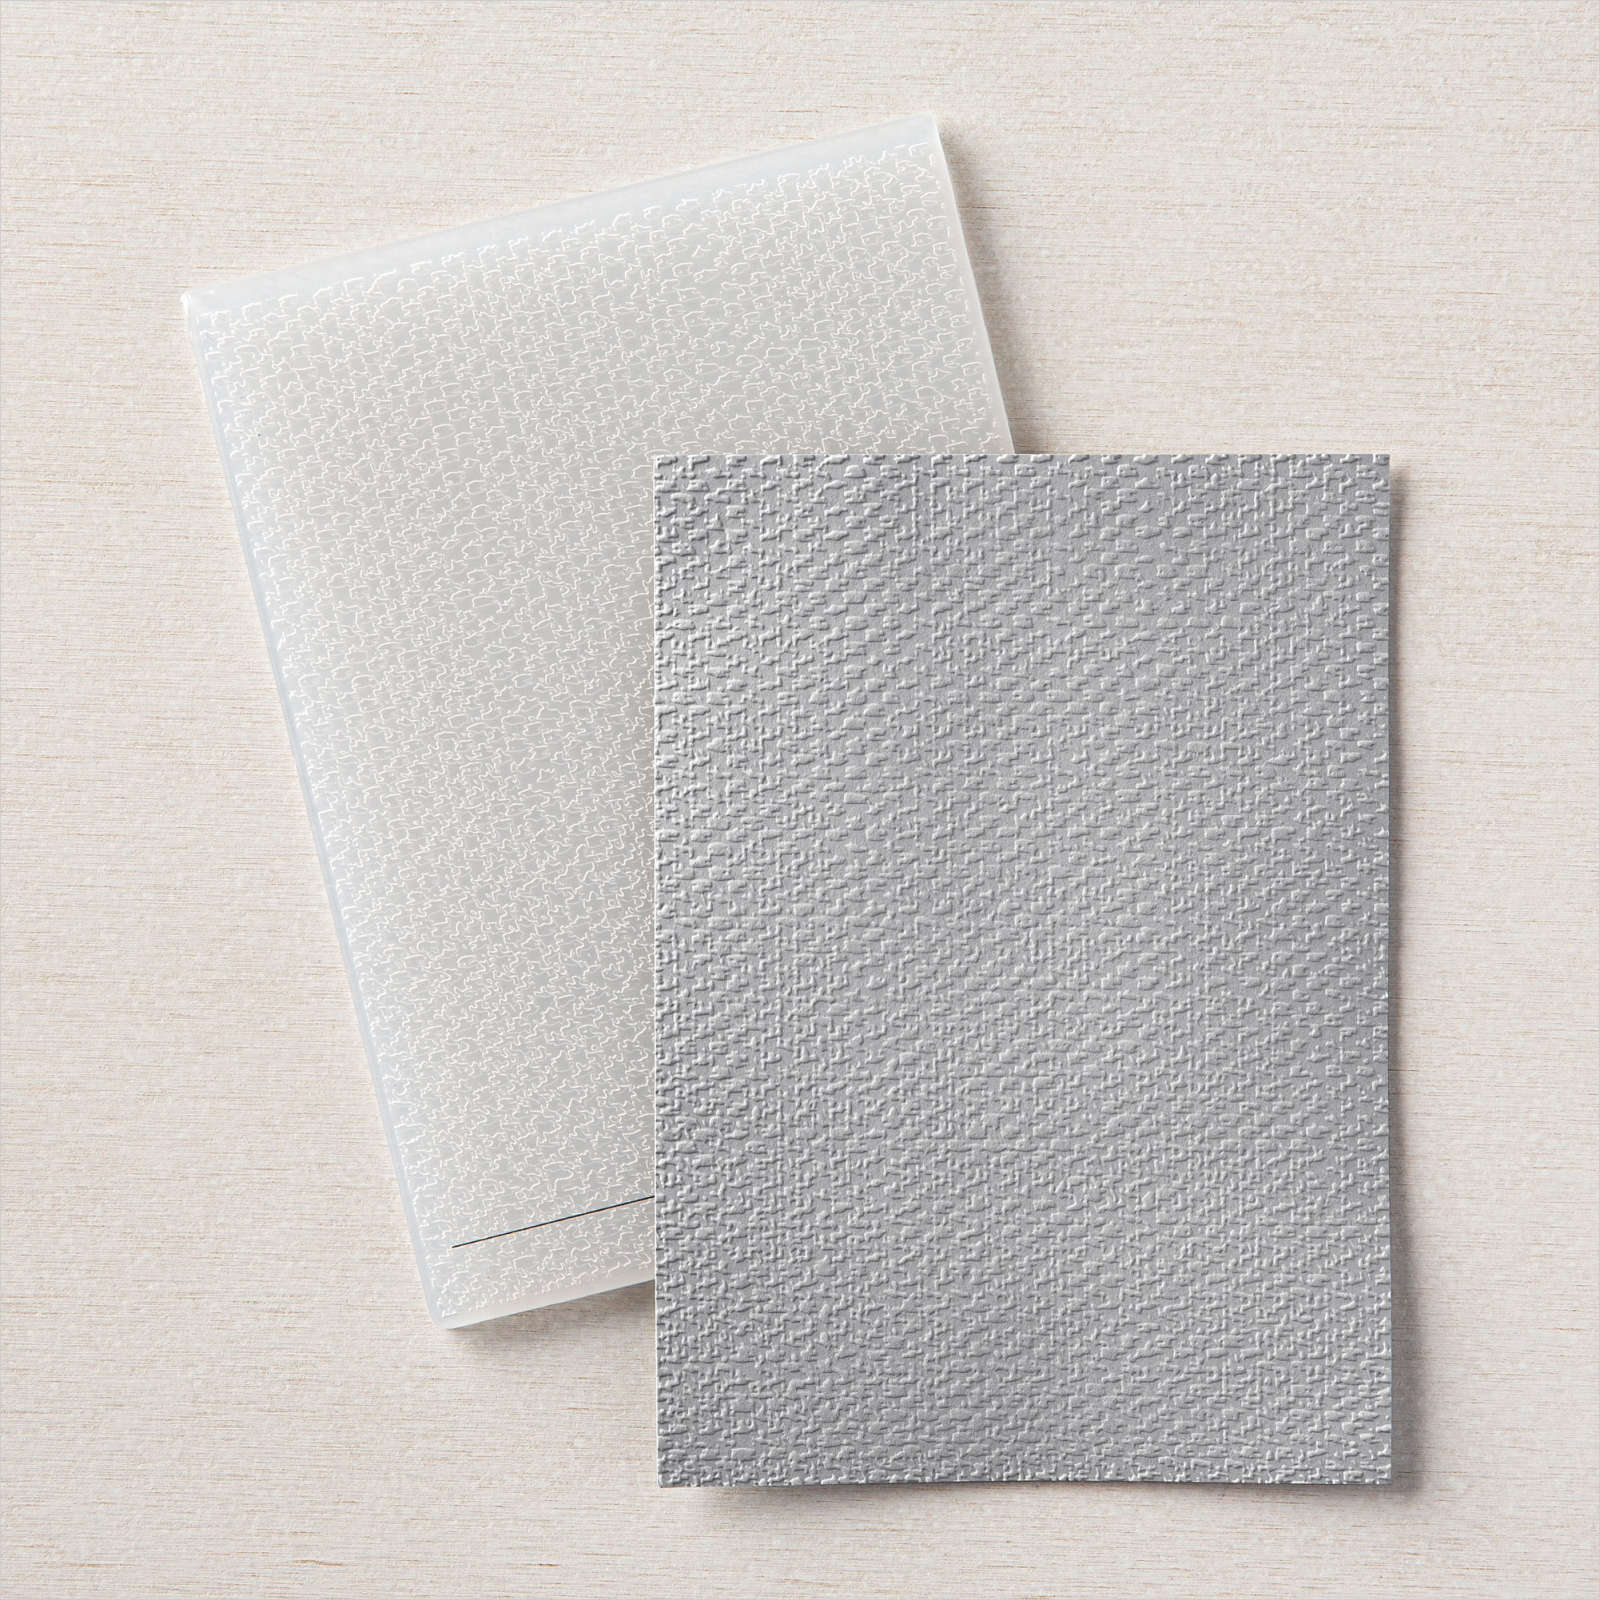
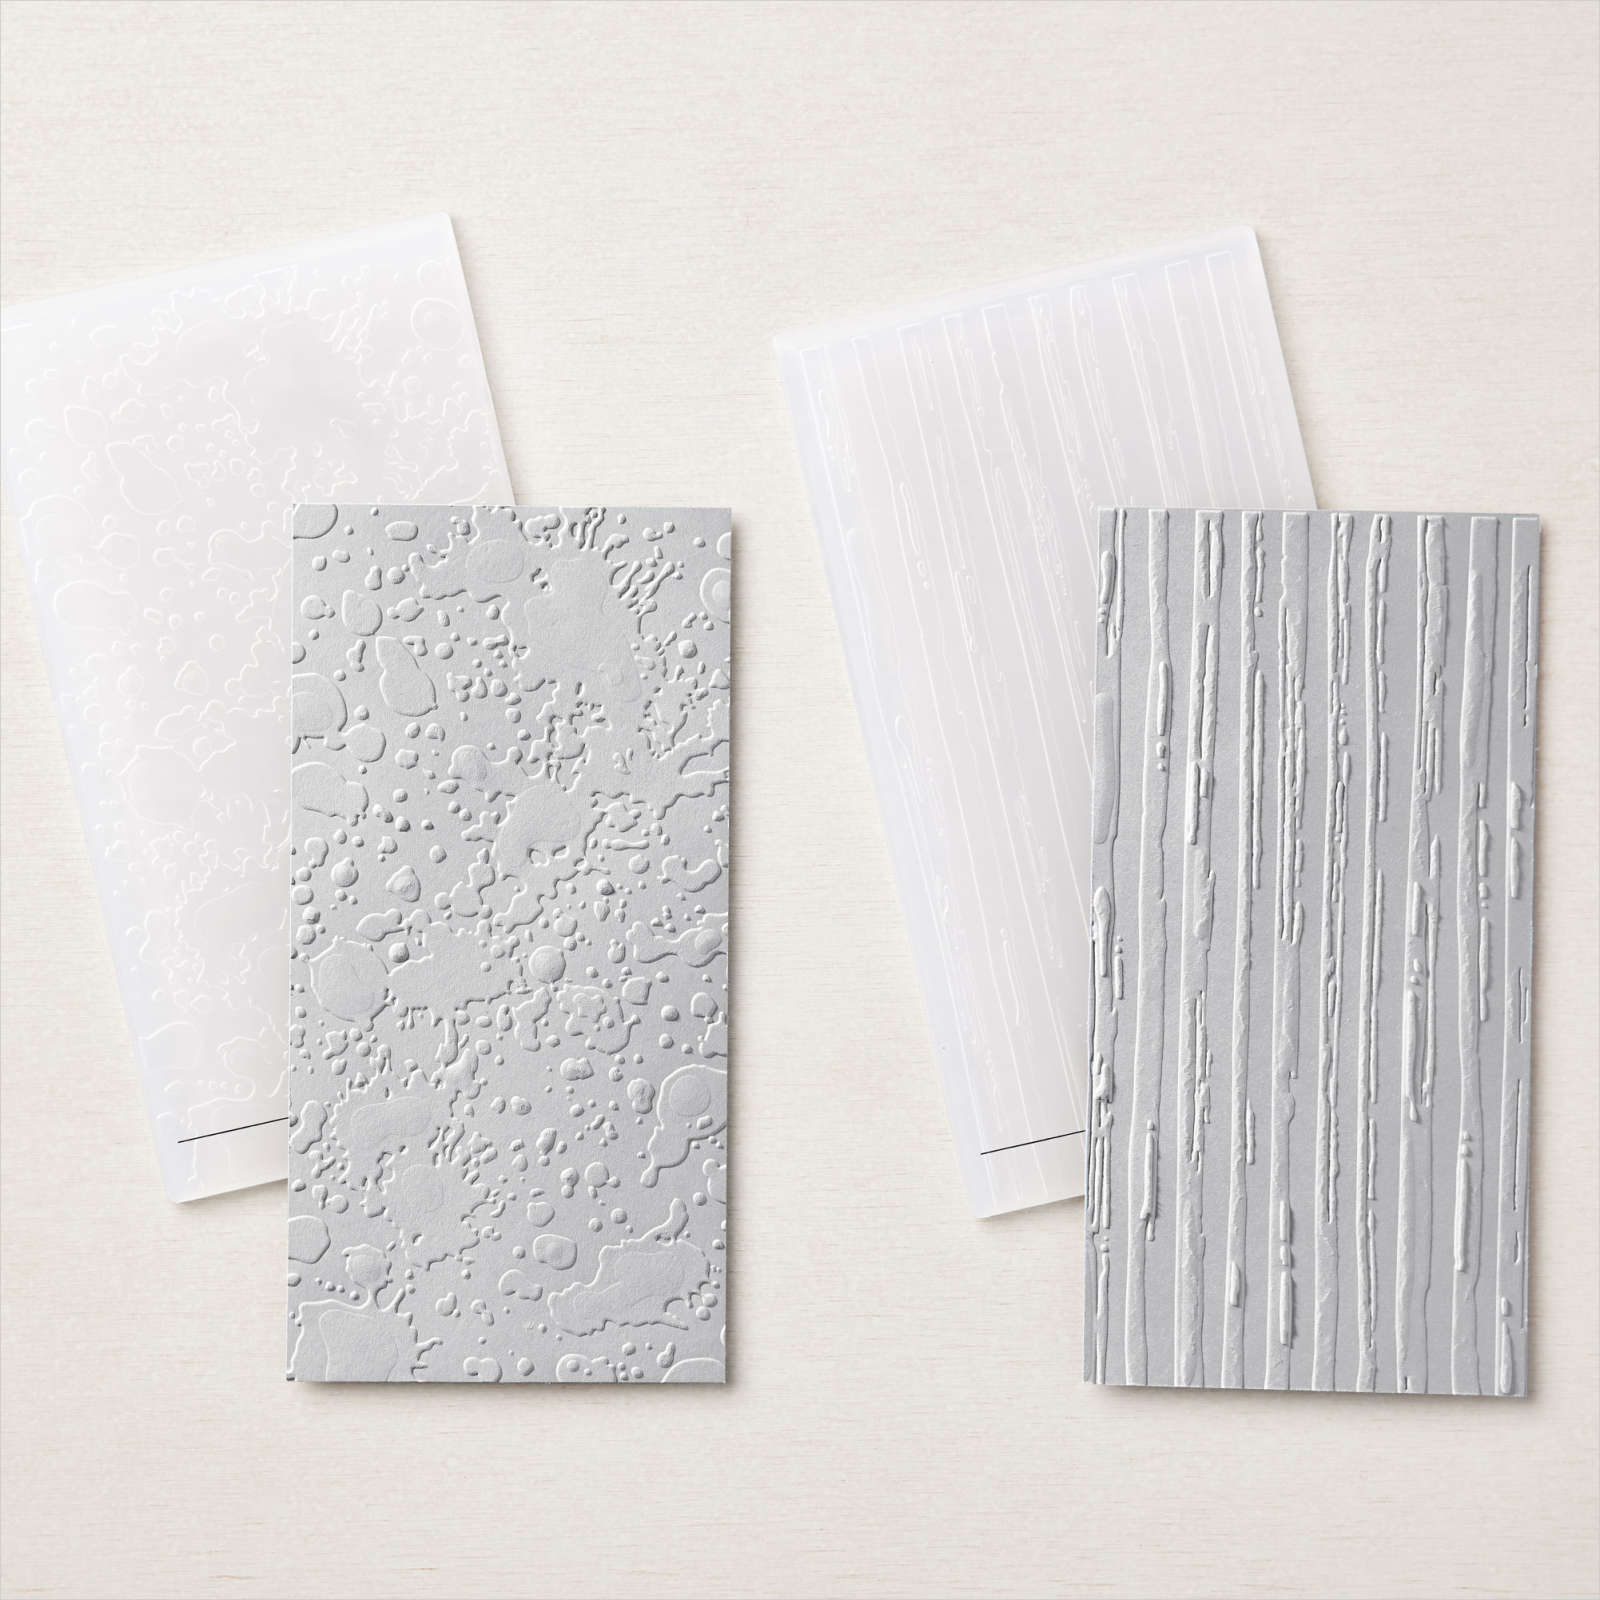
The Basic White background panel is embossed with the Tasteful Textile 3D Embossing Folder. The clouds are punched from Basic White and embossed with the splatters folder from the Stripes and Splatters 3D Embossing Folders set.

I stamped the greeting in Bermuda Bay on Basic White and cut it with a small die from the Stitched Rectangles Dies set. The calendar is adhered to a Bermuda Bay rectangle.

To finish it off, I adhered Basic Rhinestones colored with the Bermuda Bay Blends.

The Fixin’s

Shopping

If you need any stamping supplies, I’d love to be your demonstrator. You may shop with me by clicking on any of the products above or visiting my 24/7 shopping link below.

Thank you for visiting!

I hope you like this project. If you have any questions or comments, I’d love to hear from you in the comments below.

Please join me on Facebook at The Bluegrass Stamper with Jeanne Moss.

Rainbow of Happiness CASE

Rainbow of Happiness Lead

Today’s FAB Stampers post is another CASE (Copy and Selectively Edit) card. I’ve chosen the Rainbow of Happiness Bundle for my card.

FAB Stampers Logo

The Challenge

My friend, Connie, recently challenged me to CASE the catalogs. She chose a card from the Annual Catalog, and we both made cards using her selection as inspiration. You can see those cards here and here. Now, it’s MY TURN!

The Sample CASE Card

I selected this card from page 45 of the new January-June 2022 Mini Catalog. It has a lot of elements, so I thought it would be a great one to switch up a bit.

2022_JJ_P44

Rainbow of Happiness Case

I used the Rainbow of Happiness Bundle to make my card, which is based on the sample above. In addition to the bundle, I used the Sunshine and Rainbows 6×6 DSP. You can get this paper FREE during Sale-a-bration with a qualifying order.

Rainbow of Happiness Lead

How It’s Made

I used a Pool Party card base (5 1/2″ x 8 1/2″, folded in half). Instead of the small ribbon, I used the border die from the Brilliant Rainbow dies to cut two strips of Bermuda Bay. Next, I adhered these across the card base, leaving a little room in between to attach a narrow strip of Melon Mambo cardstock.

Instead of the stamped tile strips, I used five 1″ x 3″ strips of the Sunshine and Rainbows DSP. I adhered these to the card using Dimensionals.

Next, instead of the vellum panel on the sample, I used the new Cloud Punch to punch a few vellum clouds and adhered them with glue dots. I placed the glue dots where they wouldn’t be seen.

Rainbow of Happiness Full

Details

I fussy cut the rainbow from one of the DSP sheets. Then, I punched clouds from both Basic White and Pool Party, layered them together, and glued them to the bottom of the rainbow.

I stamped the greeting in Bermuda Bay ink on a Basic White scrap and cut it out using a die from the Stitched Rectangles dies. This was glued onto the clouds.

I adhered the rainbow with cardstock clouds over the vellum clouds using Dimensionals. To finish it off, I added three Basic Rhinestones that I colored with the Dark Bermuda Bay Blends.

Rainbow of Happiness Detail

A New Look!

Although I used the basic design of the card from the catalog, you can see that my card looks A LOT different! That’s the fun of CASEing!

I hope you’ll try it! Use one of the cards we’ve picked or pick another card and make it your own. I’d love to see what you do.

The Fixin’s

Thanks for stopping by!

Be sure to stop by on Monday to see Connie’s CASE of the above card.

If you see anything you’d like, you can shop with me by clicking on any of the products above or my shopping link below. Please use the following host code (unless your order is $150 or more).

If you’re in Canada, please visit Connie’s blog here. Connie has classes and events, and she’d love to have you join her!