Welcoming Woods Simple Easel

Welcoming Woods Simple Easel Lead Photo

Freshly Brewed Projects Blog Hop with Welcoming Woods Simple Easel Card.

Freshly Brewed Projects Blog Banner

It’s time for another blog hop with my friends from Australia. Today’s hop is all about masculine birthday cards. Sometimes it can be a challenge designing a masculine card, but the current mini catalog has so many beautiful choices that I had a hard time choosing! I finally decided on a Welcoming Woods Simple Easel Fold.
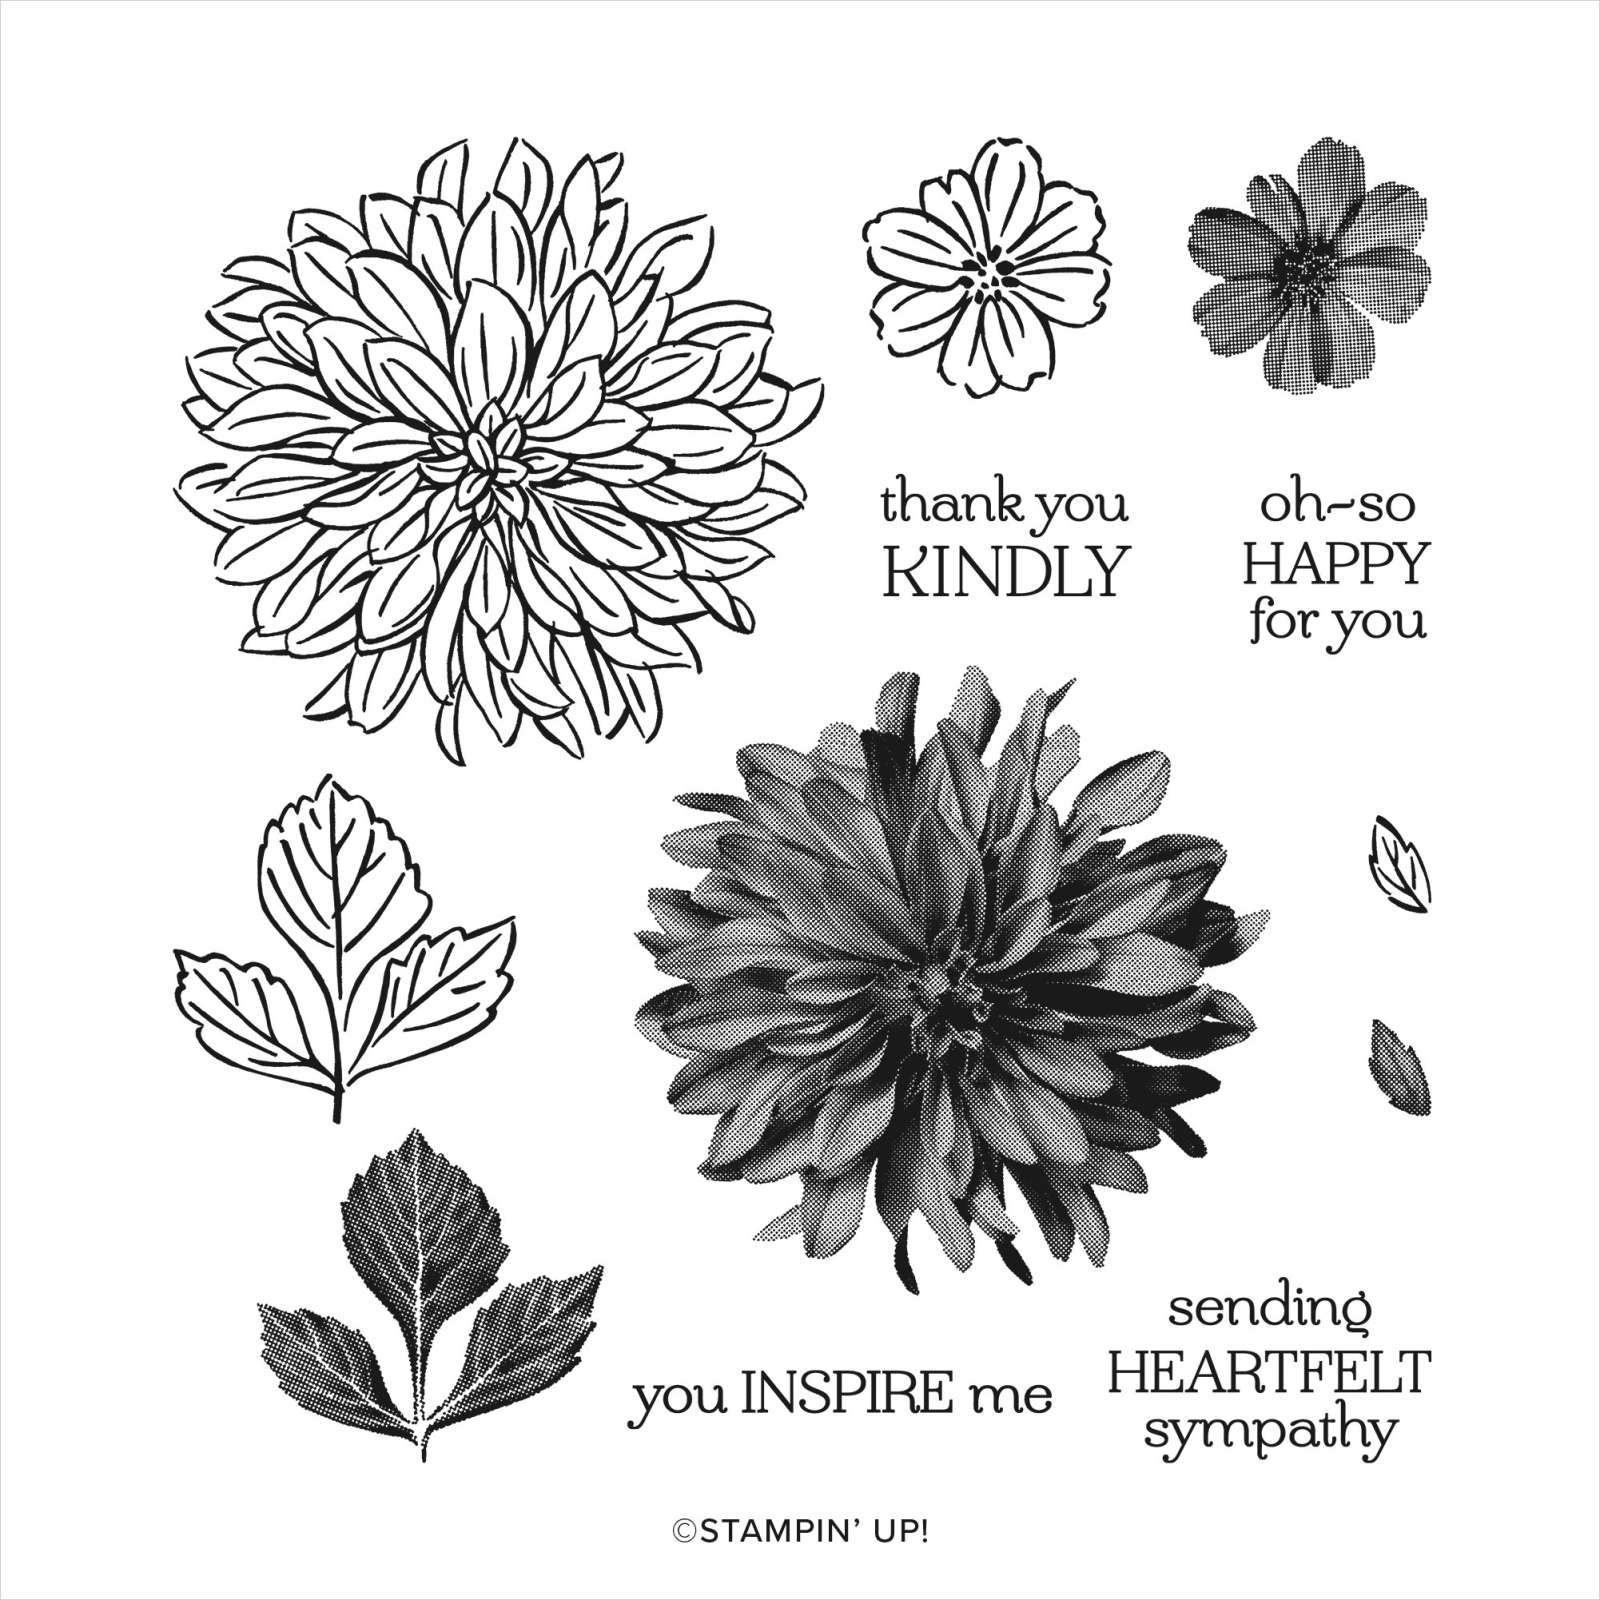
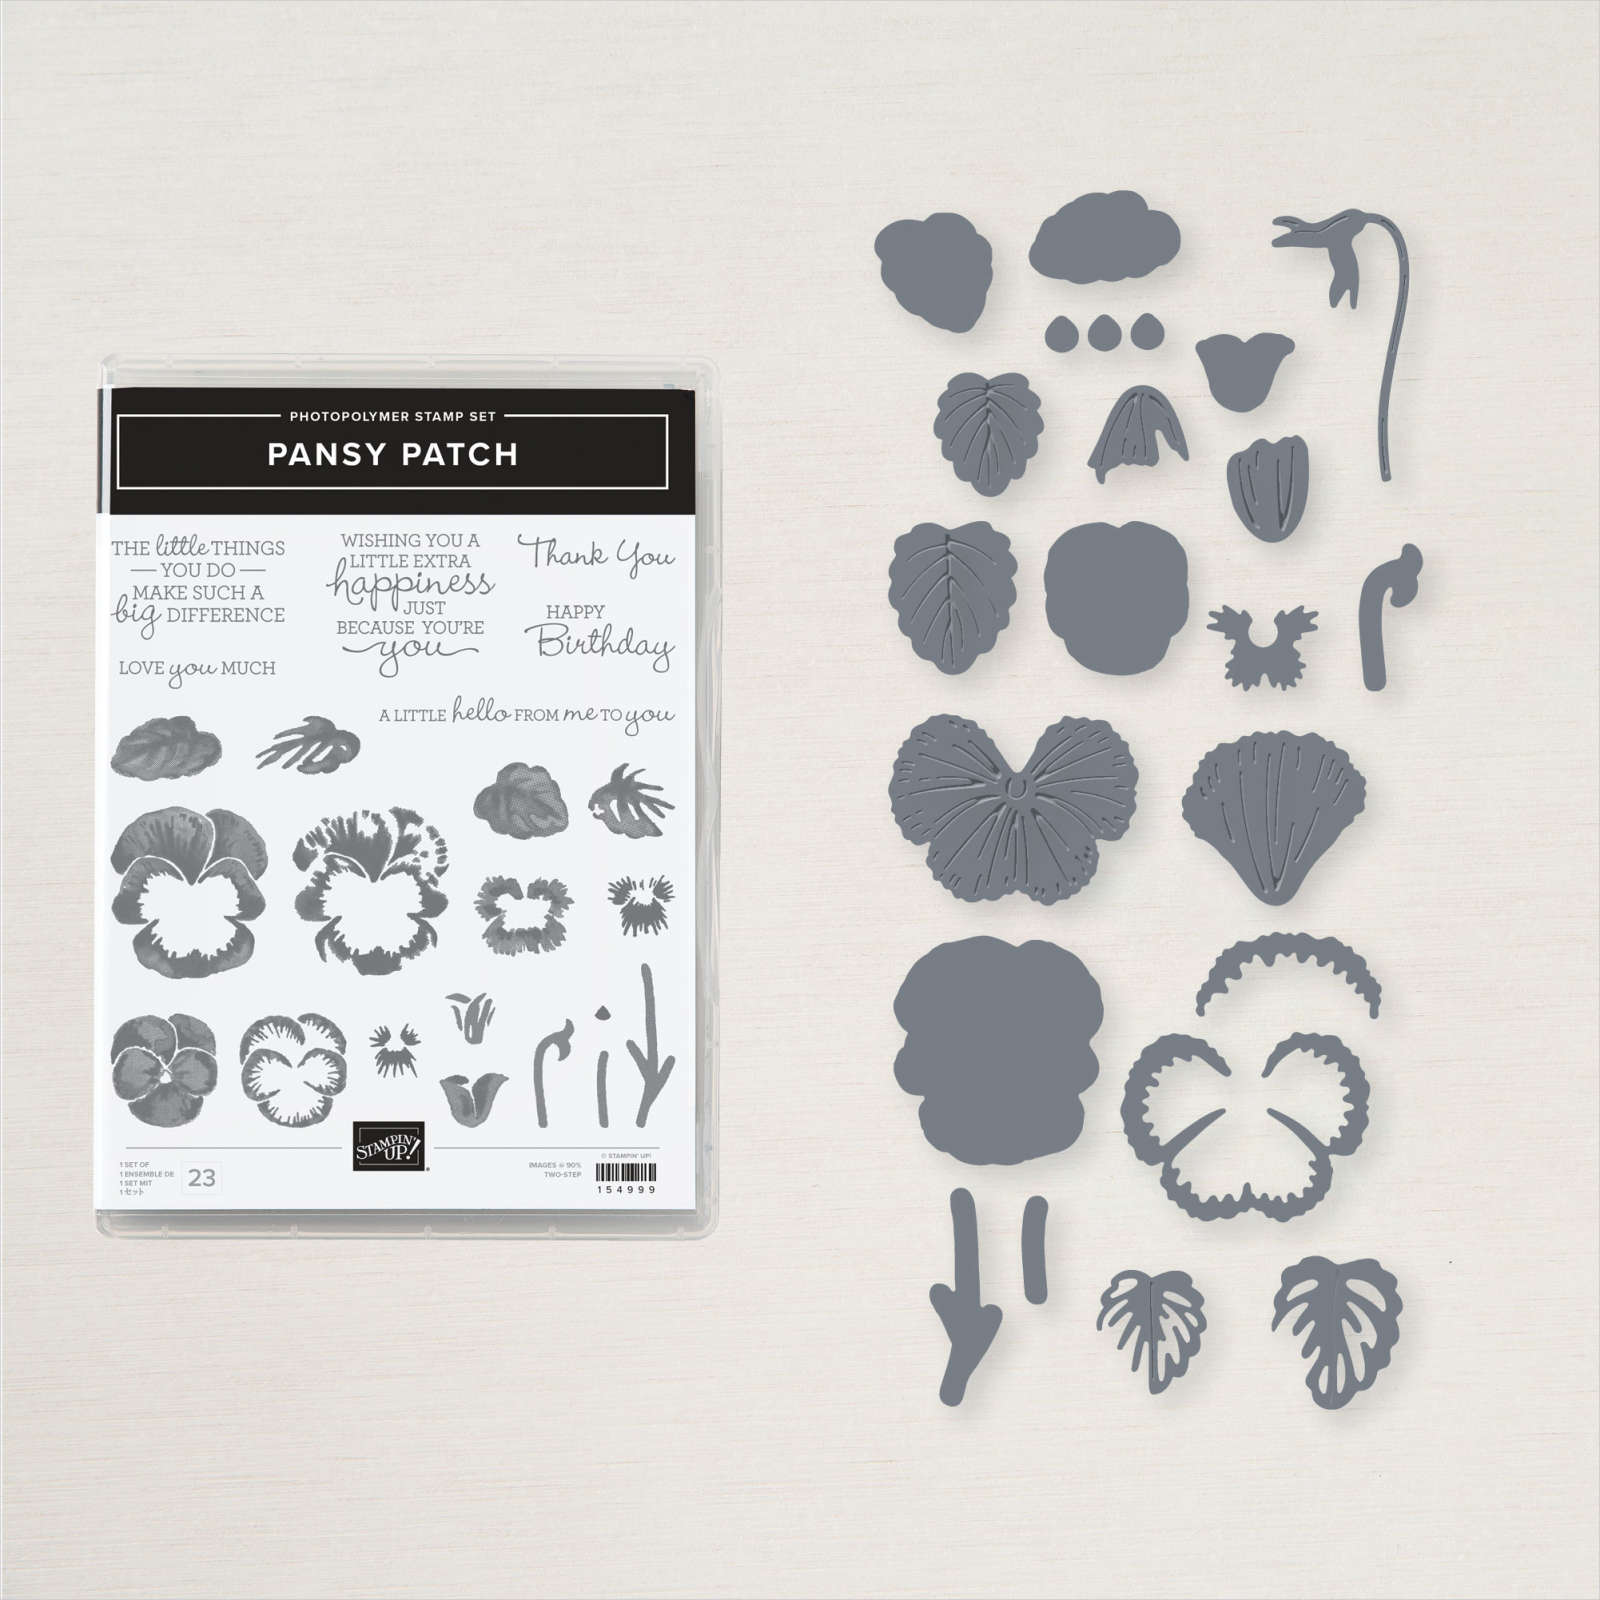
Welcoming Woods

Welcoming Woods Simple Easel Fold Lead Photo

Making an Easel Fold Card

It’s super easy to make a simple easel fold card. For this one, my card base is 4 1/4″ x 11″ (cut a sheet of cardstock in half vertically). Score and fold the card in half (5 1/2″) to make your card base, and then simply score and fold the front of the card in half (2 3/4″). When you adhere your decorated panel to the card front, be sure to only add adhesive to the bottom half of the card front, otherwise your card won’t fold to create the easel.

You can see how this fold works in the photo below. You’ll also notice the sentiment is “popped up” with a dimensional. This creates a stop for the easel to rest against and keep it in place.

Welcoming Woods Easel

Details

To create the beautiful sunset background, I covered the bottom (ground) portion of the panel with scrap paper, then used the Blending Brushes to add Crushed Curry, Cajun Craze, and Misty Moonlight ink above the covered portion.

I then took the scrap paper that was covering the bottom and used it to cover and protect the portion I’d just colored. Again, I used the Blending Brushes to add soft suede to the bottom uncolored part.

The trees and leaves were stamped in Early Espresso and the ground shading (it’s a stamp) in Soft Suede.

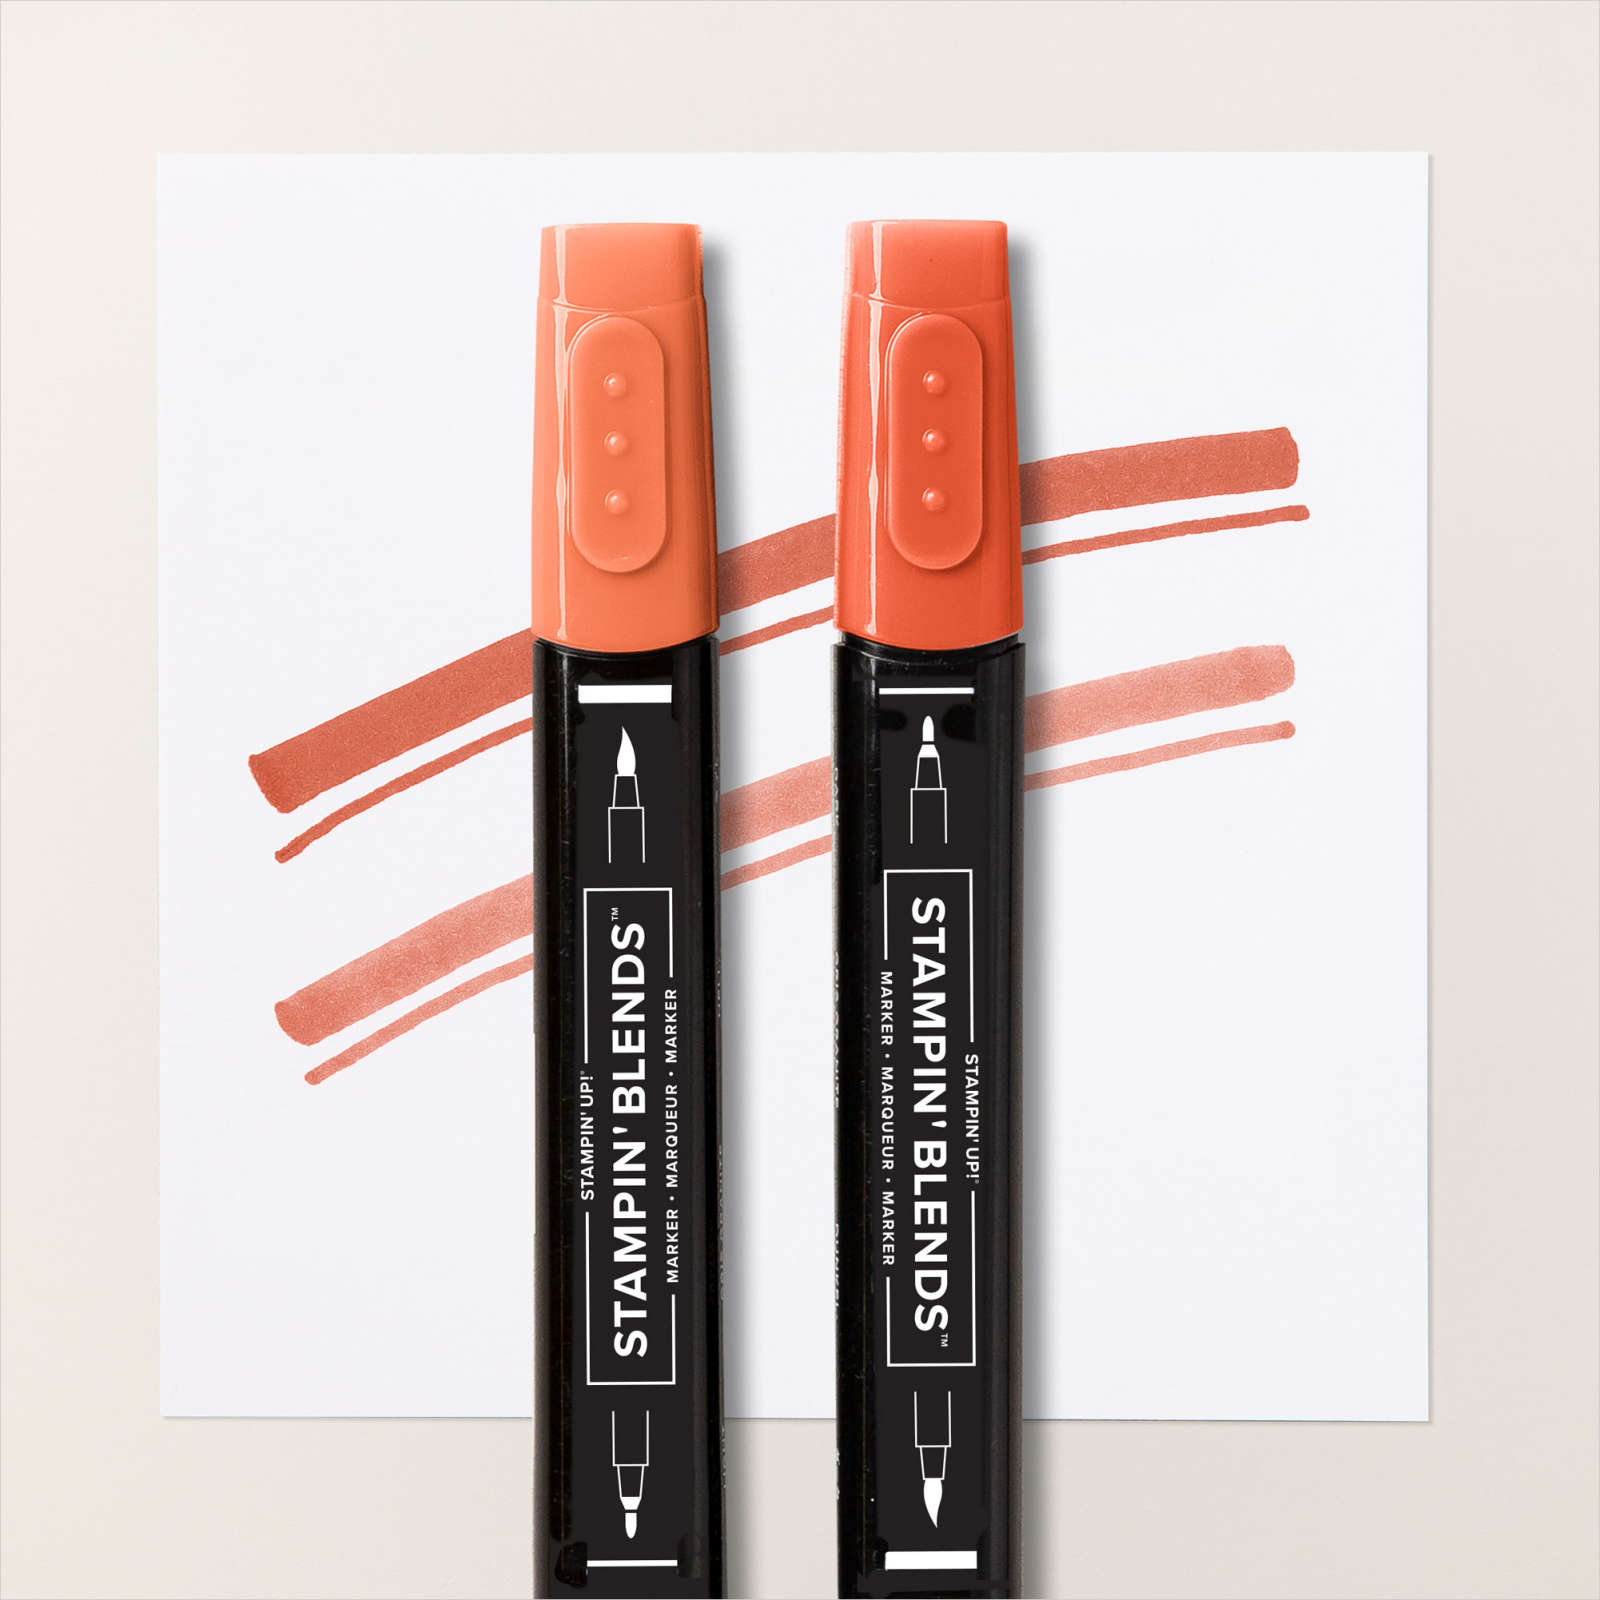
The Cajun Craze dark Blend was used to color the pearls.

Welcoming Woods Easel Detail

Let’s Hop!

I hope you’ve enjoyed my project. Now, let’s see what my crafty friends down under have been up to.

Here’s the fixin’s for Welcoming Woods Simple Easel:

Thanks for stopping by!

I hope you’ll visit often, and if you are in the USA and need any stamping supplies, I hope you’ll think of me. If you have questions or comments, please leave them below.

Another Sale-a-bration in August?!

Delicate Dahlias Sympathy Lead Photo

Wait…….what?!

It’s true! For the first time, Stampin’ Up! is offering two Sale-a-bration promotions in the same year! In the USA, that means you can earn FREE items with any $50 or $100 purchase before shipping and tax during August and September.

New Sale-a-bration items

What can you earn FREE? Today’s Blog Hop features some of those new items.

Freshly Brewed Projects Blog Banner

Delicate Dahlias

I’m using the Delicate Dahlias Sale-a-bration stamp set to make a sympathy card. I think the florals in this set are beautiful, and there are several sentiments to choose from, so you could make this card for any occasion. And, you can get this stamp set FREE with any $100 purchase before shipping and tax!

Delicate Dahlias Sympathy Lead Photo

Two Step Stamping

Delicate Dahlias is a Two-Step stamp set. If you look at my card, you can see the outline of the dahlia is a darker color than the petals themselves. It takes two steps to make the flower. First, I stamped the flower in Pool Party using the flower stamp, then went back and used the outline stamp with Misty Moonlight to add the darker outline.

The leaves were stamped in two steps as well, but using Granny Apple Green in both steps.

Masking

As you can see, there are two flowers, one BEHIND the other. To get this effect, I used a technique called Masking. Unlike painting, where you add the front image last, with the Masking Technique you stamp the front image first, then cover or “mask” it to stamp the other images. This allows them to appear BEHIND the first image.

Be sure to sign up for my Email Newsletter, if you’d like more information on Masking. I’m working on an instructional PDF to send to my newsletter subscribers soon!

Delicate Dahlias Sympathy

Double Layer Technique

Did you notice how the stamped images continue from the front layer onto the back layer? This is achieved using a Double Layer Technique.

First, I stamped the images (using the Masking Technique) onto a 4″ x 5 1/4″ Basic White panel. I then used the Stitched Rectangles Dies to cut a rectangle from the center of this panel.

I cut a piece of Misty Moonlight cardstock using one of the dies from the new Scalloped Contours Die set and layered it behind the cut white rectangle with the stamped images. It’s then centered over the hole and adhered with dimensionals.

Below is a picture of the pieces I used, so you can see how this card comes together.

Delicate Dahlias Sympathy Elements

Details

The greeting is stamped on Basic White and punched with the Double Oval Punch, layered onto a piece of Misty Moonlight that is punched using the scalloped oval from the same punch.

I added a piece of the Gold Fine Art Ribbon and one of the Bumblebee Trinkets to embellish.

Delicate Dahlias Sympathy Detail

Let’s Hop

Visit my friends’ blogs to see more new Sale-a-bration items you can earn FREE!

Here’s the fixin’s:

Ordering

If you are in the USA, and would like to purchase any of the supplies for this project, I’d love to have your order. If your order is less than $150 before s/t, please use the following Host Code and receive a special Thank You from me.

For orders of $150 or more, don’t use the Host Code and pick FREE Stampin’ Rewards!

Pansy Petals Triple DSP Cards

Pansy Petals Triple DSP Lead Photo

What’s better than a paper sale? How about some new fun ways to use those papers! With these Pansy Petals Triple DSP Cards, the DSP does all the work for you!

Today’s Blog Hop is all about Fun With Patterned Papers, or as we in the Stampin’ Up! world call it, Designer Series Paper (DSP).

Freshly Brewed Projects Blog Banner

Pansy Petal Triple DSP Cards

My card for today features three different patterns from the Pansy Petals DSP.

Pansy Patch Triple DSP Lead Photo

Inspiration

This card is inspired by a birthday card I received from my friend, Peggy, in Arizona. It was on display at my Open House last weekend, and another of my friends was wondering how you would cut the DSP for this. Liz sends a lot of cards, so I thought it would be good to show how to cut this to have DSP for THREE cards at one time.

Let’s Cut DSP!

I know it’s really hard to cut into that beautiful DSP we all have hoarded, but let’s do it!

First, I cut three 3 3/4″ x 5″ pieces of coordinating DSP. I’m using DSP from the Pansy Petals Suite, which is currently on sale!

Mark the edges of the lightest colored piece using a pencil and ruler. On the right side, mark at 1 1/4″ from the top edge and 1 1/4″ from the bottom edge. On the left side, mark at 2″ from the top edge and 2″ from the bottom edge.

Layer all three pieces together and cut them all at one time. You may need to run your blade back and forth a couple of times to cut through all three layers. Cut from the top mark on the right to the top mark on the left. Then cut from the bottom mark on the right to the bottom mark on the left.

You’ll have nine pieces of DSP. I cut three pieces of Basic White cardstock to 3 3/4″ x 5″ and glued these pieces onto them, mixing and matching the pieces. Trim any overhanging edges as needed.

The Details

In these cards, the beautiful DSP does all the work. The only thing needed is a simple sentiment to finish it off, and the Double Oval Punch is perfect for this. I simply punched the scalloped oval from the same color cardstock as the card bases, and added the Thank You stamped and punched from Basic White with the smaller oval from the same punch.

Pansy Petals Triple DSP Detail

Making the cards

The ABSOLUTE BEST thing about Stampin’ Up! is their color coordination! It’s what persuaded me to become a demonstrator 17 years ago. Each package of DSP has the coordinating colors listed on the back of the package. I pulled a few colors to mix and match with the DSP. The card bases are 5 1/2″ x 8 1/2″, folded in half, and the layer is 4″ x 5 1/4″.

Which one is your favorite?

The first card has an Evening Evergreen base and Soft Succulent layer. The second has a Calypso Coral base and Soft Sea Foam layer. And, the last one has an Evening Evergreen base with Calypso Coral layer.

No card is complete without bling!

The two Evening Evergreen cards are embellished with the new 2021-2023 In-Color jewels, and the Calypso Coral card is embellished with the 2020-2022 In-Color Square Gems.

Let’s Hop!

Let’s see what fun ideas my friends in Australia have for using DSP. Visit their blogs by clicking on the links below.

It’s a DSP sale!

Stampin’ Up! is currently having a sale on DSP. Save 15% on any of the following papers, including the one I’m using, until August 2nd! Prices shown below are BEFORE 15% discount.

Here’s the fixin’s

Thanks for stopping by

I hope you enjoyed these cards. I’d love to hear which one is your favorite in the comments below. If you’re in the USA and don’t have a demonstrator, I’d love to fill that gap.

Shop with me

If you are in the USA and need any supplies, I’d love to have your order! Please visit my website and use the Host Code listed above. Be sure to allow me to have your contact info, so I can send you a Thank You!