Stamp Case Suitcase

I recently posted about my VIP Party on a demonstrator site, and I had a lot of requests for more information on the Stamp Case “Suitcase” I gave to my guests.  If you missed the party posts, you can see them here and here.

I made each of my top ten customers a personalized suitcase.

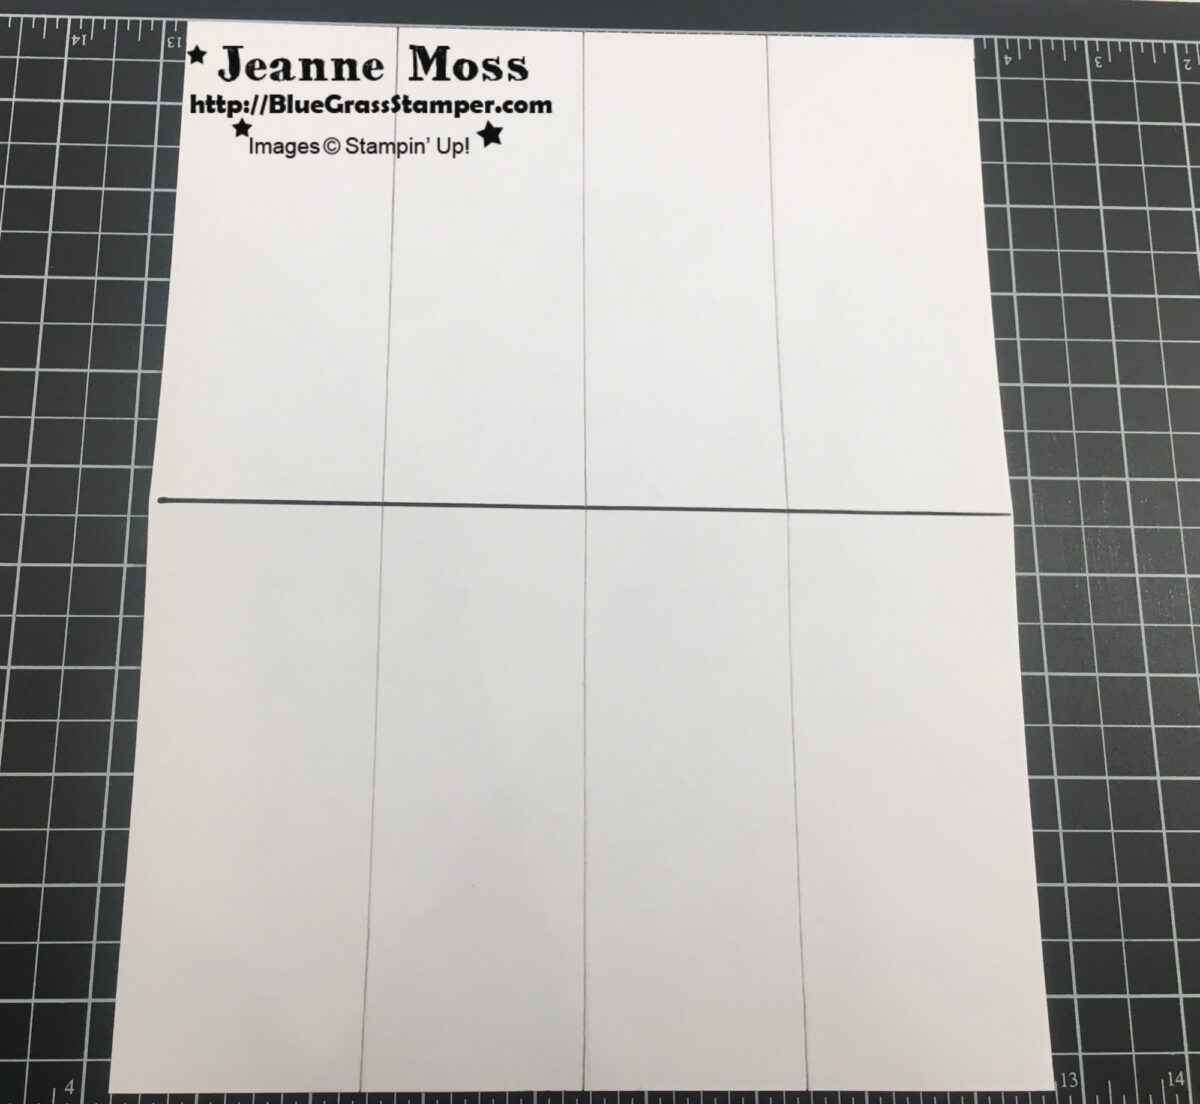
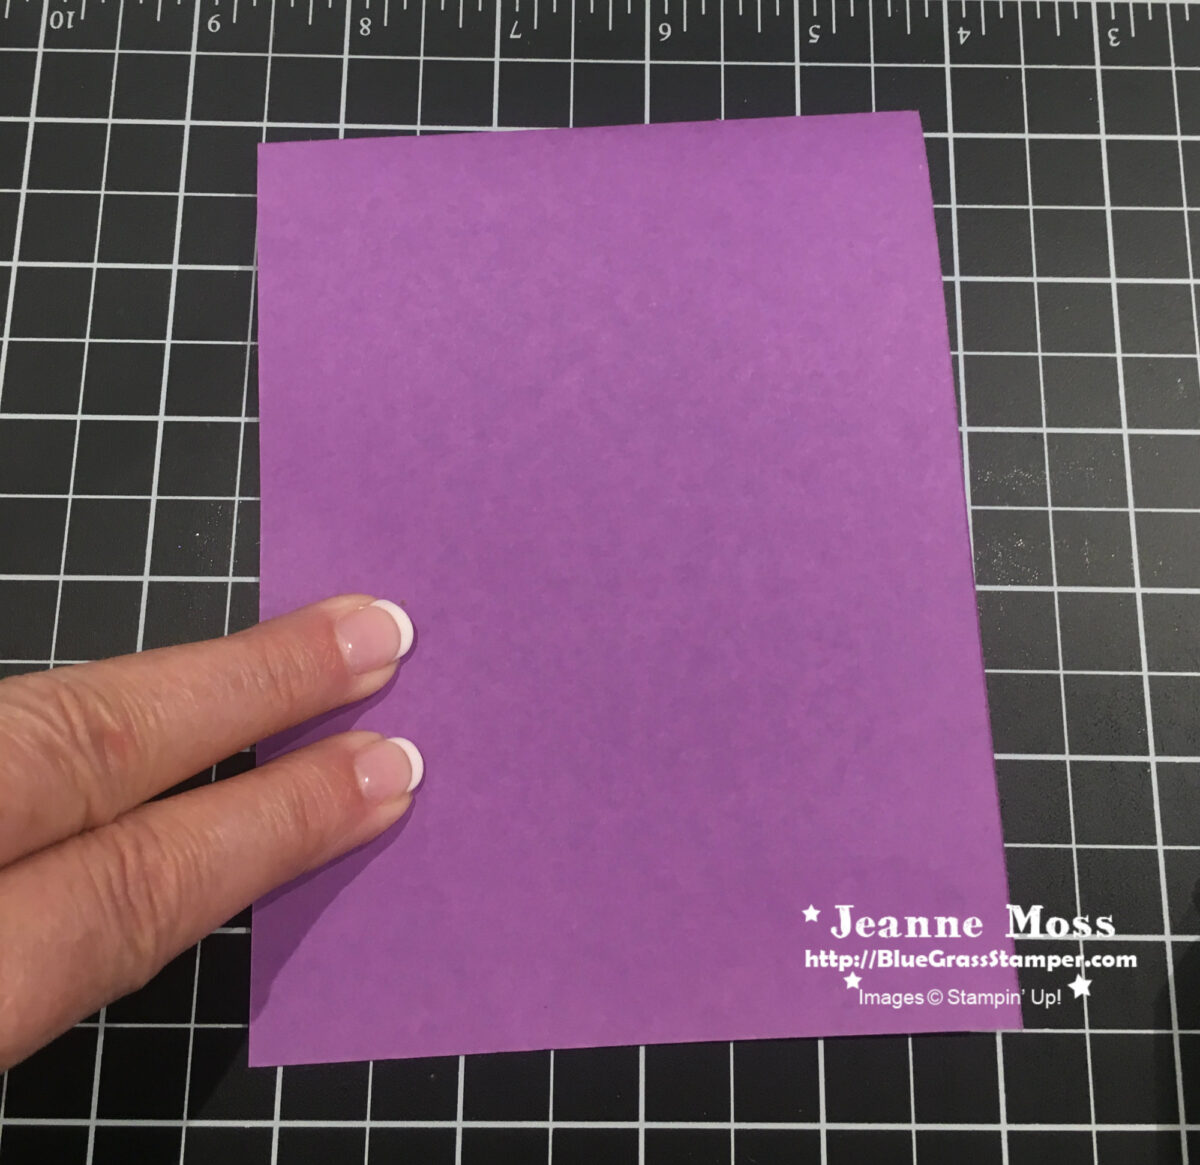
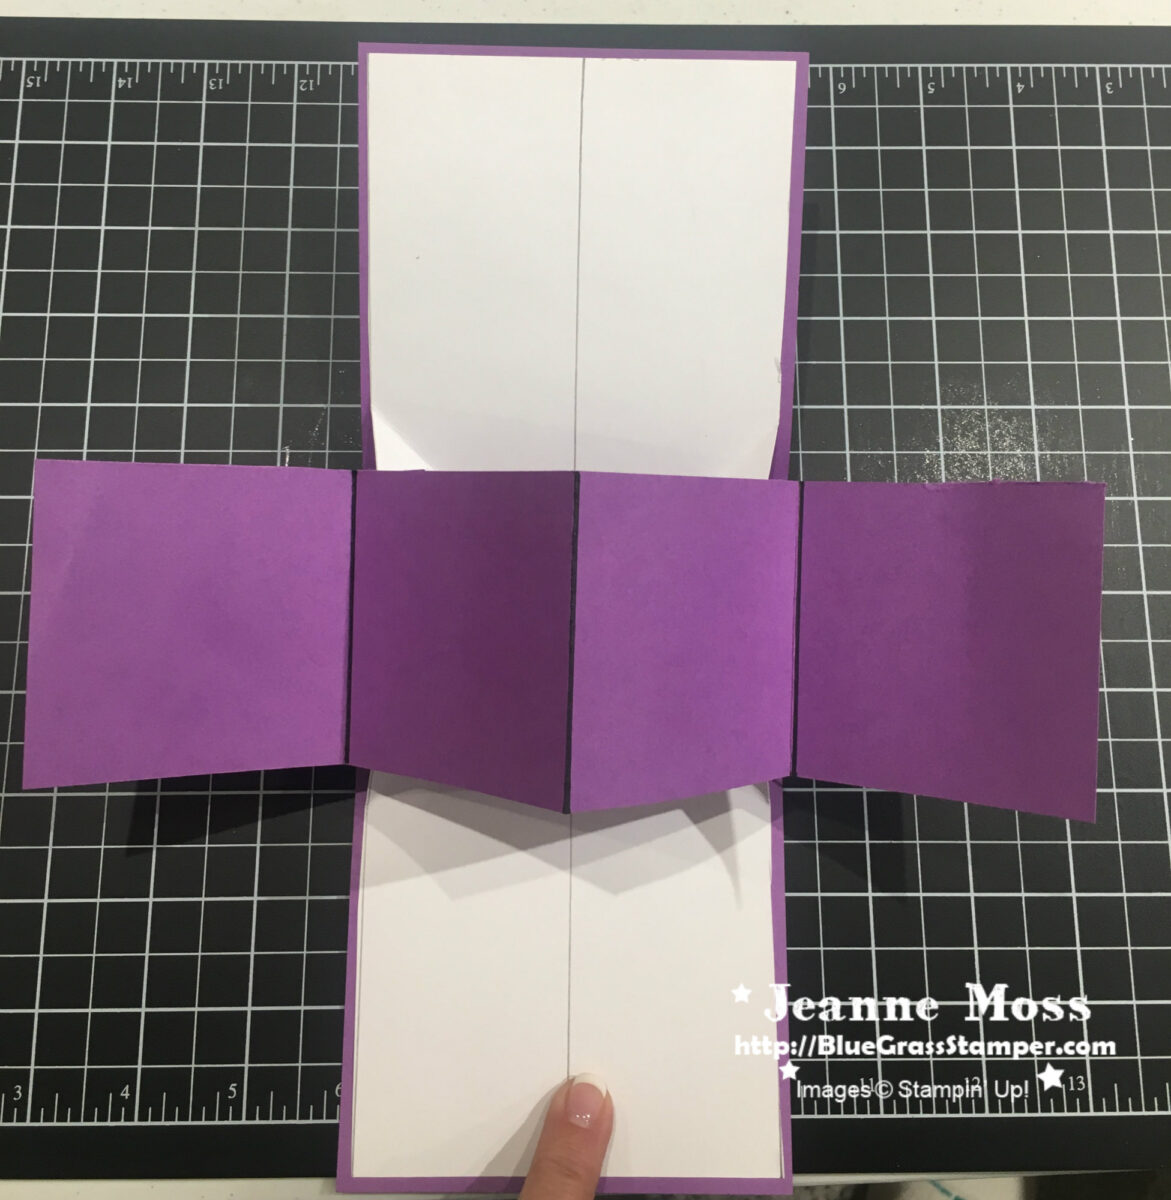
I started by cutting a piece of Designer Series Paper (DSP) 7″ x 11 1/4″.  This size fits neatly into the plastic cover of the full size Wide Stamp Case.

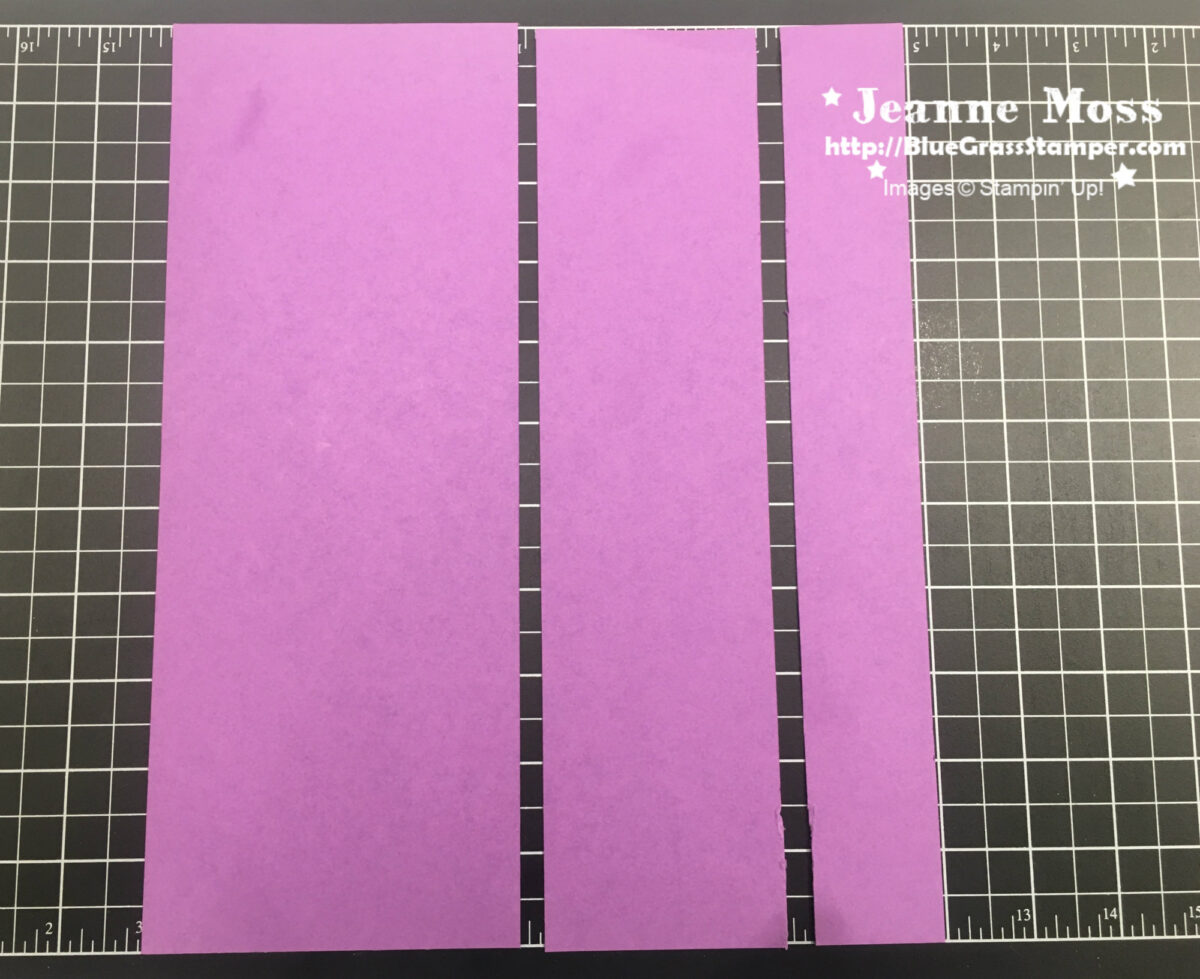
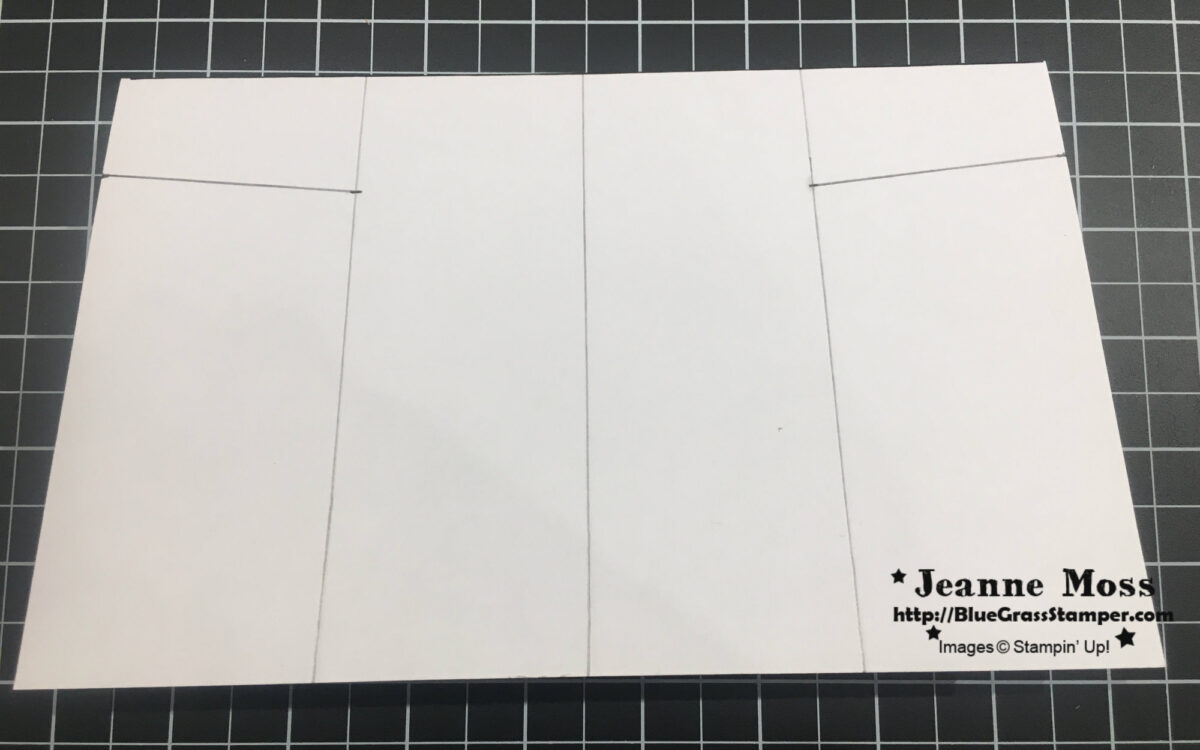
I slipped the DSP into the cover and closed the box.  This creased the paper so I could better see the dimensions of  the area I wanted to decorate.  I then removed the paper and decorated it with the Whisper White cardstock strips, Large Letters Framelits, and Daisy Delight Bundle.  I then re-inserted the DSP into the cover of the stamp case.

I cut a piece of cardboard to 1 1/4″ x 7 1/2″, and centered my handle on the cardboard to mark where the holes for the screws should go.  I punched holes in the cardboard strip.  To double check, I placed my handle on the strip to be sure the punched holes were lined up with the screw holes.  I got my handles at Home Depot.  They are 3 3/4″ from center of one screw hole to the other.

I centered the strip on the spine of my stamp case (with DSP already inserted) and marked the holes (I used a Sharpie).  My hubby drilled through the case and paper, using the proper sized drill bit for my screws.  He used a power drill.  Be careful not to make the holes too big.  He screwed the handle onto the spine.  Note:  the screws that come with the handles are too long, as they are made to go through cabinet drawers, so you’ll need to purchase shorter screws.

I used a manual screwdriver to attach the handles.  It takes a bit of effort, but you’ll have more control.

Have fun with these!

One final note:  The stamp cases were accidentally left out of the current Annual Catalog, but they are still available for purchase.  The item number is 127551.  They can be purchased at my shopping link below.

If you like this project, I’d love to hear from you in the comment section below!

Four Panel Pop-Up New Year’s Card

I’ve been having technical problems this week.  First, my external hard drive crashed and all my files are gone.  Second, I couldn’t get my photos to upload to the cloud so I could edit them, and I don’t know what’s wrong with our internet, but everything is working VERY slowly.  Of course, all this happens when I actually have a couple of days to get some things done!  Go figure!

We made this card at Stamp Club this month, and while I know I need to finish posting my Christmas cards, I promised to do a tutorial on this card, and I want to get it out in case my friends want to make more of these.

img_20271

The outside is nice, but the magic really happens when you open this card.

img_2029

Isn’t this a great card?!  I can’t wait to use this design to make cards for other occasions.

Stamps:  Frosted Medallions, It’s a Celebration

Cardstock:  Smoky Slate, Basic Black, Whisper White, Silver Glimmer

Ink:  Tuxedo Black Memento, VersaMark

Dies/Punches:  Triple Banner, Large Letters Framelits

Other:  Sparkle TIEF, Silver Embossing Powder

TUTORIAL:

It looks complicated, but it’s not as hard as it looks.  But, I’m only showing you how to make the basic mechanism, and you can decorate it any way you want.

First, you’ll need two sheets of 8 1/2 x 11 cardstock.  I’m using purple and white just so you can see what I’m doing.  Cut the purple sheet in half vertically at 4 1/4″.  Cut one of these pieces at 2 3/4″, so you’ll have a piece that is 2 3/4″ x 11.  You’ll only need these two pieces, so you can save the smallest piece for a future project.

img_2034

Fold the 4 1/4″ x 11″ piece in half at 5 1/5″.  This will be your card base.  Score the 2 3/4″ x 11″ strip at 2 3/4″, 5 1/5″, and 8 1/4″.  This will be the four panel piece.  Fold it accordian style.  It should look like a W.

img_2038

Cut a 1/4″ strip off of the white sheet, so that it measures 8 1/2 x 10 3/4″.  This will be our mechanism.  You can discard the 1/4″ strip.

img_2035

Score this piece in the center of the 10 3/4″ side at 5 3/8″.

img_2039

Turn and score at 2 1/4″, 4 1/4″ and 6 1/4″.

img_2040

Fold in half on the 5 3/8″ score line.  Take a ruler and measure 1″ from the fold and use a pencil to mark the edge of the card stock.  Repeat on the other side.

img_2041


Measure 1 1/4″ from the fold on both outer score lines and mark with the pencil.

img_2042

Using your ruler, draw a line from the 1″ mark to the 1 1/4″ mark on both sides.

img_2043

Use your scissors to cut through both layers on the outer score line up to, and along the pencil line.

img_2044

Open cardstock and lay flat.  Bring the right “wing” across and line up the center score line of the wing with the center score line that runs the length of the card.  Use your bonefolder to crease well.  Repeat with the left “wing”.  Try to keep the folds intersecting in the center of the card.

img_2045img_2046

Open card and pull “wings” toward the center.

img_2047

Flatten and crease (it will be in a house shape).  Outline house shape with a good strong adhesive like Tear & Tape.  Line up and adhere to base card with point toward center fold.

img_2048img_2049

Outline other side of house shape with adhesive and close card to adhere.

img_2050img_2051


Place strong adhesive on opposite points of “wings” as shown with X.

img_2052

Close card.  Open partially as shown and remove adhesive backing from X area.  Center four panel piece inside card (with folds toward center fold) and press down to adhere to the X area.

img_2054img_2053img_2055

Slightly open card enough to get the wing that has not been adhered on top of the four panel piece and adhere.  One wing will be adhered to the top of your piece and the other will be adhered to the bottom.

img_2056img_2057

That’s it!  Open your card and watch the magic happen!

img_2059

Whew!  That was a lot of pictures to edit!  I hope you’ve enjoyed this tutorial.  If you have any questions, let me know.  I would love to see what YOU create with this fold!

Thanks for visiting, and if you need any stamping supplies, please visit my online store.


Joy Wall Hanging

I have a lot of Christmas Projects to share with you.  We’ve been working very hard in Stamp Club and Cards and More classes…..so hard, in fact, that I haven’t had time to post any of our creations!

This project was a cute wall hanging that we did in Stamp Club last month.  It uses the Large Letters Framelits.  Those are one of the pricier items in our Annual Catalog, especially when you get the bundle with stamp set, but there are SO many things you can do with them!  You could make banners that say ANYTHING, wall hangings, framed art.  How cute would it be to spell out a new baby’s name?

I CASED this from Barb Millikan.  You can see her version here.

img_1842

Stamps:  Cozy Critters, Stitched with Cheer

Cardstock:  Cherry Cobbler, Crumb Cake, Garden Green

Ink:  Cherry Cobbler, Garden Green

Paper:  Warmth and Cheer DSP stack

Dies:  Large Letters Framelits, Layering Squares Framelits

Other:  Burlap Ribbon, Thick Cherry Cobbler Bakers Twine (vintage), Gold Binder Clips

If you’d like any of these supplies to create your own wall hanging, I’d love for you to visit my online store, which is open 24/7.

Thanks for stopping by!