I’ve been having technical problems this week. First, my external hard drive crashed and all my files are gone. Second, I couldn’t get my photos to upload to the cloud so I could edit them, and I don’t know what’s wrong with our internet, but everything is working VERY slowly. Of course, all this happens when I actually have a couple of days to get some things done! Go figure!
We made this card at Stamp Club this month, and while I know I need to finish posting my Christmas cards, I promised to do a tutorial on this card, and I want to get it out in case my friends want to make more of these.

The outside is nice, but the magic really happens when you open this card.

Isn’t this a great card?! I can’t wait to use this design to make cards for other occasions.
Stamps: Frosted Medallions, It’s a Celebration
Cardstock: Smoky Slate, Basic Black, Whisper White, Silver Glimmer
Ink: Tuxedo Black Memento, VersaMark
Dies/Punches: Triple Banner, Large Letters Framelits
Other: Sparkle TIEF, Silver Embossing Powder
TUTORIAL:
It looks complicated, but it’s not as hard as it looks. But, I’m only showing you how to make the basic mechanism, and you can decorate it any way you want.
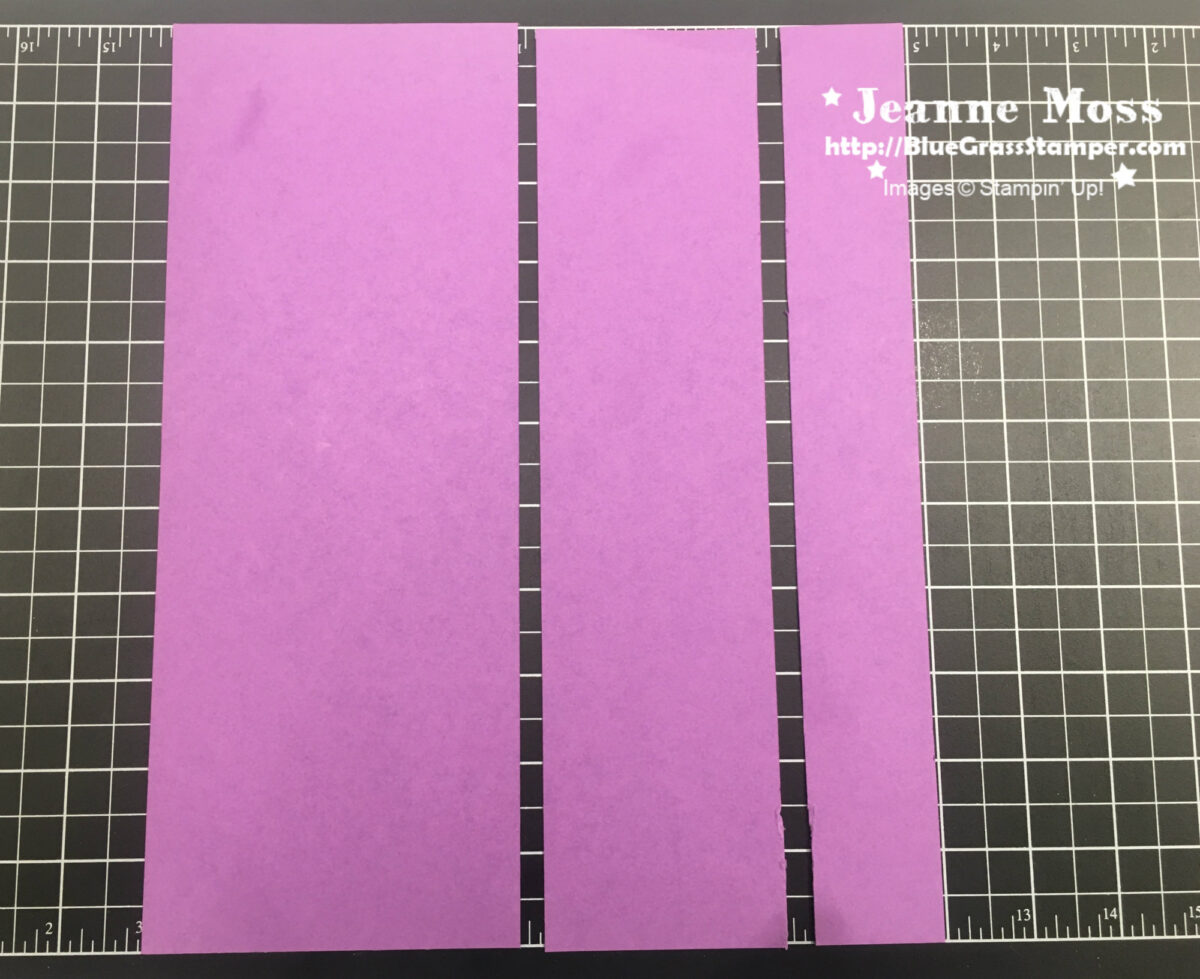
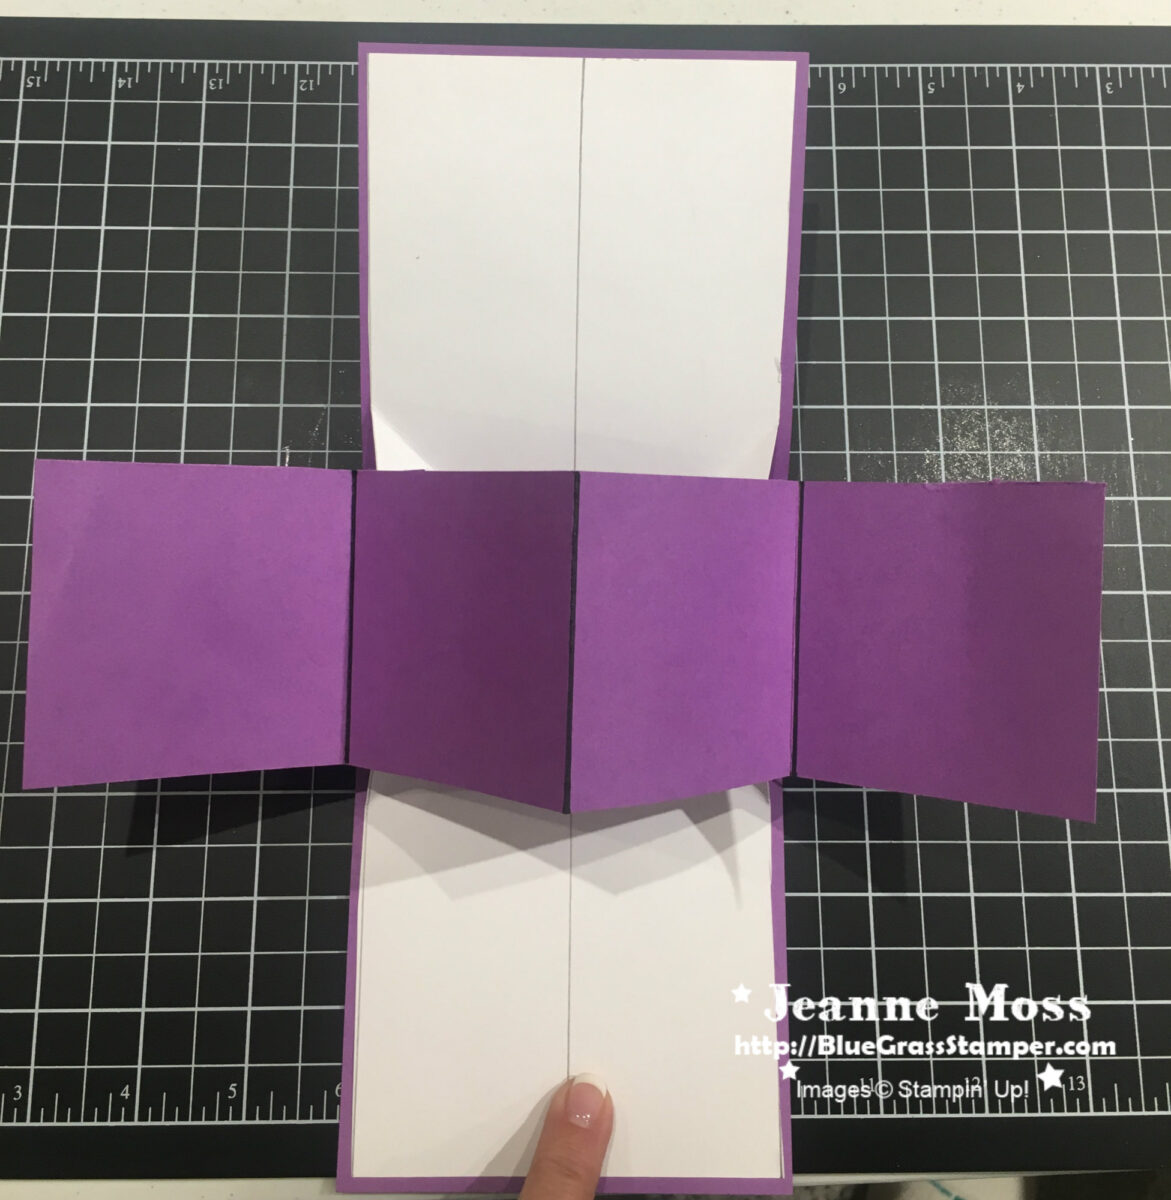
First, you’ll need two sheets of 8 1/2 x 11 cardstock. I’m using purple and white just so you can see what I’m doing. Cut the purple sheet in half vertically at 4 1/4″. Cut one of these pieces at 2 3/4″, so you’ll have a piece that is 2 3/4″ x 11. You’ll only need these two pieces, so you can save the smallest piece for a future project.
Fold the 4 1/4″ x 11″ piece in half at 5 1/5″. This will be your card base. Score the 2 3/4″ x 11″ strip at 2 3/4″, 5 1/5″, and 8 1/4″. This will be the four panel piece. Fold it accordian style. It should look like a W.

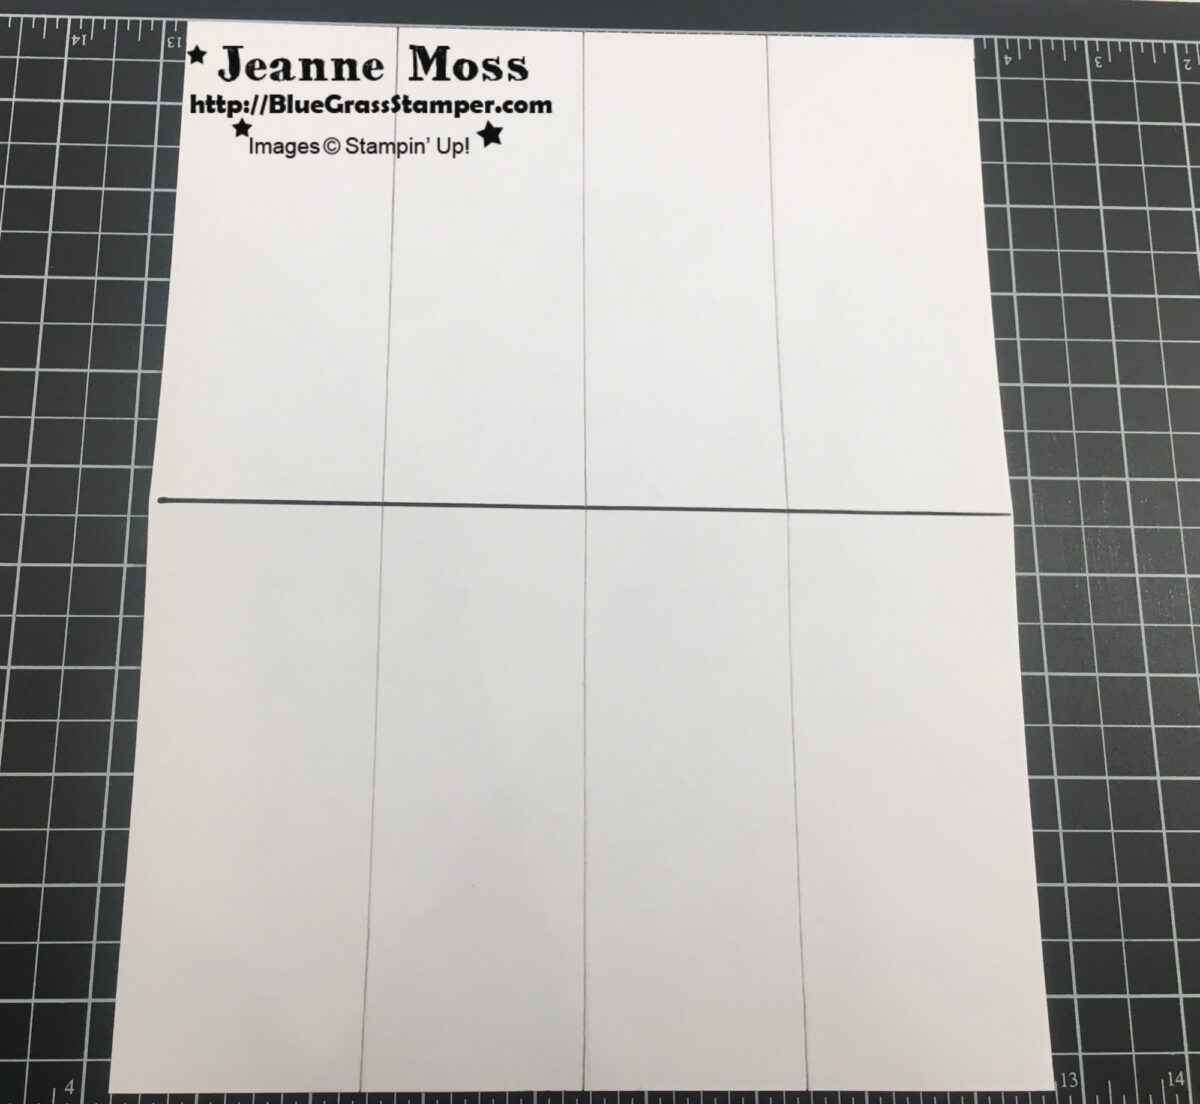
Cut a 1/4″ strip off of the white sheet, so that it measures 8 1/2 x 10 3/4″. This will be our mechanism. You can discard the 1/4″ strip.

Score this piece in the center of the 10 3/4″ side at 5 3/8″.

Turn and score at 2 1/4″, 4 1/4″ and 6 1/4″.
Fold in half on the 5 3/8″ score line. Take a ruler and measure 1″ from the fold and use a pencil to mark the edge of the card stock. Repeat on the other side.

Measure 1 1/4″ from the fold on both outer score lines and mark with the pencil.

Using your ruler, draw a line from the 1″ mark to the 1 1/4″ mark on both sides.
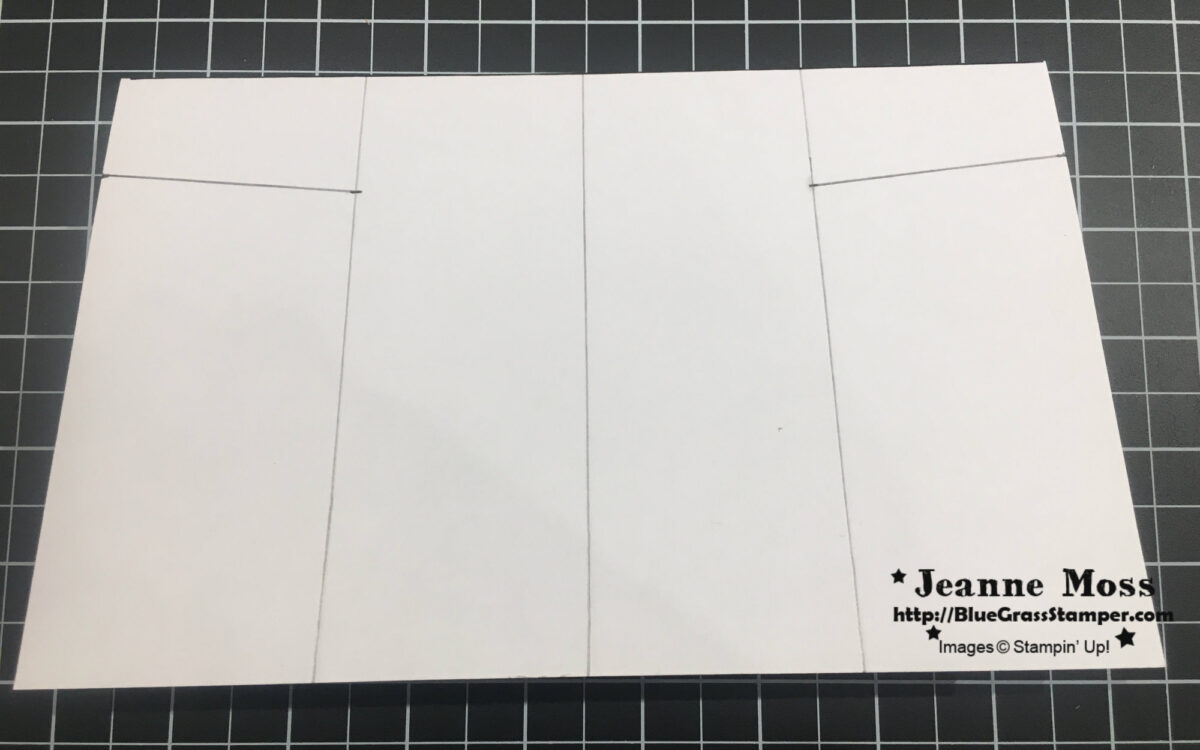
Use your scissors to cut through both layers on the outer score line up to, and along the pencil line.

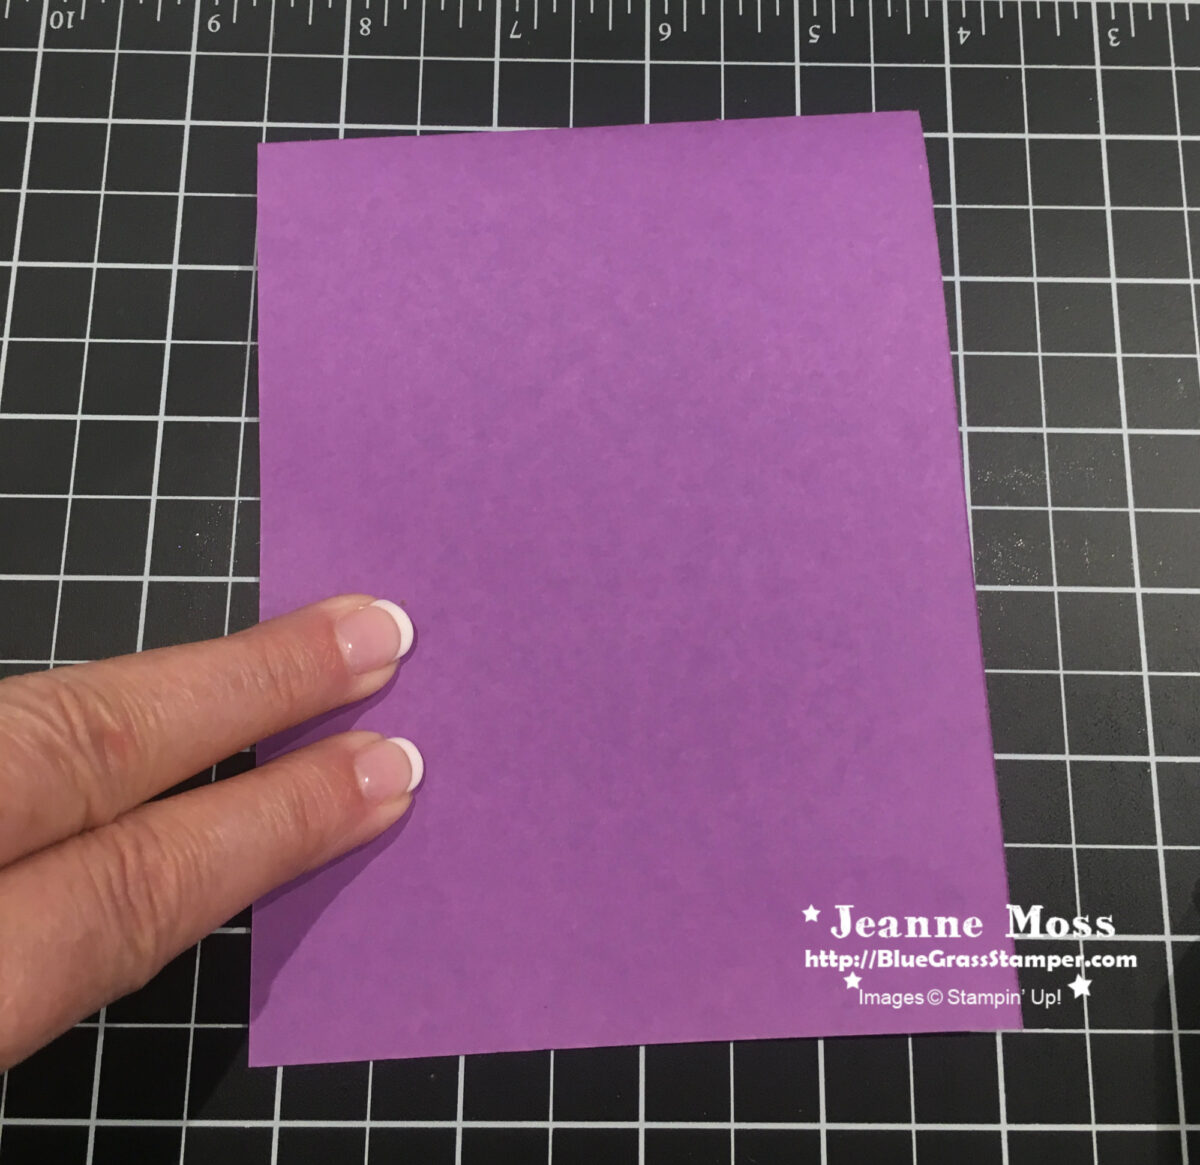
Open cardstock and lay flat. Bring the right “wing” across and line up the center score line of the wing with the center score line that runs the length of the card. Use your bonefolder to crease well. Repeat with the left “wing”. Try to keep the folds intersecting in the center of the card.


Open card and pull “wings” toward the center.

Flatten and crease (it will be in a house shape). Outline house shape with a good strong adhesive like Tear & Tape. Line up and adhere to base card with point toward center fold.


Outline other side of house shape with adhesive and close card to adhere.

Place strong adhesive on opposite points of “wings” as shown with X.

Close card. Open partially as shown and remove adhesive backing from X area. Center four panel piece inside card (with folds toward center fold) and press down to adhere to the X area.


Slightly open card enough to get the wing that has not been adhered on top of the four panel piece and adhere. One wing will be adhered to the top of your piece and the other will be adhered to the bottom.


That’s it! Open your card and watch the magic happen!
Whew! That was a lot of pictures to edit! I hope you’ve enjoyed this tutorial. If you have any questions, let me know. I would love to see what YOU create with this fold!
Thanks for visiting, and if you need any stamping supplies, please visit my online store.

