Butterflies & Flowers Masks Card

Butterflies & Flowers Masks Card

Today I’m using the Butterflies & Flowers Layering Decorative Masks for my project, and I have step by step instructions for you!

Butterflies & Flowers Masks Card

Butterflies & Flowers Layering Decorative Masks

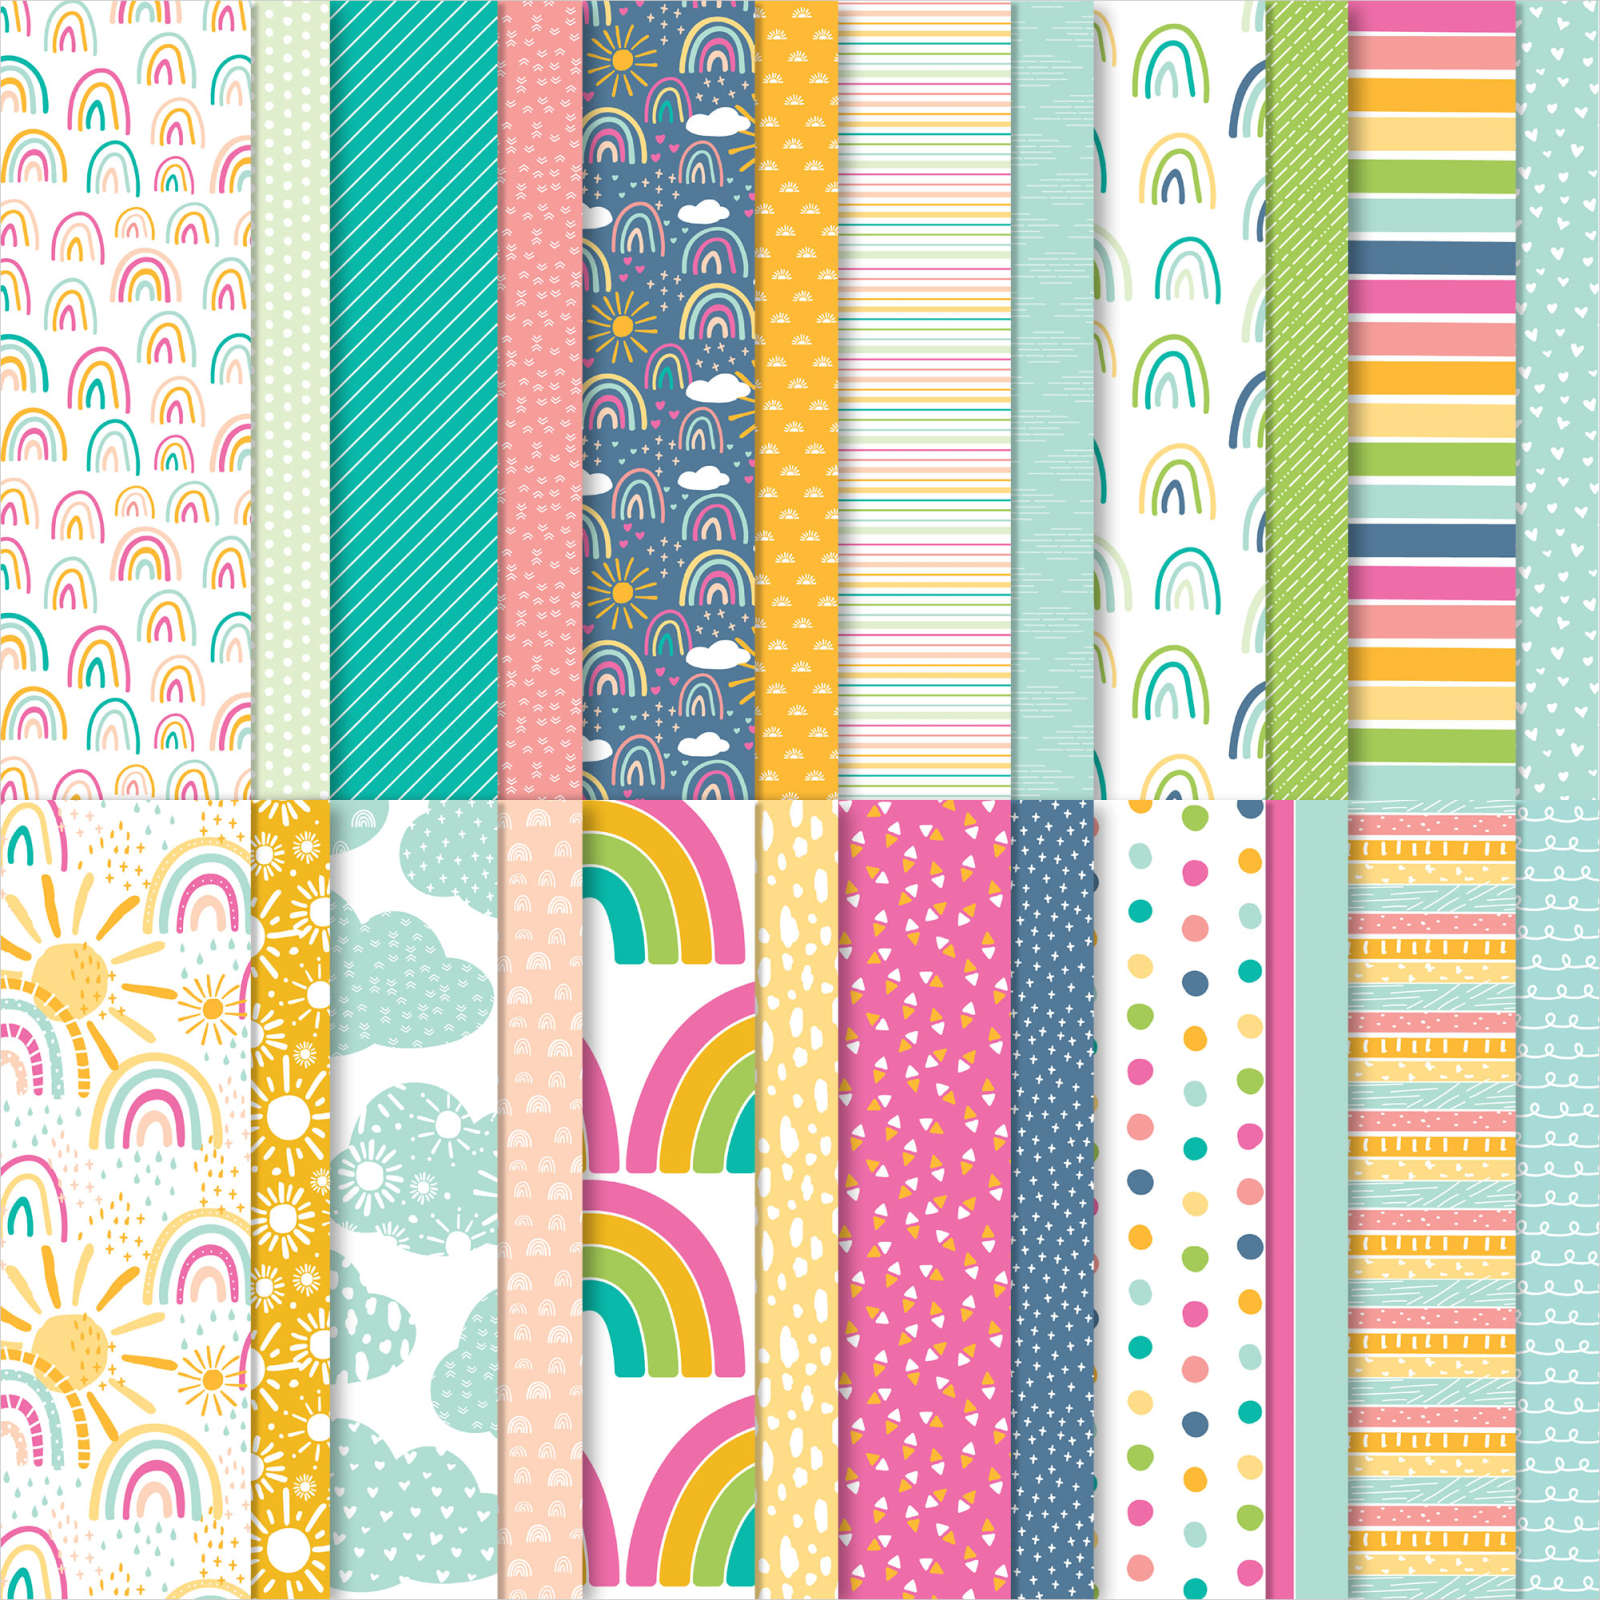
This set of masks has six different patterns. There are three with flowers and butterflies that layer together, and three that have pretty background patterns. I used the one in the top left, the bottom center and the bottom right for today’s card.

Butterflies & Flowers Masks

Step One

First, I took a quarter sheet of Basic White Cardstock and secured it with masking tape to my work surface. Be sure to reduce the tackiness of the tape before putting it on your cardstock. I knew I would cut my panel and didn’t need the edges, so I didn’t worry about this.

Next, secure the stencil over your white cardstock. I used the larger set of flowers. You can see them in the very bottom right of the picture above. I used my blending brushes to gently add Pale Papaya ink to the two larger flowers and Flirty Flamingo to the two smaller ones. Because these are similar colors, I didn’t worry about covering up the larger flowers. I thought it was okay for the colors to blend a little. Remove the mask.

Butterflies & Flowers Masks Step 1

Step Two

I turned the mask around to line up the detailed flowers on the other end. It’s easiest to line this up by looking at the two smaller flowers. I secured this and used my Blending Brushes to add the same colors to the same flowers – Pale Papaya on the larger flowers and Flirty Flamingo on the smaller flowers. Again, I didn’t worry about overlapping color. Remove the mask.

Butterflies & Flowers Masks Step 2

Step Three

Using the other mask with flowers and leaves, I lined the leaves up with my flowers. Don’t look at the two cut out flowers. They are flowers for other projects. Just look through the mask and you’ll see where the leaves go. Since this is a totally different color, I did NOT want this color to blend, so I used a piece of scrap paper and bits of the tape to cover any areas that I thought I might accidently hit. I learned this by experience. You can see in my photo below that I hit my flower with green ink. I actually had to start over. Use your Blending Brushes to add Pear Pizzazz ink to the leaves. Remove mask.

Butterflies & Flowers Masks Step 3

The Finished Product

I cut out my flowers using a die from the Scalloped Contours Dies set. But I had so much fun with the masks that I decided to add the vines to a background piece. I used the vine stencil and Pear Pizzazz ink to add interest to the Pear Pizzazz panel. I also used the same stencil used for the leaves to add a flower to the inside of my card.

Butterflies & Flowers Masks Card
Butterflies & Flowers Masks Card Inside

Details

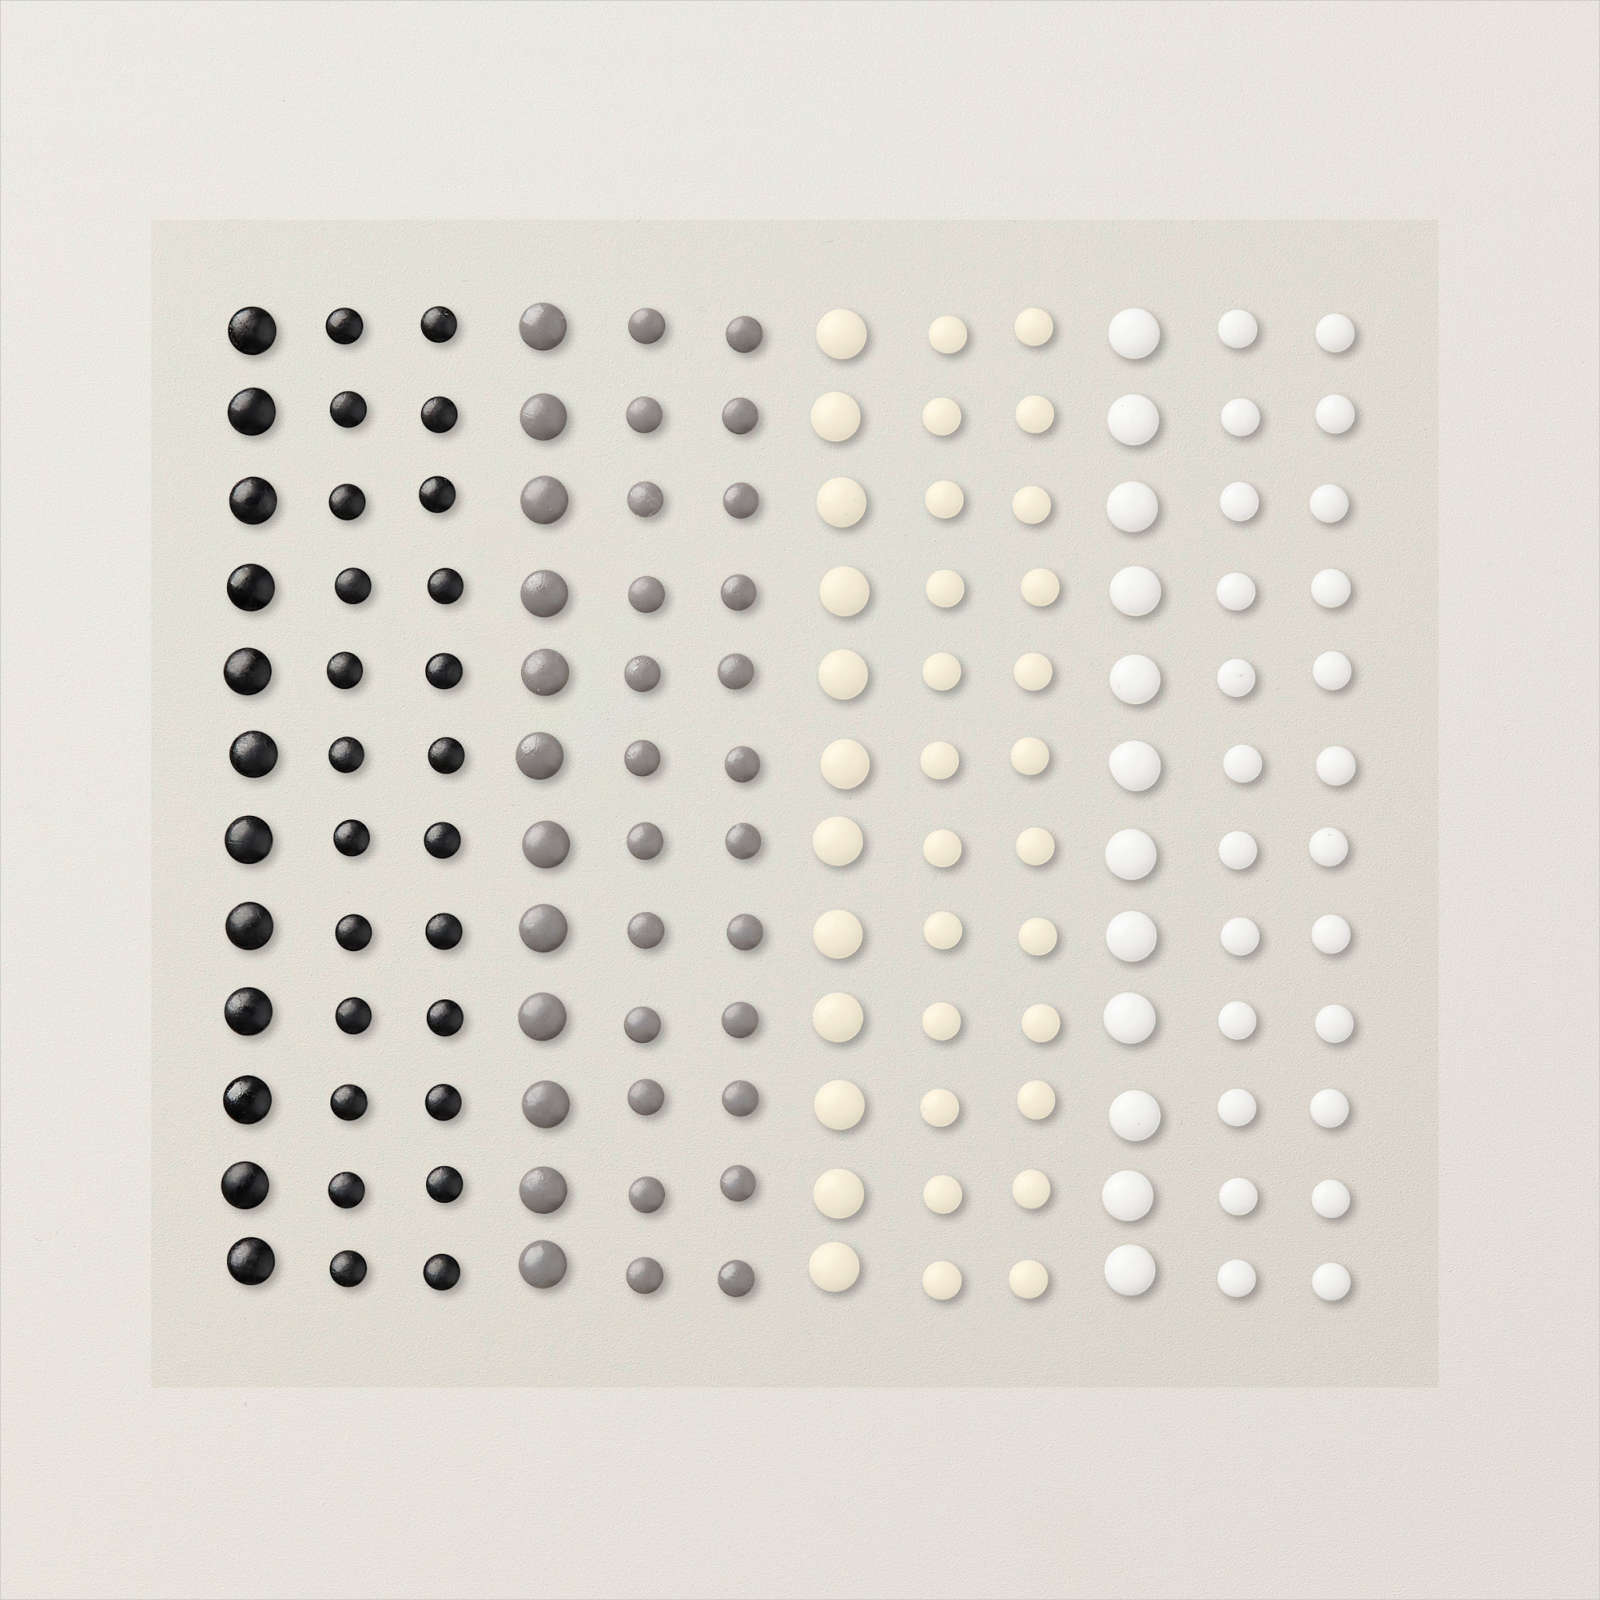
I finished off this card with words from the Happy & Heartfelt stamp set, a Pale Papaya bow and Rhinestone Basic Jewels colored with the Flirty Flamingo Blends.

The Fixin’s

Want to Try it?

If you have any questions or need any Stampin’ Supplies, I’d love to be your Demonstrator! You may shop with me by clicking on any of the products above or my 24/7 shopping link at the bottom of the page.

If your order is less than $150, please use the Host Code. If your order is $150 or more, DON’T use the code. You’ve earned FREE PRODUCT!

CURRENT HOST CODE: XAXTRTDS

Thanks for stopping by! I hope you’ll visit again soon.

If you want to be notified when I post a new product, be sure to Subscribe to my Blog. And, while you’re there, sign up for my Newsletter. It contains totally different projects!

Kite Delight Three Panel Card

Kite Delight Three Panel Card Lead
Freshly Brewed Projects Blog Banner

It’s another Freshly Brewed Projects Blog Hop, and today we are showing how to use the DSP (Designer Series Paper) from Sale-a-bration. These are papers that you can get FREE with a qualifying purchase!! I chose the Sunshine & Rainbows DSP for my Kite Delight Three Panel Card.

Kite Delight Three Panel Card Lead

Sunshine & Rainbows DSP

The Sunshine & Rainbows Designer Series Paper is such a pretty and fun selection of papers. I love that it has bright colors, but also subtle colors. There were so many to choose from, but I used the four sheets pictured on top for my card.

Sunshine & Rainbows DSP

Kite Delight Three Panel Card

This is a very simple but fun fold. The card base is a regular 5 1/2 x 8 1/2, but instead of folding it in half, it’s scored at 2, 3 1/8, 5 3/8, and 6 1/2. Fold the two outside score lines up (valley fold) and the two inside score lines back (mountain fold). This card will fold flat for mailing.

Kite Delight Three Panel Card

The DSP

I used one of the Pool Party sheets for the background (three panels). The cloud punch will perfectly cut the cloud DSP. I stamped the kite on the So Saffron piece and fussy cut it. I aligned the sun stamp with an image on the sunny piece of DSP and fussy cut that, too.

Fun Fact

See those clouds on the full sheet of DSP? Notice the ones on the edges that are only partial clouds? Well, those aren’t wasted!! I punched those and used them on this card! In fact, the only complete cloud on this card is the one on the front center panel!!

Kite Delight Three Panel Card Back

The Back

A white panel on the back gives you room for your message.

Kite Delight Three Panel Card Detail

The Details

I stamped the greeting and the tail of the kite directly on the DSP and colored the kite tail with Bermuda Bay Blends. I glued the sun and clouds directly to the DSP. Next, I adhered the kite with Dimensionals to give it a little lift.

Finally, I finished off the card with white Classic Matte Dots.

Let’s Hop!

Click on any of the links below to see what our friends in Australia have created.

The fixin’s

Need Stampin’ Supplies?

Live in the USA? I’d love for you to shop with me by clicking on any of the products above or the 24/7 shopping link below. If your order is less than $150, please use the Host Code below. If your order is $150 or more, DON’T use the code because you’ve earned FREE PRODUCT!

CURRENT HOST CODE: XAXTRTDS

Thanks for joining us on today’s Hop!

I’d love to answer any questions or hear your thoughts on this project in the comments below.

Beautiful Shapes Dies

Beautiful Shapes Duo

It’s a beautiful day for Beautiful Shapes with FAB Stampers. Today it is Connie’s turn to share some crafting and inspiration with the dies from the Hello Beautiful Bundle.

FAB Stampers Logo

From Connie’s Craft Studio

Beautiful Shapes Dies

The beautiful Shapes Dies are part of the Hello Beautiful Bundle, and available in the January to June Mini Catalogue. There are stacking sizes of circles and hexagons, along with additional shapes that have embossing around the edges. I’m also using the Special Moments stamp set. You can get this stamp set FREE with a qualifying Sale-a-bration order!

This was the first time I had played with these dies, so I started by cutting out all the shapes. I decided to use the primary colours, knowing I could make a bright colourful card with these pieces. Once I had the pieces cut, I just played with laying them on my card until I found a pattern I liked.

Beautiful Shapes Random

For the next card I wanted to create a bit of a mosaic pattern. These hexagon shapes are fabulous for creating all sorts of patterns in different sizes and colours.

Beautiful Shapes Mosaic

A few Details . . .

I used hexagon die cuts in Blushing Bride, Calypso Coral and Real Red to create this card. I put them on a Basic White background and used a Thick Basic White card base to really pull your eye toward my pattern. Once I adhered all the hexagon pieces, I used the Hive 3D Embossing Folder to emboss the entire piece.

The sentiment is stamped on a larger hexagon and layered on the next size up hexagon cut from Real Red cardstock. I used Dimensionals to adhere this to my card. The gorgeous embellishments on both cards are Gilded Gems.

Beautiful Shapes Duo

These dies are so awesome, they should be part of everyone’s craft stash.

The fixin’s

Shopping

If you live in Canada, Connie would love to help you with any of your paper crafting needs. You can connect with her HERE.

To shop with me, click on any of the products above or my 24/7 shopping link below. Please use the following host code if your order is less than $150. If you have an order of $150 or more, DON’T use the Host Code and choose FREE Stampin’ Rewards.

CURRENT HOST CODE: XAXTRTDS